How to Maintain a Waterproof Foundation?

Maintaining a waterproof foundation is essential to prevent water damage and increase structural integrity. A waterproofed foundation can damage or weaken the waterproofing membrane over time. In order to prevent this you should maintenance the waterproofing membrane/structure as follows.
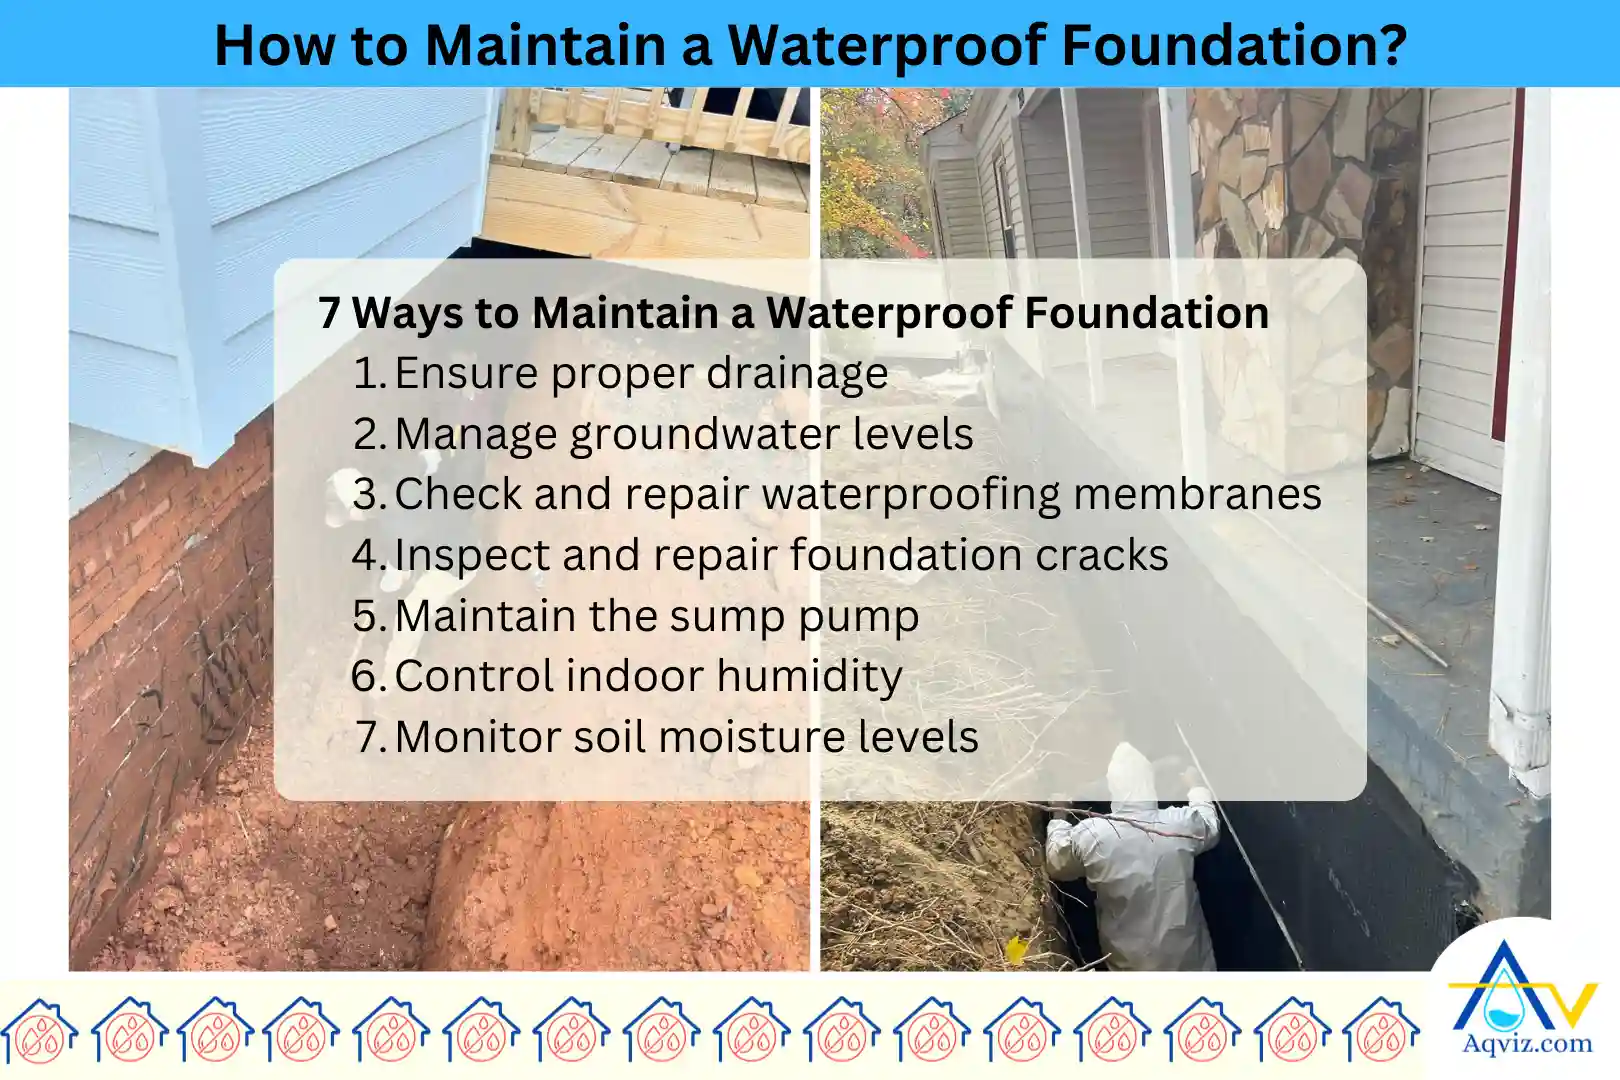
7 Ways to Maintain a Waterproof Foundation
- Ensure proper drainage
- Manage groundwater levels
- Check and repair waterproofing membranes
- Inspect and repair foundation cracks
- Maintain the sump pump
- Control indoor humidity
- Monitor soil moisture levels
Here Aqviz experts have prepared a detailed guide explaining all of the maintenance that should be applied to the waterproofing membrane. These steps will help you to keep the structure free of damage and minimum repairs over time its lifespan.
7 Ways to Maintain a Waterproof Foundation
These are the 7 ways to maintain your waterproof foundation
- Ensure proper drainage
- Manage groundwater levels
- Check and repair waterproofing membranes
- Inspect and repair foundation cracks
- Maintain the sump pump
- Control indoor humidity
- Monitor soil moisture levels
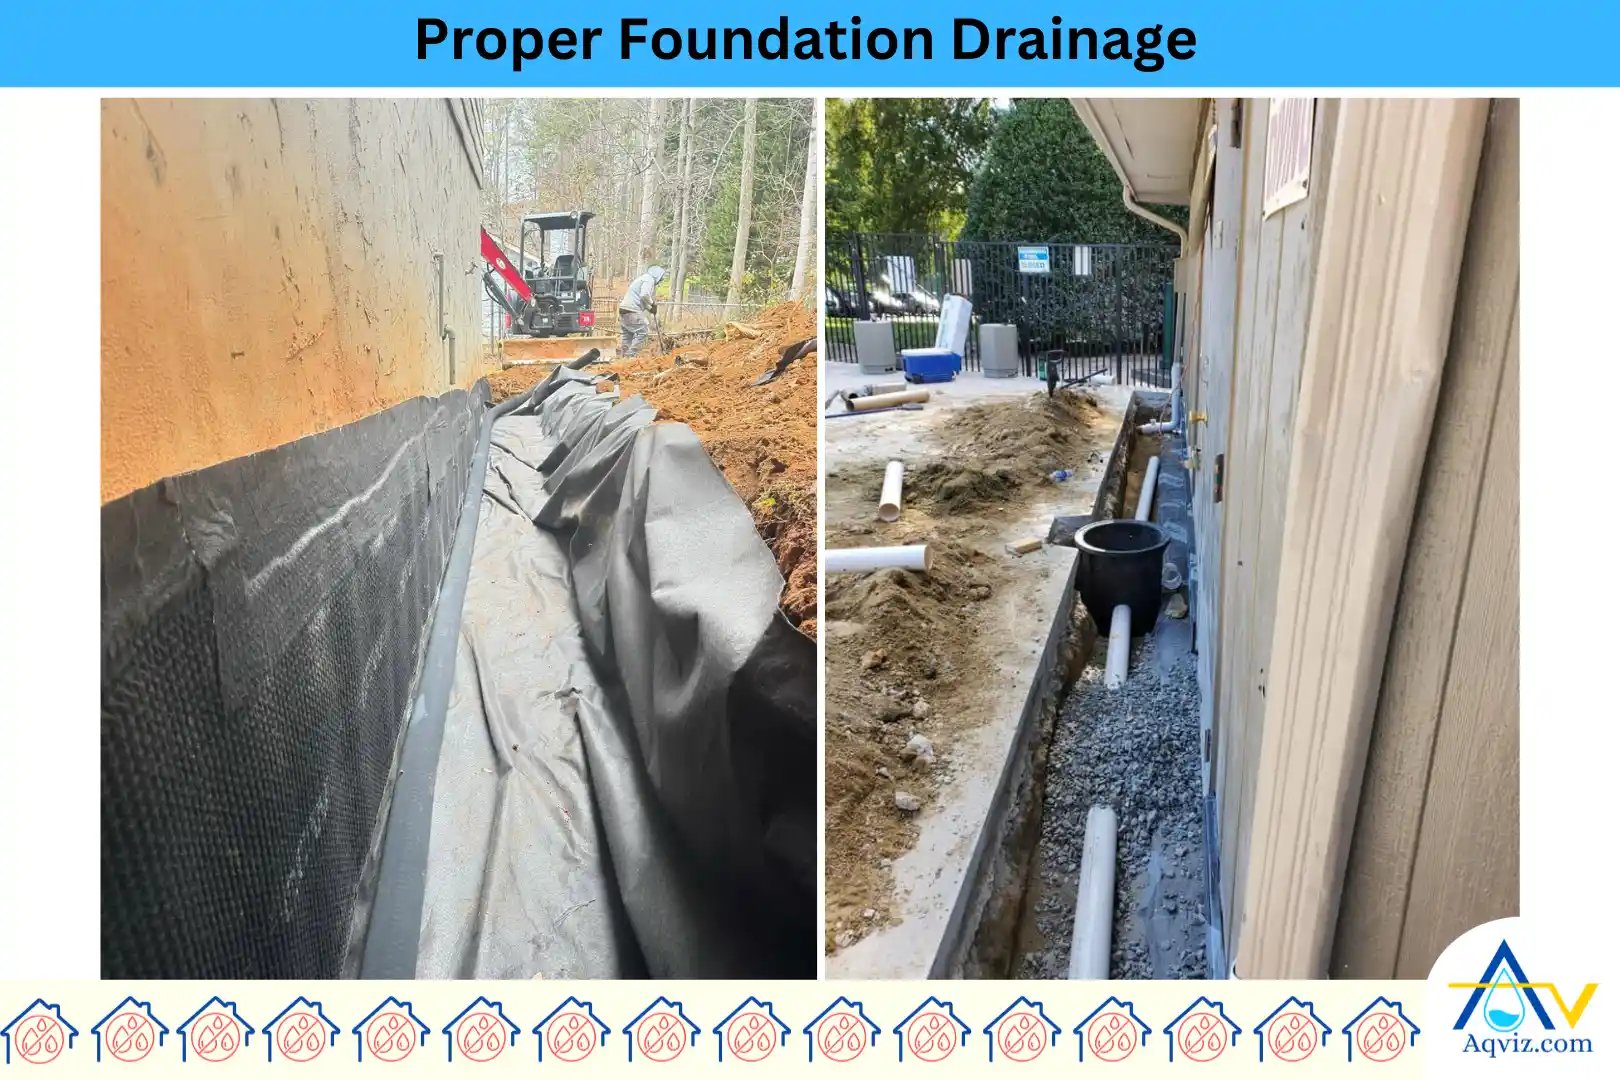
1. Ensure Proper Drainage
First thing first in foundation waterproofing maintenance is ensuring proper drainage around the foundation . As well as make sure gutters and downspouts are clear of debris, and extend them at least five feet away from the foundation. If water pools near your home it may cause to increase in the groundwater level near the foundation which creates many water problems in the foundation.
When you place proper drainage around the foundation water can run effectively away from the foundation. We’ve seen homes where improper drainage led to severe leaks, so staying on top of this can save a lot of trouble.
2. Manage Groundwater Levels
Then you should manage the groundwater level by building a French drain system in the foundation. It helps to accumulate all the excess water around the foundation when the water table rises.
A well-maintained French drain or drainage tile system is essential for keeping groundwater at manageable levels. We recommend inspecting these systems at least once a year to ensure they’re not clogged or damaged. A clogged drainage system won’t just fail it can make foundation waterproofing issues worse by trapping water against your home.
3. Check and Repair Waterproofing Membranes
Foundation waterproofing membranes should be checked and repaired on time. Because over time waterproofing membrane can be damaged due to exposure to soil movement, temperature fluctuations, and higher water pressure. When you see any signs such as paint peeling, cracks in sealant, mold and mildew growth, and moisture seepage can be a result of waterproofing damage.
At Aqviz, we always recommend doing a thorough check at least once a year, especially after heavy rains or freeze-thaw cycles. If the membrane is compromised, reapply or patch the affected areas immediately to prevent leaks from worsening.
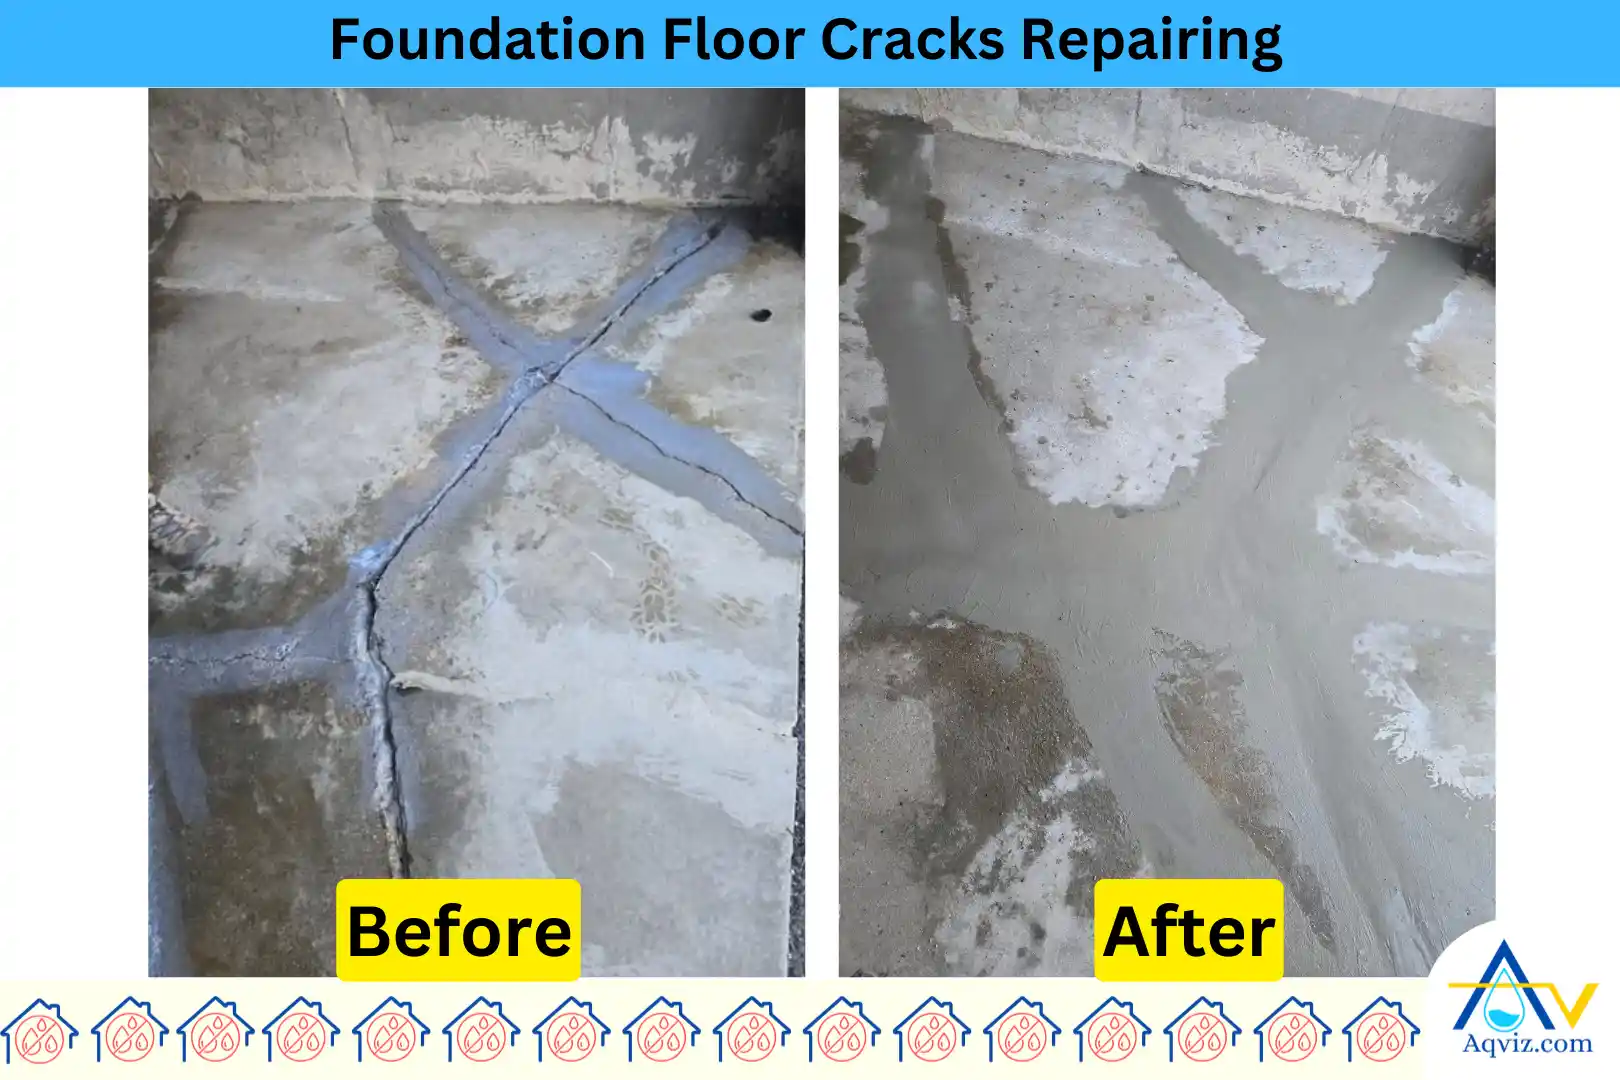
4. Inspect and Repair Foundation Cracks
Then you should inspect for foundation cracks . You should always check for horizontal, vertical, or stair-step cracks, as each can indicate different issues to the foundation. When you observe a small crack you can use a sealant.
As well as if the crack is heavy and actively leaking you can use a crack injection method like polyurethane. For larger foundation cracks you may need another permanent fixing method. So you should never ignore any small crack in your foundation. You should maintain them on time to prevent further water damage.
5. Maintain the Sump Pump
A sump pump is the last line of defense against basement flooding, so keeping it in peak condition is crucial. We recommend you test it at least once every three months by pouring water into the sump pit and ensuring it activates properly.
Clean the pump intake, check the float switch for obstructions, and inspect the discharge pipe for blockages. Also, invest in a battery backup system because, in our experience, sump pumps always seem to fail during storms when you need them the most. So you should maintain them on time properly.
6. Control Indoor Humidity
As well as you should also control indoor humidity levels properly because high humidity in basements can lead to condensation, mold growth, musty smell and even contribute to foundation deterioration over time.
At Aqviz, we always recommend using a dehumidifier, especially during humid months, to keep relative humidity below 50%. And also you should maintain proper ventilation by using basement windows and vents. If moisture problems persist, consider adding vapor barriers on basement walls and floors to block excess humidity.
7. Monitor Soil Moisture Levels
You should maintain a proper moisture level around the foundation soil to prevent expansions and contractions, which can force the foundation walls. This can cause cracks and leaks on the foundation surface.
So we recommend maintaining consistent moisture levels by watering around the foundation during dry spells and ensuring proper drainage during heavy rains. Installing soaker hoses a few feet from the foundation can help regulate moisture without over-saturating the soil. In our experience, homes with stable soil conditions have far fewer foundation issues over time.
What Causes for Foundation Cracks?
Foundation cracks can develop for several reasons, and understanding these causes is key to preventing serious structural issues. At Aqviz, we’ve seen all types of cracks from minor hairline fractures to major structural splits. Here are the most common causes:
- Soil movement : Expansive soil, such as clay, absorbs water and swells, then shrinks when it dries.
- Hydrostatic pressure : When water accumulates around the foundation, it increases pressure on basement walls, causing cracks and potential leaks.
- Settlement and Shifting : Every home settles over time, but uneven settlement due to weak soil or improper compaction can lead to foundation cracks.
- Freeze thaw cycles : In colder climates, moisture in the soil freezes, expands, and then thaws. This repeated process weakens the foundation, leading to cracks.
- Poor construction practices : Inadequate reinforcement, improper curing of concrete, or using substandard materials can create weak spots on the foundation that crack easily.
- Tree roots and vegetation : Large trees near the foundation can absorb moisture from the soil, causing it to shrink and create instability, leading to cracks on the foundation.
What Are the Water Damages in the Foundation?
These are the most popular 9 water damage in the foundation
- Cracks in foundation walls or floors
- Soil erosion around the foundation
- Hydrostatic pressure damage
- Efflorescence (white mineral deposits)
- Mold or mildew growth
- Spalling (chipping or flaking concrete)
- Bowing or leaning walls
- Foundation settling or sinking
- Deterioration of mortar or concrete
- Basement flooding or pooling water
Read more about: 11 Signs of Foundation Water Damage
When Should You Waterproof a Foundation?
You should waterproof the foundation using proper foundation waterproofing membranes in these periods.
- During the foundation construction period (Best time)
- Before the rainy season
- When you notice any moisture issues in the foundation
- When you sport foundation cracks
- After flood or water damage observation
- When you have an improper drainage system
At Aqviz, we always recommend you make a waterproofing barrier in the foundation to prevent all the water related issues. It will save time, money, and the structural integrity of your home.