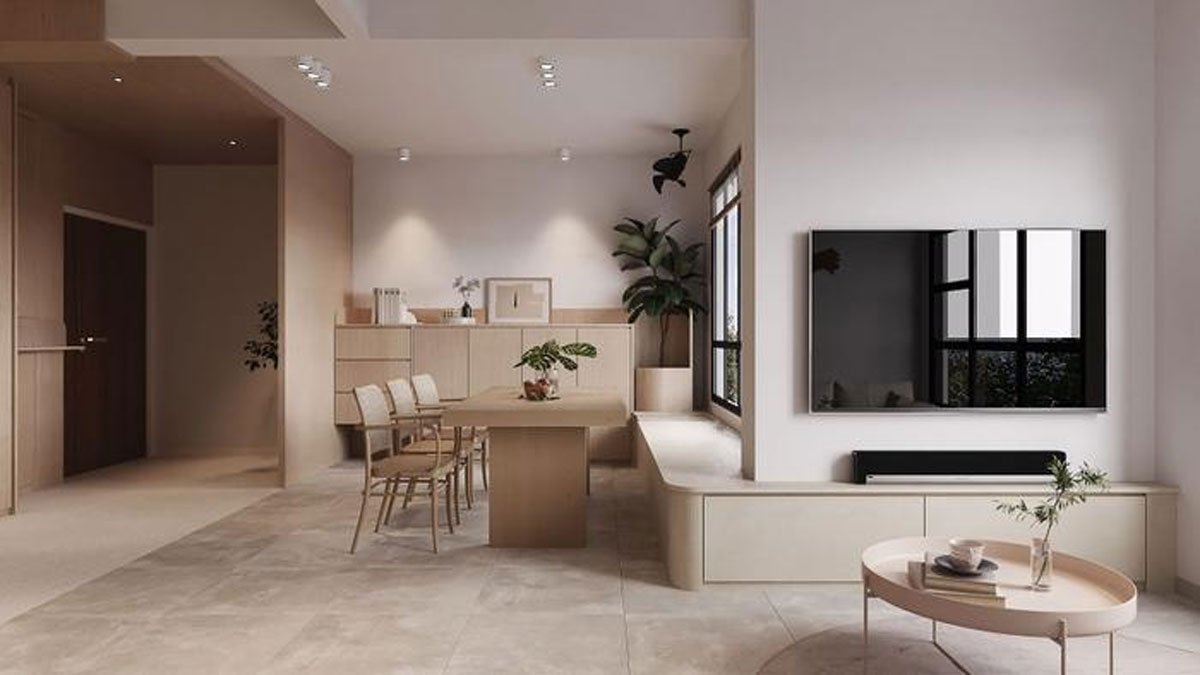

Translating a photorealistic 3D kitchen visualization into a physical home space is an ambitious journey that requires meticulous architectural precision. When unexpected spatial mismatches or installation errors compromise complex built-in machinery, securing trusted appliance repair in Atlanta, GA becomes essential to safeguard your investment. By identifying common construction oversights early, designers and homeowners can bridge the gap between digital models and functional reality.
Bridging the Gap Between Digital CAD Models and Physical Architecture
Account for Real-World Dimensional Tolerances
Virtual 3D rendering environments operate on perfect mathematical planes where walls are impeccably square, floors are completely level, and cabinet reveals align flawlessly. In physical home renovation, however, subtle structural bowing, uneven drywall finishing, and flooring height variations can cause significant spatial discrepancies. Leaving zero-clearance margins in digital models often leads to jammed refrigerator doors or misaligned wall ovens during actual installation.
Verify Electrical and Plumbing Rough-In Locations
A frequent pitfall during the construction phase is placing electrical outlets, gas valves, and water supply lines directly behind heavy appliances rather than in designated adjacent cabinetry recesses. When utility connections protrude from rear walls, flush-mount hardware gets pushed forward, destroying the seamless aesthetic established in the initial 3D visualization and placing structural tension on supply hoses.
Ensure Accurate Material Thickness Modeling
Digital renderings must account for the actual finished thickness of decorative tile backsplashes, quartz countertop overhangs, and custom cabinetry paneling. Failing to incorporate these final finish layers into preliminary CAD models can narrow appliance openings by fractions of an inch, preventing heavy equipment from fitting smoothly into pre-built millwork enclosures.
Managing Airborne Dust and Construction Particulates During Demolition
The Hidden Threat of Microscopic Renovation Dust
Drywall sanding, masonry cutting, and interior paint preparation generate large volumes of fine particulate matter that float throughout open construction zones. These abrasive dust particles quickly infiltrate motor housings, coat condenser coils, and settle on electronic circuit boards, leading to severe thermal overheating and premature component failure.
Physical Barrier Systems and Containment Enclosures
If existing high-end appliances must remain on-site during active wall demolition or tile installation, wrap each unit in heavy-duty plastic sheeting and seal all seams securely with industrial painter’s tape. Establishing temporary plastic zip-wall containment zones isolates active dusty work spaces from clean appliance storage areas.
Managing Airflow and HVAC Filtration
Never operate heat-producing kitchen machinery while wrapped in airtight plastic protective covers. Turn off central HVAC circulation vents in active construction zones to prevent dust from spreading into adjacent living spaces, and utilize temporary HEPA air scrubbers to clean indoor air during heavy drywall finishing.
Ventilation, Clearance, and Thermal Management Pitfalls
Planning Essential Air Intake and Exhaust Paths
High-performance built-in refrigerators, induction cooktops, and wall ovens generate significant internal operational heat that must be vented away continuously. Designing tight cabinet enclosures without dedicated intake toe-kicks or rear exhaust chimneys traps hot air around compressor units, dramatically reducing cooling efficiency and shortening motor lifespans.
Protecting Surrounding Millwork from Thermal Damage
Self-cleaning oven cycles and high-temperature steam dishwashers release localized surges of heat and moisture that can warp wooden cabinet frames or blister painted finishes. Installing heat deflector strips along adjacent cabinet edges and applying moisture barrier tape underneath countertop overhangs shields custom millwork from long-term damage.
3D Render vs. Physical Installation Factors
| Design / Operational Aspect | Digital 3D Rendering Ideal | Physical Construction Reality |
| Wall & Floor Alignment | Perfectly square 90-degree angles | Structural bowing, uneven subfloors |
| Utility Connections | Hidden or weightless connections | Recessed outlets required for flush fits |
| Thermal Dissipation | Unrestricted air circulation | Enclosed cabinet heat trapping hazards |
| Dust & Environment | Pristine, sterile environment | Sanding dust, debris, and vibrations |
Avoiding Electrical Surges and Utility Strain During Construction
Protecting Digital Control Boards from Voltage Spikes
Renovation sites rely heavily on high-draw power tools, air compressors, and industrial vacuums that frequently cause electrical voltage fluctuations. Modern smart appliances feature delicate digital motherboards that can fry when exposed to sudden circuit overloads or power surges during active construction.
Safeguarding Gas and Water Supply Infrastructure
Structural demolition and floor sanding create heavy vibrations capable of loosening aged gas fittings or cracking rigid copper water lines. Contractors should clearly tag all primary shut-off valves before work begins and routinely inspect temporary plumbing connections for subtle slow drips throughout the project timeline.
Pre-Installation Utility Checklist
- Verify that all electrical outlets dedicated to kitchen machinery match manufacturer voltage ratings.
- Ensure water supply valves for ice makers and dishwashers sit in accessible, adjacent cabinets.
- Inspect gas supply shut-off valves for clear access unblocked by construction materials.
- Disconnect power to smart appliances while heavy power tools operate on shared electrical panels.
Protecting Custom Panels and Stainless Steel Finishes from Scratches
Handling Heavy Equipment During Installation
Moving heavy built-in machinery into tight cabinet openings requires specialized rigging equipment and protective floor panels. Rolling heavy refrigerators directly over newly installed hardwood or natural stone flooring without masonite protection rolls can leave permanent gouges and costly structural floor damage.
Maintaining Protective Films Until Final Cleanup
Factory-applied protective plastic films on stainless steel panels and custom cabinet facings should remain intact until all dusty trade work, painting, and grouting are fully completed. Removing protective coatings prematurely exposes pristine metallic surfaces to acidic tile cleaners, paint overspray, and accidental tool impacts.
Safe Unwrapping and Surface Cleaning Protocols
Once construction wraps up, carefully peel away protective films and clean exterior metal surfaces using soft microfiber cloths and specialized stainless steel polishes. Avoid using aggressive chemical solvents, abrasive sponges, or paper towels that can leave micro-scratches on polished metallic or lacquered wood finishes.
Post-Renovation Recommissioning and Deep Cleaning Protocols
Removing Infiltrated Dust from Internal Mechanicals
Even under strict protective cover protocols, fine drywall dust can settle inside rear mechanical cabinets and condenser fan assemblies. Before plugging appliances back into live outlets, pull freestanding units forward to vacuum rear cooling coils and clear intake grilles with soft brush attachments.
Systematically Reconnecting Utilities and Testing Operation
Re-establish gas, water, and electrical connections one by one while monitoring carefully for subtle leaks, gas odors, or unusual electrical humming. Level every appliance precisely using adjustable mounting feet to ensure proper door swings, tight magnetic gasket seals, and correct water drainage balance.
Inspecting Internal Filtration and Water Supply Lines
Flush water supply lines thoroughly before connecting them to new ice makers or built-in drinking dispensers to clear lingering sediment or pipe debris. Replace all internal water and air filters to ensure fresh, clean operation right from the first day your renovated kitchen opens for daily use.
Ensuring Long-Term Kitchen Performance and Peace of Mind
Bridging Design Concepts with Technical Excellence
Creating a luxurious, high-performance kitchen requires harmonious collaboration between 3D visualization artists, general contractors, and technical specialists. By incorporating real-world clearances, proper ventilation paths, and protective construction protocols into your planning, you preserve both the visual elegance and functional integrity of your culinary space.
Recognizing When Professional Support is Required
When complex mechanical, electrical, or plumbing issues arise following a major kitchen update, seeking certified technical assistance ensures that delicate built-in equipment is serviced correctly. Experienced technicians can safely slide heavy paneled units out of tight cabinetry without damaging custom millwork or stone countertops.
Preserving Architectural Integrity and Utility
Investing in thoughtful architectural design and high-end machinery brings long-term comfort and significant property value to your home. If post-renovation plumbing glitches or unexpected fluid pooling occur around your cooling units, reading expert diagnostic guides like https://nobleappliancerepairatlanta.com/blog/why-is-my-refrigerator-leaking-water/ will help you identify underlying causes and restore your custom kitchen to flawless operating condition.