You replaced the flapper twice. The toilet is still running. The food coloring test confirms water is leaking from the tank into the bowl, but a brand-new flapper should have fixed that. You ran your finger around the flush valve seat and felt roughness, pits, and a small crack at the edge, highlights Lux Property Management. The flapper is not the problem. The flush valve itself is damaged. You need to replace it.
Replacing a toilet flush valve is a more involved repair than replacing a flapper or a fill valve. It requires removing the tank from the bowl. The parts cost $15 to $30. The job takes one to two hours for a first-time homeowner. The work is not technically difficult, but it is awkward because the tank is heavy, the bolts are often rusted, and the tank-to-bowl gasket must be replaced at the same time. If you can turn a wrench and lift 30 pounds, you can do this repair.
When to Replace the Flush Valve Instead of Just the Flapper
The flush valve is the vertical plastic tube in the center of the tank. The flapper sits on top of it. The flush valve seat is the rim at the top of the tube where the flapper makes contact. When this seat becomes pitted, cracked, or warped, no flapper can seal against it. Replacing the flapper repeatedly will not fix a damaged flush valve seat. The flush valve itself must be replaced.
Signs that the flush valve needs replacement include a toilet that continues to run after multiple flapper replacements, a flush valve seat that feels rough or irregular when you run your finger around it, visible cracks in the flush valve tube, water leaking from the tank into the bowl even with a new flapper properly installed, and a flush valve that is so old that the plastic has become brittle and discolored. If your toilet uses a canister-style flush valve instead of a flapper, the entire canister assembly is the flush valve, and it is replaced as a unit.
If water is leaking from the bottom of the tank where it meets the bowl, the tank-to-bowl gasket has failed. This gasket is replaced whenever the tank is removed from the bowl. A flush valve replacement necessarily includes replacing this gasket, so the repair solves both problems simultaneously.
Choose the Right Replacement Parts
Toilet flush valves are not universal. They come in different sizes, with two-inch and three-inch being the most common. The size refers to the diameter of the flush valve opening. Measure the diameter of your existing flush valve, or take a photograph and bring it to the hardware store. A replacement flush valve kit includes the flush valve tube, the flapper, the overflow tube, and the gaskets needed for installation.
If your toilet uses a canister-style flush valve, as many Kohler and Toto toilets do, the replacement is brand-specific. A universal flush valve kit will not fit a canister toilet. Purchase the OEM replacement from the manufacturer or a compatible aftermarket part that is specifically designed for your toilet model.
Buy a new tank-to-bowl gasket kit. This kit includes the large rubber gasket that seals the tank to the bowl, plus new tank bolts and rubber washers. The old bolts are often rusted, and the old gasket must be replaced any time the tank is removed. A tank-to-bowl gasket kit costs $8 to $12.
Replace the Flush Valve Step by Step
Turn off the water supply valve behind the toilet. Flush the toilet to empty the tank. Sponge out any remaining water from the bottom of the tank. Disconnect the water supply line from the fill valve. Remove the refill tube from the overflow tube.
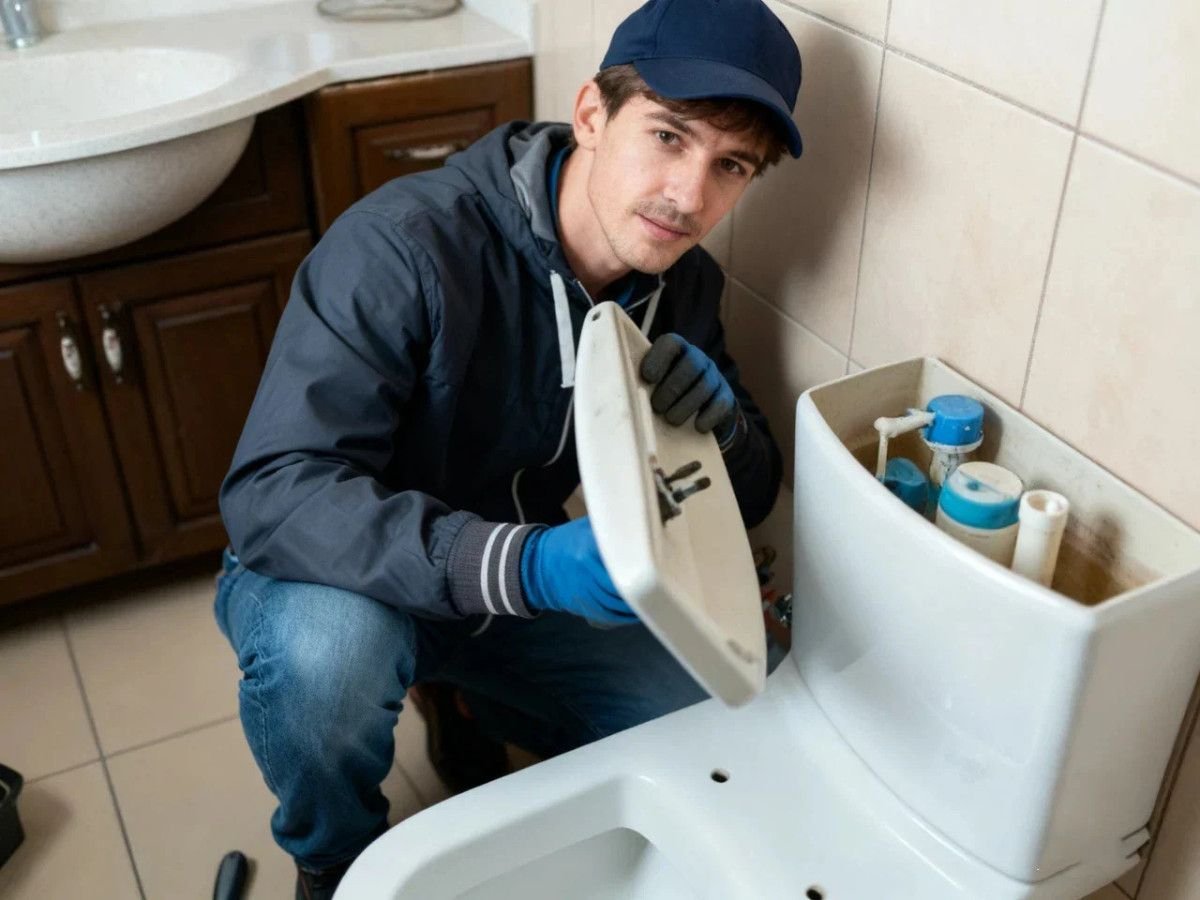
Remove the tank from the bowl. The tank is attached to the bowl by two or three bolts that pass through the bottom of the tank and through matching holes in the bowl. The bolt heads are inside the tank, and the nuts and washers are underneath the bowl, accessible from below. Reach underneath the toilet bowl with an adjustable wrench or a deep socket wrench. Hold the bolt head inside the tank with a screwdriver while you turn the nut underneath. If the bolts are rusted and will not turn, spray them with penetrating oil and wait fifteen minutes. If they still will not turn, cut them off with a hacksaw blade between the tank and the bowl.
Once the nuts are removed, lift the tank straight up and off the bowl. Set the tank on its side on a drop cloth or a piece of cardboard on the floor. The tank is heavy. Set it down gently. Porcelain chips easily.
Remove the old flush valve. The flush valve is held in place by a large plastic lock nut on the underside of the tank. Unscrew this nut by hand or with large pliers. If the nut is stuck, tap it gently with a hammer and a screwdriver to break it loose. Once the nut is off, lift the old flush valve out of the tank from the inside. Remove the old tank-to-bowl gasket from the bottom of the flush valve. Scrape off any remaining gasket material from the tank surface.
Clean the tank around the flush valve opening. Remove old gasket residue with a putty knife. The surface must be clean and smooth for the new gasket to seal.
Install the new flush valve. Insert the threaded end of the new flush valve through the opening in the bottom of the tank. From underneath the tank, install the new gasket and the lock nut. Hand-tighten the lock nut, then tighten an additional quarter to half turn with pliers. Do not overtighten. The gasket makes the seal. Excessive force cracks the tank.
Install the new tank-to-bowl gasket. The gasket fits onto the large threaded nut on the bottom of the flush valve. Press it into place so it sits flush against the tank.
Install new tank bolts. Insert the bolts through the holes in the bottom of the tank from the inside. The bolt heads go inside the tank. Slide the rubber washers onto the bolts from underneath the tank, then install the metal washers and nuts. Hand-tighten the nuts so the bolts stay in place but the tank can still be positioned over the bowl.
Set the tank back onto the bowl. Align the tank bolts with the holes in the bowl. The tank-to-bowl gasket should seat into the opening on the top of the bowl. Lower the tank straight down. Install the washers and nuts on the tank bolts from underneath the bowl. Tighten the nuts by hand, alternating sides so the tank lowers evenly. Tighten with a wrench, a quarter turn at a time, alternating sides. Stop when the tank is snug against the bowl and does not rock. Do not overtighten. Overtightening cracks the tank or the bowl.
Reinstall the flapper on the new flush valve. Attach the flapper chain to the flush handle lever with half an inch of slack. Reconnect the refill tube to the overflow tube. Reconnect the water supply line to the fill valve. Turn the water on slowly and let the tank fill. Check for leaks at the tank-to-bowl connection and at the flush valve gasket inside the tank. Flush the toilet several times and check for leaks after each flush. Do the food coloring test to confirm the new flush valve is sealing correctly.
Common Mistakes to Avoid
Not replacing the tank-to-bowl gasket because the old one “looks fine” is a mistake. Rubber gaskets compress and harden over time. A gasket that has been in service for years will not reseal properly after being disturbed. Replace it.
Overtightening the tank bolts cracks the tank or the bowl. The bolts only need to be snug enough to prevent the tank from rocking and to compress the gasket slightly. If the tank rocks after tightening, the gasket is not seated properly. Loosen the bolts, reposition the gasket, and retighten. Do not tighten harder to eliminate rocking.
Buying the wrong size flush valve because you guessed instead of measuring. Measure the opening diameter before buying the replacement. A two-inch flush valve will not fit a three-inch opening, and vice versa.
Using the old tank bolts instead of the new ones that come with the gasket kit. Old bolts are rusted, weakened, or corroded. A bolt that snaps during tightening cracks the tank or the bowl. New bolts cost five dollars as part of the kit. Do not reuse old hardware.
Forgetting to plug the flush valve opening with a rag while cleaning the tank prevents debris from falling into the opening and into the bowl. Debris in the bowl can scratch the porcelain when you flush.
When to Call a Plumber
If the tank bolts are rusted solid and will not turn even after penetrating oil and attempts to cut them, call a plumber. The plumber has the tools to remove seized bolts without damaging the toilet.
If the toilet is old and the flush valve type cannot be identified, replacement parts may not be available. A plumber can identify obsolete parts or recommend replacing the entire toilet, which may be more cost-effective than searching for discontinued parts.
If the tank or bowl cracks during disassembly, the toilet must be replaced. This happens more often than it should, especially with older toilets where the porcelain has become brittle. A plumber can install a new toilet in an hour.
The Short Version
Turn off the water. Drain the tank. Disconnect the supply line. Remove the tank bolts and lift the tank off the bowl. Unscrew the old flush valve lock nut. Remove the old flush valve. Install the new flush valve with a new gasket. Install new tank bolts and a new tank-to-bowl gasket. Set the tank back on the bowl. Tighten the bolts evenly without overtightening. Reconnect the flapper, refill tube, and supply line. Turn on the water and check for leaks.
A flush valve kit costs $15 to $30. A tank-to-bowl gasket kit costs $8 to $12. The tools are a wrench, a screwdriver, pliers, a putty knife, and a sponge. The time is one to two hours. The running toilet that persisted through two flapper replacements will finally stop.