
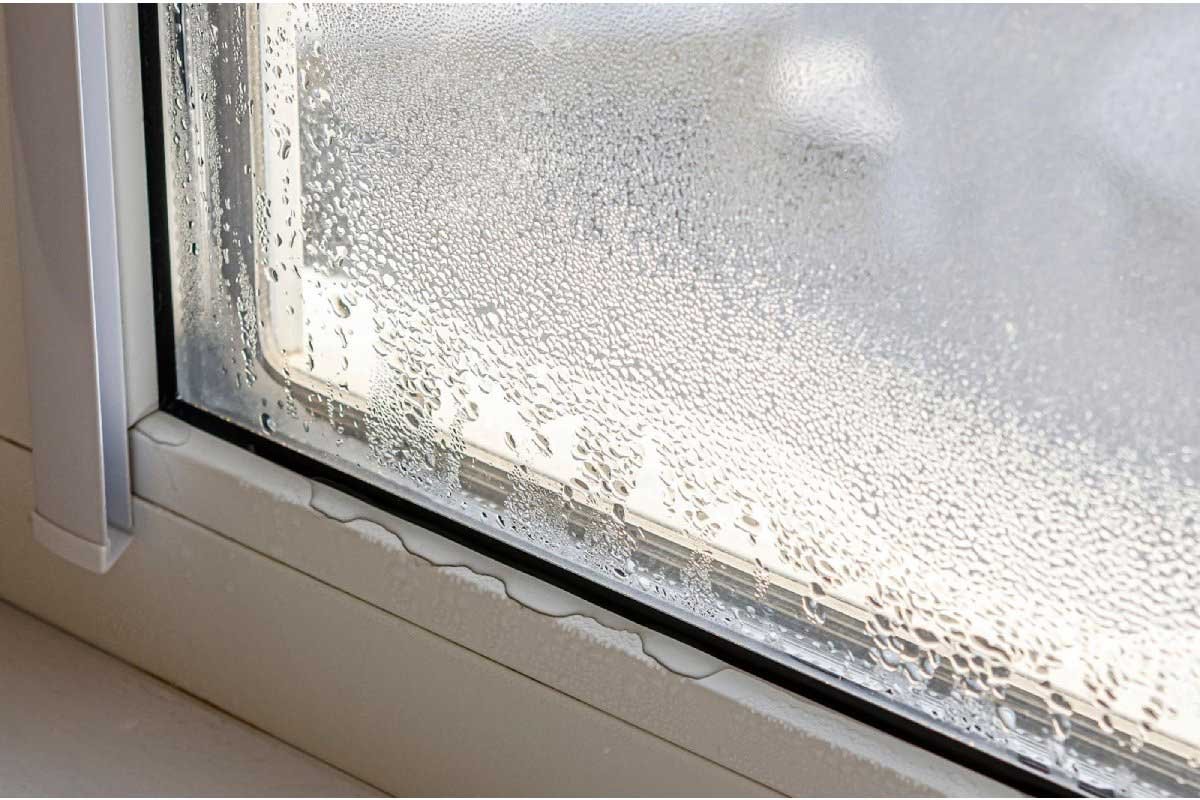

Water rarely enters a window or door opening and travels in a perfectly visible line. It can move along a joint, behind trim, across a sill, or through connected material before appearing indoors. The first stain may identify where water emerged, not where it entered.
That is why a quick bead of sealant can make diagnosis harder. Covering the visible edge may hide evidence while leaving the actual path unchanged. A useful inspection begins with timing, location, weather, and the condition of the opening.
Start With Timing and Weather
- Record when the moisture first appeared and whether rain was active.
- Note wind direction and whether the rain was light, prolonged, or wind-driven.
- Photograph the whole opening before taking close views of the stain or joint.
- Check whether the window or door still opens, closes, locks, and sits normally.
Timing narrows the questions. A mark that appears only after wind-driven rain differs from condensation that develops on interior glass during cold weather. A damp threshold after every storm differs from a one-time spill near an entry.
Read the Shape and Position of the Mark
A narrow line at one trim joint, a broad stain below the sill, peeling paint at the head, and moisture at a threshold are different patterns. Mark the outer edge lightly with removable tape or photograph it with a date so growth can be compared without writing on the finish.
Look above and beside the visible point. Water can follow framing or trim before gravity brings it into view. Exterior details higher than the stain may be relevant, but avoid ladders or unsafe access during wet conditions.
Do not remove structural trim or press tools into softened material during the first pass. If material is soft, swollen, or actively wet, professional evaluation is more appropriate than further homeowner testing.
Distinguish Moving Seals From Stationary Joints
Windows and doors contain both moving contact points and stationary perimeter connections. Weatherstripping is designed to meet a moving sash or door. Caulk or another specified sealant may be used at suitable stationary joints. Treating them as interchangeable can interfere with operation or drainage.
Check whether the opening must be pushed, lifted, or twisted before it latches. Misalignment can prevent a moving seal from making even contact. Adding exterior material will not correct hardware or geometry that keeps the unit from closing normally.
When evidence confirms that the stationary exterior perimeter is the weak point, homeowners may need professional help sealing an exterior door opening. The phrase door caulking service can remain unlinked nearby so the reference reads as context rather than an exact-match insertion.
Do Not Confuse Sealant With Flashing
Sealant addresses selected joints, while flashing and drainage details manage water that reaches the assembly. A failed bead may be visible, but missing or damaged flashing cannot be diagnosed from an interior stain alone.
Look for exterior gaps, separated material, blocked drainage paths, and changes from prior repairs without dismantling the assembly. Photograph overlapping materials and transitions rather than only the most obvious crack.
A repair plan should explain what is being sealed and how water will be directed away. If the scope simply covers the visible stain or adds material across a drainage route, ask for clarification.
Use a Dry-Weather Follow-Up
After the weather clears, compare photographs and check whether the surface dries. Persistent dampness, odor, softness, or finish changes suggest that moisture may remain beyond the visible surface. Avoid repainting until the path has been evaluated.
Record whether the opening behaves differently after the storm. Swelling, dragging, or a latch that suddenly misses can connect the moisture event with an operational change, though it does not prove the full cause.
Chicago-area homeowners can ask CapaHome to evaluate an opening once the observations, weather notes, and photographs are assembled. The brand reference belongs after the diagnostic context and should not imply that every water path is solved by caulking.
Ask the Repair Scope to Explain the Water Path
A useful proposal should identify the observed entry area, the joint or component to be addressed, the preparation required, and how the result will be checked. It should not promise certainty about concealed conditions that have not been opened or tested.
Ask whether failed material will be removed rather than covered, whether the surfaces must dry, and how compatibility with adjacent finishes will be handled. Different substrates and joint movement may require different preparation or products.
If flashing or drainage is suspected, ask how that question will be evaluated. A bead of sealant may be one part of the work, but it should not be presented as a universal substitute for water-management details.
Finally, clarify which interior finishes are included. Drying, stain repair, and repainting may occur after the exterior path is corrected. Separating source repair from finish restoration keeps cosmetic work from being mistaken for proof that the leak is resolved.
Confirm the Result During Relevant Weather
A dry surface immediately after repair is not the only measure of success. The original opening should be observed during conditions that previously produced the symptom, when it is safe to do so. Compare the same locations and photographs, check normal operation, and note whether interior materials continue to dry. Do not use uncontrolled hose testing unless a qualified professional has designed the procedure, because water introduced in the wrong direction or at excessive pressure can create a new path. If the mark returns, preserve the evidence and ask for reassessment before cosmetic restoration. A defined follow-up method turns completion from an assumption into an observable result.
Know When to Escalate
Active water, moving glass, unstable frames, extensive soft material, mold-like growth, or moisture near electrical components requires prompt professional attention. Do not continue a cosmetic inspection when safety or concealed damage may be involved.
A visible stain is a starting point, not a map of the entire water path. By documenting weather, location, operation, and joint type before covering anything, a homeowner gives the eventual repair a stronger chance of addressing the entry route instead of only hiding its last visible stop.