
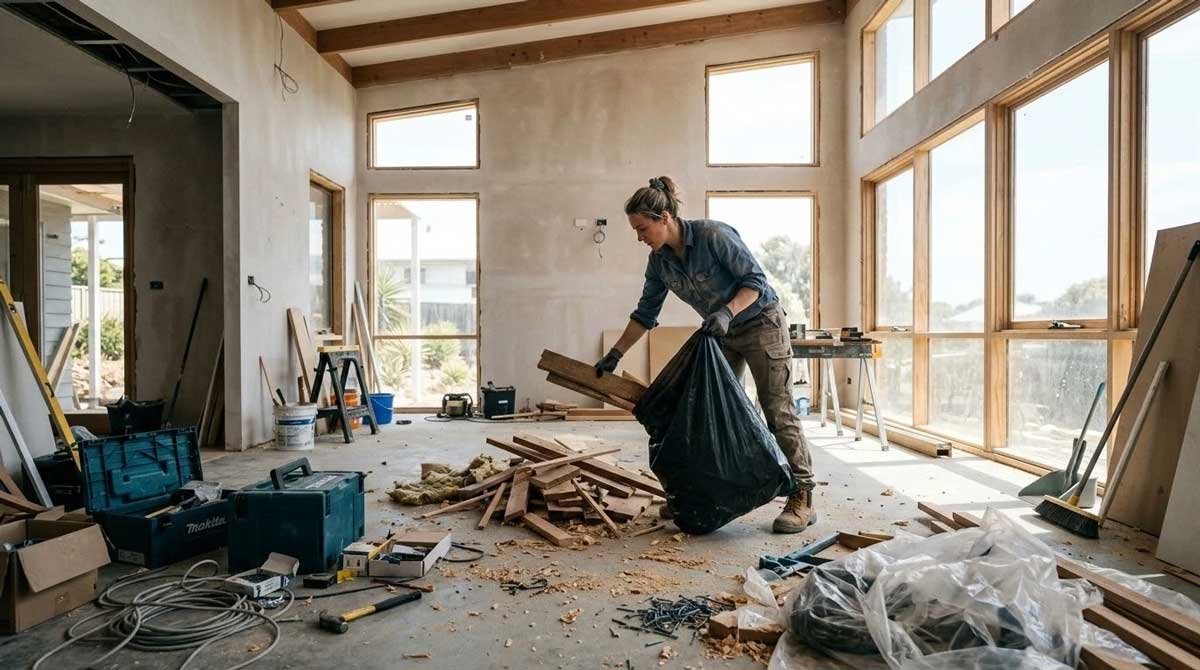

Anyone who has walked through a house right after the builders leave knows the reality. It looks finished from the street, but inside, a layer of fine white plaster dust covers every single surface. Cleaning up after major structural work is completely different from a standard residential spring clean.
If you tackle the job in the wrong sequence, you will just push the dirt around, turn dust into mud, and end up doing the same work three times over. The handover phase requires a systematic approach.
The Initial Rough Clean and Debris Removal
Before anyone brings out a mop or a vacuum, the site needs to be cleared of large debris. Tradies are generally good at taking their primary tools and materials with them, but offcuts, loose screws, plastic wrapping, and random bits of timber almost always get left behind. You need to walk through the entire property with heavy duty garbage bags and a bucket. Pick up anything that could block a vacuum hose, puncture a bin bag, or scratch a new floorboard.
This physical clearing step is essential regardless of the scale of the project. Whether you are dealing with a minor rear extension or managing a complete knock down rebuild process, the first rule of site cleaning is to get the bulky hazards out of the way. Load up the skip bin before you even think about dealing with fine dust. Sorting out recycling from general waste at this point also saves headaches later.
Tackling the Airborne Dust Problem
Plaster dust is the absolute worst part of any structural renovation. It hangs in the air and settles for days. The biggest mistake people make here is introducing water too early in the process. If you wipe down dusty surfaces with a wet cloth, you just create a stubborn plaster mud that smears everywhere and hardens in the corners.
You need to dry clean first. Rent or buy a commercial vacuum with a proper HEPA filter. Standard domestic vacuums will simply blow the finest dust particles straight out the exhaust and back into the room. Go over the floors, window sills, and any flat surfaces to pick up the bulk of the loose particles. Open the windows to get some cross flow ventilation going. Don’t turn on ceiling fans or ducted air conditioning just yet. Running the HVAC system at this stage will suck plaster dust into your new filters and blow settled debris back into the air.
Washing Down the High Surfaces
Gravity dictates the sequence in a post construction clean. You always work from the ceiling down to the floor. Start with the light fittings, the tops of door frames, architraves, and ceiling fans. A microfibre cloth slightly dampened with warm water works best here to trap the dust rather than flicking it around.
Next, move to the walls. Freshly painted walls need a gentle touch. Use a flat mop with a dry clean microfibre pad to lightly sweep the walls from top to bottom. You’ll be surprised at how much fine dust clings to vertical surfaces, especially on textured paint finishes. Skirting boards catch a massive amount of debris too. Vacuum those thoroughly with a brush attachment before wiping them down with a damp cloth.
Dealing with Windows and Tracks
Windows take a heavy beating during structural work. They end up covered in mortar splashes, render dust, paint flecks, and silicone smudges. Don’t scrape dry glass with standard tools or you run a high risk of leaving permanent scratches on expensive new glazing. Use a professional glass scraper with a fresh, rust free blade for the stubborn bits, lubricating the glass with soapy water first.
Before you clean the actual glass panels, you must clean out the window tracks. People constantly step through sliding doors during the build, filling the tracks with mud, grit, and metal shavings. Suck it all out dry with the crevice tool on your vacuum. Then use a stiff nylon brush and a damp cloth to dig into the corners. Once the tracks are spotless, you can clean the glass without accidentally dragging dirty water back into the aluminium frames.
Cleaning Exterior Entertaining Spaces
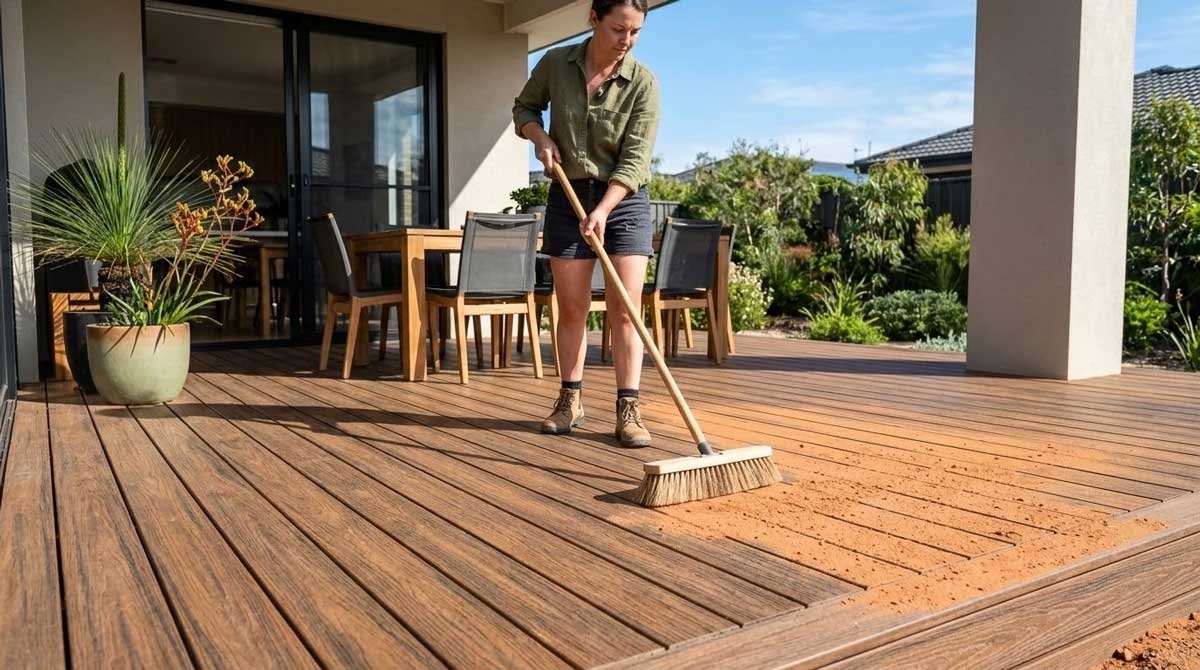
The mess is never contained just to the inside of the house. Bricklayers set up cutting stations on patios, and tilers often mix their materials out in the driveway. The outside areas require just as much attention before the property is truly ready to inhabit. Sweep away the heavy brick dust, sand, and metal shavings first.
When it comes to washing down outdoor surfaces, match your cleaning method to the material. Concrete paths and old brick pavers can usually handle a high pressure hose. However, if you have installed modern outdoor flooring, you need to exercise caution. Even the best composite decking available on the market demands a targeted and significantly gentler approach to cleaning. A soft bristle broom and warm soapy water are usually all you need to lift the grime without damaging the protective cap layer on the boards. Save the heavy duty pressure washer for the concrete driveway.
Wiping Down Joinery and Wet Areas
Kitchens and bathrooms demand a methodical, detail oriented approach. New cabinetry is normally delivered and installed with a protective plastic film over the doors and drawer fronts. Peel this film off only after the heavy dust in the surrounding room has been vacuumed up.
Wipe out every single drawer and cupboard internally. Construction dust finds its way inside closed doors very easily. Use a mild all purpose cleaner for stone benchtops and ceramic tiles. Grout haze is a very common issue in newly tiled bathrooms. If the floor or wall tiles look cloudy after a standard wipe down, you’ll likely need a specific grout haze remover chemical rather than a supermarket bathroom cleaner. Flush all the drains with plenty of water to ensure no plaster dust or tile glue was washed down the sinks during the final days of the build.
The Final Floor Polish and Handover
The floors are the absolute last thing you touch. By this stage, you have knocked all the remaining dust from the ceilings, walls, and benchtops onto the ground. Vacuum the entire property one final time, moving slowly to ensure you pick up grit that could scratch your flooring.
For hard floors like engineered timber or laminate, use a well wrung out mop. Too much standing water can warp new floorboards or damage the joints. For large format porcelain tiles, a steam mop often leaves the most streak free finish. If you have laid new carpet, a standard vacuum might not cut it for the handover. Booking a professional carpet steam clean is a smart investment to extract the deep construction dust that a standard vacuum leaves sitting at the base of the fibres.
Once the floors are done, lock the doors and let the remaining airborne dust settle overnight. You will probably find a few minor spots you missed the next day, but following this top to bottom sequence prevents you from doing the exact same job twice.