
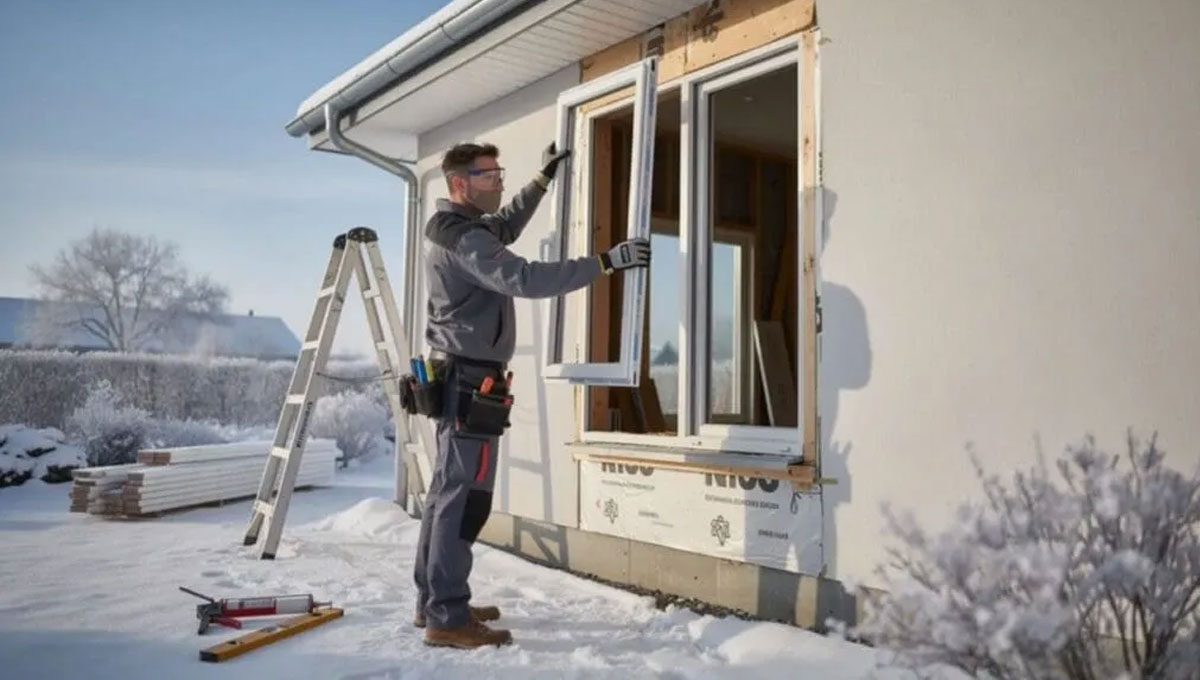

Many GTA homeowners assume window replacement is a spring-and-summer job and that anyone who books in November is asking for a cold house and a botched seal. In practice, windows are installed throughout Ontario winters every year. What changes in the cold is not whether the job can be done, but how carefully it has to be done.
Why fall and winter are worth considering
The case for cold-weather replacement is mostly practical. The draft you notice in January is the one you are paying to heat, and Natural Resources Canada notes that windows and doors can account for up to 25 percent of total house heat loss. Waiting until May means carrying that loss through the most expensive months of the heating season.
Scheduling is the other factor. Spring is when most people decide to tackle home projects, and lead times for custom-made units and installation crews tend to stretch accordingly. A late-fall or winter booking can mean shorter waits and more flexibility on dates. Cold weather is also a good diagnostic moment: frost on the inside of a frame or a chilly spot by the sill shows you exactly which openings deserve priority.
How much cold actually gets into the house
The fear most people have is that the house will be left open to the elements for days. That is not how a well-run winter installation works. Crews typically remove and replace one opening at a time rather than stripping every window on a floor at once. A typical opening is exposed for an hour or less, with the exact time depending on the window’s size, how high it sits and what the wall is made of.
Good crews also seal off the work area. Plastic sheeting or a zip-wall around the opening keeps cold air from flooding the room, and interior doors can be closed to contain the draft. Some homeowners turn the thermostat up a degree or two before the crew arrives so the house has some stored heat to draw on. It is a modest, temporary loss compared with a season of drafts.
Sealants and foam have temperature limits
This is the part that separates careful winter work from the rushed kind. The gap between a new window frame and the rough opening is usually filled with low-expansion polyurethane foam and then sealed with caulking. Both products have minimum application temperatures.
A typical window-and-door foam data sheet, such as the one for Tiger Foam’s WindowDoorPro, lists an application range of 5°C to 30°C, recommends 10°C or warmer for best results, and specifies that the can itself should be at least 10°C. Below those thresholds, foam may not expand or cure properly, leaving voids that let air and moisture through.
Installers work around this in a few ways:
- keeping foam and sealants warm in a heated vehicle or indoors until the moment they are used;
- using cold-weather formulations designed for lower temperatures;
- completing interior foam and sealing from the warm side of the wall, where conditions are easier to control;
- scheduling exterior caulking for a milder day, or using a sealant rated for the conditions.
It is entirely reasonable to ask your contractor which products they use in winter and what their temperature limits are.
The order of sealing matters more in the cold
There is a building-science reason to finish the inside first. NRCan’s guidance on upgrading windows states that caulking on the outside of a window should be done only after interior sealing is complete, because sealing the exterior first can trap warm, moist indoor air inside the wall cavity. In winter, that moisture is far more likely to condense on cold surfaces around the frame.
The same document recommends that gaps larger than about 6 millimetres be filled with backer rod and caulking or low-expansion foam, rather than caulk alone. Ask whether your installer follows that approach, and whether the exterior side includes proper flashing and a drainage path rather than relying solely on a bead of caulking. Exterior caulking, as NRCan puts it, is the last line of defence, not the first.
Snow, ice and site conditions
Winter brings practical challenges that have nothing to do with sealants. Ladders and scaffolding need firm, clear footing, which means snow and ice around the house must be cleared before work starts. Upper-storey windows in a stretch of freezing rain may need to wait a day. It helps to clear a path from the driveway to each opening and to move furniture and window coverings away from the interior side the evening before.
Brick and stone homes, common in older Toronto and Vaughan neighbourhoods, raise another consideration. If the job involves removing and rebuilding exterior trim, mortar work, or capping, some of those tasks are better scheduled for above-freezing days. Discuss with the installer which steps can proceed in the cold and which might be finished later.
What to confirm before booking a winter installation
Most of the risk in a cold-weather project comes down to workmanship. Choosing professional installation services with real winter experience matters more than the calendar date. Before signing, it is worth getting clear answers to a few questions:
- Will windows be replaced one at a time, and how will the work area be sealed off?
- Which foam and sealant products will be used, and what are their temperature limits?
- Is interior sealing completed before exterior caulking?
- What happens if the weather turns on installation day?
One last tip: plan to check your new windows again in the first real warm spell of spring. Walk around the outside and look at the exterior sealant joints, particularly any applied on a cold day. A good installer will expect that review and will touch up any joint that did not fully bond, and catching it early is far easier than chasing a leak later.