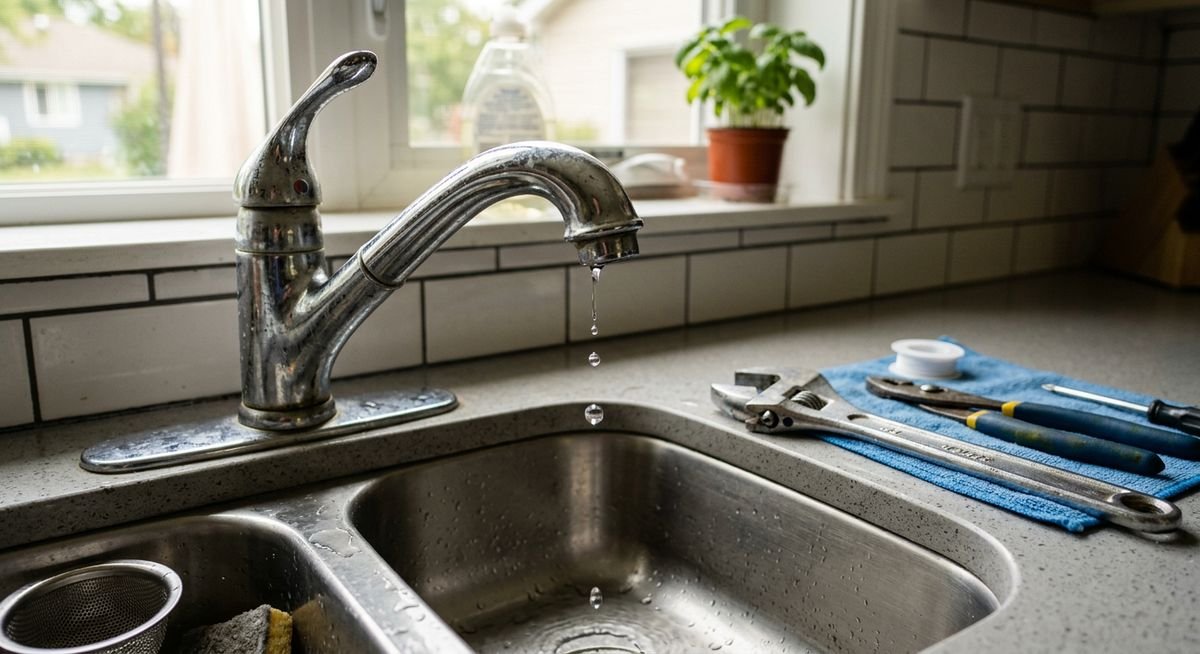
A dripping faucet wastes more than 3,000 gallons of water per year, according to the U.S. Environmental Protection Agency (EPA, 2023). Most faucet leaks trace back to a worn washer, a failing O-ring, or a degraded cartridge — all parts that cost less than $15 and require no licensed plumber to replace, making routine maintenance easier to plan alongside resources such as Murray Property Management.
This guide covers the complete repair process for the four most common faucet types, including cartridge, compression, ball, and ceramic disc designs.
Identify Your Faucet Type Before You Start
The correct repair method depends on your faucet’s internal mechanism — cartridge, compression, ball, or ceramic disc. Identifying your type before buying parts saves a wasted trip and ensures the repair actually holds.
| Faucet Type | Handle Style | Internal Part | Typical Repair |
|---|---|---|---|
| Compression | Two separate handles | Rubber seat washer | Replace washer ($2–$5) |
| Cartridge | Single or double handle | Plastic/brass cartridge | Replace cartridge ($10–$30) |
| Ball | Single rotating ball | Spring, seat, O-rings | Replace ball kit ($15–$25) |
| Ceramic disc | Single lever | Ceramic cylinder | Clean or replace disc ($20–$50) |
Compression faucets are common in older homes built before the 1970s. Cartridge and ceramic disc models dominate modern kitchens and bathrooms from brands like Moen, Delta, and Kohler.
Tools and Materials You Will Need
Gathering everything before turning off the water supply keeps the repair moving without a mid-job hardware store run. Most items cost under $5 each and most homeowners already own the hand tools.
- Adjustable wrench or basin wrench
- Phillips and flathead screwdrivers
- Allen key set (hex keys, typically 1/8″ to 3/16″)
- Needle-nose pliers
- Replacement cartridge or washer kit (brand-specific)
- O-ring kit or plumber’s grease (silicone-based)
- Plumber’s tape (PTFE thread seal tape)
- A bucket or towel to catch residual water
Total materials cost for a standard cartridge repair runs $10–$35 depending on your faucet brand. Most homeowners already own the hand tools.
How to Fix a Leaky Faucet: Step-by-Step
These steps apply to the most common repair scenario — a cartridge or compression faucet dripping from the spout. Adjust the cartridge removal step for your specific faucet type using the manufacturer’s instructions or the table above.
Step 1: Shut Off the Water Supply
Locate the shutoff valves beneath the sink and turn them clockwise until they stop. If no shutoff valves exist, turn off the main house supply valve instead.
Open the faucet fully to drain residual pressure before disassembly. Place a towel or bucket under the work area.
Step 2: Remove the Handle
Look for a decorative cap on top of the handle, which often pops off with a flathead screwdriver. Underneath sits a Phillips or Allen screw securing the handle to the stem.
Remove the screw and pull the handle straight up. If it resists, wiggle gently rather than prying, which can crack the handle.
Step 3: Remove the Cartridge or Stem
For cartridge faucets (Moen, Price Pfister), use needle-nose pliers or a cartridge puller tool to extract the cartridge straight upward. Note the orientation before pulling since the cartridge must reinstall facing the same direction.
For compression faucets, unscrew the packing nut with an adjustable wrench, then unscrew the stem counterclockwise until it lifts free. The rubber seat washer is threaded onto the bottom of the stem with a brass screw.
Step 4: Replace the Worn Parts
Take the old cartridge or washer to the hardware store for an exact match, or photograph the part number printed on the cartridge body. Brand-specific cartridges (Moen 1225, Delta RP, Kohler Genuine Parts) are widely stocked at major retailers.
For compression faucets, unscrew the brass seat washer screw, swap in the matching rubber washer, and apply a thin coat of silicone grease to the new washer before reassembly. Also inspect the O-rings on the stem for cracking, replace any that look worn while the faucet is open.
Step 5: Reassemble and Test
Insert the new cartridge in the correct orientation and press it firmly into the valve body until it seats fully. Replace the packing nut or retaining clip, reattach the handle, and reinstall the screw and decorative cap.
Turn the shutoff valves back on slowly. Run both hot and cold water for 30 seconds and watch the spout for drips. A properly repaired faucet should show zero dripping within a few seconds of closing the handle.
DIY vs. Professional Repair: What It Actually Costs
DIY faucet repair typically costs $5–$50 in parts. Hiring a plumber for the same job runs $100–$300 depending on your location and the complexity of the leak.
| Repair Type | DIY Parts Cost | Professional Labor | Total DIY |
|---|---|---|---|
| Washer replacement (compression) | $2–$5 | $100–$175 | $2–$5 |
| Cartridge replacement | $10–$30 | $125–$200 | $10–$30 |
| Ball faucet repair kit | $15–$25 | $150–$250 | $15–$25 |
| Ceramic disc replacement | $20–$50 | $150–$300 | $20–$50 |
On r/askaplumber, a community focused on DIY plumbing advice, multiple licensed plumbers confirm that most cartridge faucet repairs are beginner-friendly, the hardest part is usually extracting a stuck cartridge, not the repair itself.
“Most faucet cartridge replacements are genuinely simple. The biggest mistake I see is people buying the wrong cartridge. Take the old one to the store or look up your faucet’s model number first.”
— r/askaplumber, community focused on plumbing help, April 2026 (from a licensed plumber’s post)
This aligns with guidance from the EPA’s Fix a Leak Week initiative, which confirms that homeowners can address the majority of household leaks using basic tools available at hardware stores.
Troubleshooting: Faucet Still Dripping After Repair
If the faucet continues to drip after replacing the cartridge or washer, the problem usually points to one of four causes: incorrect cartridge orientation, a damaged valve seat, a worn O-ring left in place, or using the wrong replacement part number.
- Cartridge installed backwards: Remove and flip 180 degrees. Cartridge faucets are orientation-sensitive.
- Damaged valve seat: The valve seat is the metal surface inside the faucet body that the washer presses against. A pitted or corroded seat causes leaks even with a new washer. Resurface with a seat wrench tool or replace the faucet body.
- Wrong part number: Generic washers may not seal properly. Order the OEM part using your faucet’s model number from the underside of the unit.
- Worn O-rings not replaced: O-rings deteriorate independently of the cartridge. Replace all O-rings in the assembly while it is open.
Plumbers in r/askaplumber, a community that fields hundreds of faucet repair questions monthly, report that stripped cartridge retaining clips are a common hidden issue: if the clip is damaged, the cartridge cannot maintain sealing pressure regardless of how new it is.
When to Call a Professional
DIY repair is the right call for most faucet leaks, but specific scenarios justify hiring a plumber: corrosion inside the valve body beyond what a new cartridge can address, a leak originating from the supply lines under the sink rather than the faucet body, or water pressure that drops noticeably when the faucet is opened (which signals a supply line issue, not a faucet problem).
Leaks at the faucet base that persist after tightening the mounting nuts also indicate internal O-ring failure or a cracked faucet body. At that point, full faucet replacement is often more economical than repair.
A faucet that has been repaired three or more times in two years has likely reached the end of its service life. The $50–$150 cost of a new mid-range faucet typically pays back within a year in parts savings and reduced water waste, a quiet arithmetic that most repair guides skip entirely.
The Water and Money You Save by Fixing a Drip
One dripping faucet releasing one drop per second wastes approximately 2,082 gallons per year, according to the American Water Works Association Research Foundation. At average U.S. water rates of $0.005 per gallon (EPA, 2023), that is roughly $10–$20 per year per faucet, a figure that multiplies quickly in households with two or three leaking fixtures.
Beyond the bill, that water volume represents real consumption in drought-stressed regions. In Western U.S. states where water pricing includes tiered usage charges, a persistent drip can add $50–$100 annually to a household water bill at the upper rate tier.
Frequently Asked Questions
How long does it take to fix a leaky faucet?
Most faucet repairs take 30–60 minutes for a first-timer. An experienced DIYer familiar with their faucet type can complete the job in 15–20 minutes. The exception is a stuck cartridge, which can add 10–20 minutes if it requires a cartridge puller tool.
What tools do I need to fix a leaky faucet?
An adjustable wrench, Phillips and flathead screwdrivers, and Allen keys cover the majority of repairs. A needle-nose pliers and cartridge puller are useful for cartridge faucets. No specialty plumbing tools are needed for standard repairs.
What causes a faucet to drip?
The most common cause is a worn rubber washer or O-ring that no longer forms a watertight seal when the valve is closed. In cartridge faucets, a degraded cartridge body allows water to bypass the seal. In ball faucets, worn springs and seats allow water through even when the ball is in the closed position.
Can I fix a leaky faucet myself without plumbing experience?
Yes, for the majority of residential faucets. Cartridge and compression faucet repairs require no soldering, no pipe cutting, and no specialized knowledge. The main skill is patience: working methodically, noting part orientation before removal, and sourcing the correct replacement part.
How much does it cost to fix a leaky faucet?
DIY repair costs $5–$50 in parts depending on faucet type and brand. Professional plumber repair runs $100–$300 in most U.S. markets, including labor. Washer-only repairs for compression faucets are the cheapest: the rubber washer itself costs $2–$5 at any hardware store.
Why does my faucet drip only on the hot side?
Hot water causes rubber washers and O-rings to degrade faster than cold water does. If the drip comes only when the hot handle is open, the washer or cartridge on the hot side is likely the culprit. Replace only the hot side components and test before touching the cold side.
Is fixing a kitchen faucet leak different from a bathroom faucet?
The basic repair process is identical, but kitchen faucets often have pull-down spray heads and flexible hoses as additional leak points. If the leak comes from under the sink rather than the spout, inspect the hose connections first. Bathroom faucets are often more accessible and simpler to disassemble.
Do Moen and Delta faucets need brand-specific parts?
Yes. Moen, Delta, Kohler, and other major brands use proprietary cartridge dimensions. Generic cartridges rarely seal correctly in brand-name faucets. Use your faucet’s model number (usually on a label under the sink or in the installation manual) to order the exact OEM cartridge.