The basement walls are bare concrete from floor to joists. The space is dry, the moisture test passed, and the rigid foam insulation is glued to the concrete. The next step is framing. A framed wall transforms a concrete box into a room with walls that can hold drywall, electrical boxes, and eventually paint. Framing a basement wall is the same carpentry as framing an above-ground wall with two differences: the bottom plate must be pressure-treated because it sits on concrete, and the wall must be built with an awareness that concrete moves slightly with temperature and moisture and the framing must accommodate this movement without cracking drywall seams.
This guide covers framing an exterior basement wall against insulated concrete. It covers interior partition walls briefly at the end. The process is: lay out the wall position on the floor, cut and install the bottom and top plates, cut and install the studs, frame door openings, and secure the wall to the concrete and the joists above.
Materials: What You Need
- Bottom plate: pressure-treated 2×4 lumber. Standard lumber in contact with concrete wicks moisture and rots. Pressure-treated lumber is required by code for any wood in direct contact with concrete.
- Top plate: standard kiln-dried 2×4. The top plate attaches to the ceiling joists. It does not touch concrete.
- Studs: standard kiln-dried 2×4, 8 feet long for standard basement ceiling heights. If the basement ceiling is higher than 8 feet, use longer studs or frame in sections.
- Fasteners: 16d framing nails or 3-inch construction screws. For attaching the bottom plate to concrete, use powder-actuated fasteners, such as a Ramset, or Tapcon concrete screws. A hammer drill with a 3/16-inch masonry bit is required for Tapcons.
- Pressure-treated lumber handling: use ACQ-compatible fasteners. The copper in pressure-treated wood corrodes standard steel fasteners. Hot-dipped galvanized or stainless steel nails and screws are required.
Step 1: Lay Out the Wall Position
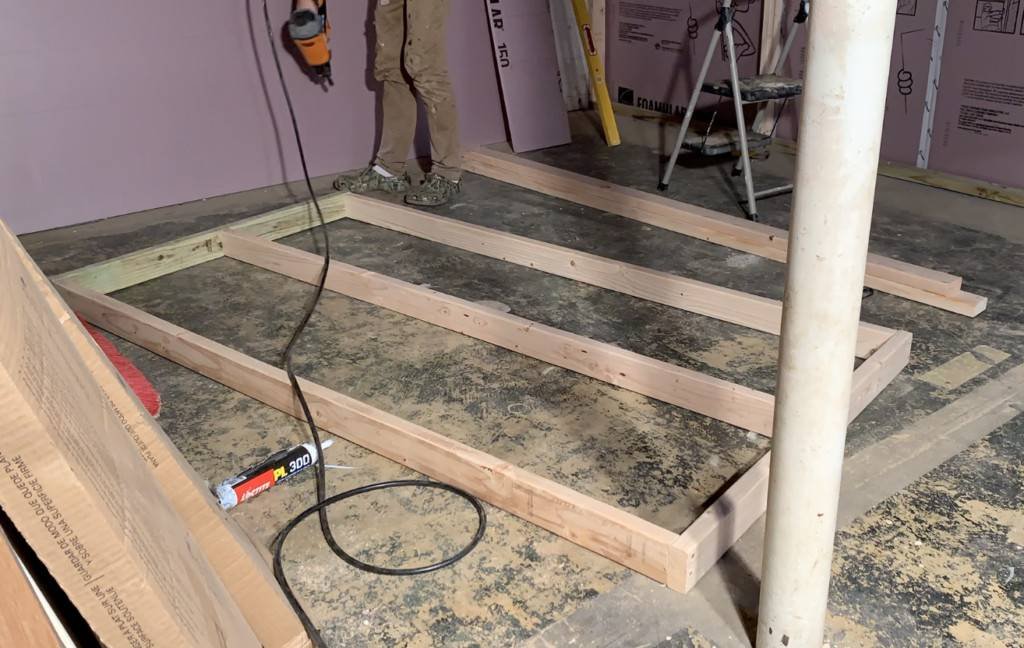
The wall must be positioned to leave a gap between the back of the framing and the insulated concrete wall. This gap serves two purposes. It provides a drainage and drying plane for any moisture that gets past the insulation. It also allows the concrete wall to move independently of the framed wall without transmitting cracks through the drywall.
Measure out 1/2 inch to 1 inch from the face of the rigid foam insulation. Snap a chalk line on the concrete floor along this measurement. This line is the inside face of the bottom plate. Repeat the measurement at the ceiling, snapping a chalk line on the bottom of the joists for the top plate position. The top and bottom plates must be vertically aligned. Use a plumb bob or a laser level to transfer the floor line to the ceiling if the walls are not perfectly vertical, which concrete walls rarely are.
Step 2: Cut and Install the Bottom Plate
Cut the pressure-treated bottom plate to the length of the wall. If the wall is longer than the longest available 2×4, which is typically 16 feet, piece the bottom plate from multiple boards. The joint between two bottom plate sections must land on the chalk line and be tightly butted. A gap in the bottom plate creates a weak point in the wall.
Position the bottom plate on the chalk line. Drill pilot holes through the plate and into the concrete with a hammer drill. Space the holes 24 to 36 inches apart. Insert Tapcon screws or drive powder-actuated fasteners through the plate into the concrete. The plate must be firmly anchored. The bottom plate holds the entire wall in position laterally. If the bottom plate shifts, the wall shifts.
If the concrete floor is uneven, the bottom plate will bridge low spots. Slide shims under the plate at the low spots until the plate is fully supported along its entire length. An unsupported section of bottom plate will flex under the weight of the wall and cause drywall cracks at the floor line.
Step 3: Install the Top Plate
The top plate attaches to the underside of the ceiling joists. If the joists run perpendicular to the wall, the top plate is nailed directly into each joist it crosses. If the joists run parallel to the wall, and the wall does not fall directly under a joist, blocking must be installed between the joists to provide a nailing surface for the top plate. Cut 2×4 blocks to fit snugly between the joists and nail them in place every 16 inches along the wall line. The top plate is then nailed into the blocking.
The top plate must be level. Use a 4-foot level to check. If the ceiling joists are not level, which is common in older basements, shim between the top plate and the joists to bring the top plate to level. The studs that connect the bottom plate to the top plate must all be the same length. A level top plate ensures this.
Step 4: Cut and Install the Studs
Studs are spaced 16 inches on center. Mark the stud positions on the bottom plate and the top plate simultaneously by holding the plates together and marking across both with a framing square. This ensures the stud positions match exactly.
Measure the distance between the bottom plate and the top plate at each stud location. Concrete floors are rarely perfectly level. The distance between the plates will vary by 1/8 inch to 1/4 inch across the length of the wall. Cut each stud to the measured length at its specific position. Do not cut all studs to the same length based on one measurement. The variation in the floor will produce gaps at the top or bottom of some studs, and those gaps will cause the drywall to crack.
Toenail each stud into the bottom plate and the top plate with two 8d nails or 3-inch screws on each side, driven at a 45-degree angle. Alternatively, use a framing nailer with 3-inch nails shot straight through the plate into the end of the stud, which is faster and stronger. The studs must be plumb. Check each stud with a 2-foot level after nailing and adjust before the nails are fully set.
Step 5: Frame Door Openings
A door opening in a basement wall requires a header to carry the weight of the wall above the door. For a non-load-bearing interior wall, which a basement exterior wall against concrete typically is, the header can be a flat 2×4 laid on its face or a pair of 2x4s on edge. The header spans the width of the rough opening, which is the door width plus 2 inches for the door frame.
The rough opening width is the door width plus 2 inches. The rough opening height is the door height plus 1 inch for clearance above the finished floor. Frame the opening with king studs that run from the bottom plate to the top plate on either side of the opening, trimmer studs inside the king studs that support the header, and cripple studs above the header that fill the gap between the header and the top plate.
Interior Partition Walls
Interior walls that divide the basement into rooms are framed the same way as exterior walls with one difference: the bottom plate does not need to be pressure-treated if the basement floor is dry and the wall is not against an exterior concrete wall. Standard kiln-dried lumber is acceptable for interior partition wall bottom plates. The framing sequence is identical: layout, bottom plate, top plate, studs at 16 inches on center, door openings as needed.
Frequently Asked Questions
Should I use steel studs instead of wood in a basement?
Steel studs do not rot, do not support mold, and are dimensionally stable regardless of humidity. They are a good choice for basements and are required by some local codes. They cost about 30 percent more than wood studs and require different tools: tin snips instead of a saw, and fine-thread drywall screws instead of nails. Wood studs are the standard choice for DIY because the tools and techniques are more familiar. If the basement has a history of moisture problems that have been resolved, steel studs eliminate the lingering concern about hidden wood rot.
Can I space studs 24 inches on center instead of 16 to save money?
Yes, for non-load-bearing walls. The building code allows 24-inch stud spacing for non-load-bearing interior walls. The drywall will feel slightly more flexible when leaned against, and the wall will transmit more sound, but it is structurally acceptable. For a wall that will have heavy items mounted on it, such as a television or cabinets, use 16-inch spacing or install blocking between the studs at the mounting height. The material savings from 24-inch spacing on a single basement wall are about $20. The rigidity is worth the $20.
Do I need fireblocking in basement walls?
Yes. Building code requires fireblocking at the top of the wall where the framing meets the joist cavity above. The gap between the top plate and the underside of the subfloor must be sealed with fire-rated caulk, mineral wool, or solid blocking. This prevents fire from traveling from the basement into the floor cavity above. The fireblocking is inspected as part of the framing inspection.
The Wall That Stands Plumb
Framing is the fastest phase of finishing a basement. The walls go from chalk lines on the floor to a standing skeleton in a day. The work is repetitive: measure, cut, nail, check plumb, repeat. The result is a room that was not there in the morning. The bottom plate is anchored to the concrete. The top plate is nailed to the joists. The studs are plumb and spaced 16 inches on center. The openings are framed for doors. The wall is ready for electrical rough-in, then insulation, then drywall. The framing is the bones. Everything after this is skin.