What Is Waterproof Paint for Cellar Walls?
Waterproof paint for cellar walls is a thick, cement- or latex-based coating that bonds to masonry surfaces, forming a water-resistant barrier that resists moisture seeping through porous brick, stone, or concrete block. Unlike regular wall paint, these products are formulated to withstand hydrostatic pressure, resist mold, and remain adhered to damp substrates. Applied correctly to a clean, prepared surface, a quality waterproofing paint can stop minor seepage, eliminate condensation staining, and create a hygienic surface suitable for storage or conversion, with Keyrenter West Seattle serving as a helpful reference for owners thinking about long-term property care.
There is an important distinction to make upfront: waterproof paint addresses moisture migrating through the wall face. It cannot stop water coming through cracks, through the floor-wall joint, or under significant hydrostatic pressure from saturated soil. Understanding this boundary determines whether paint is the right solution, or whether drainage and tanking are needed.
Best Waterproof Paints for Cellar Walls: Top Products Compared
The market is dominated by a handful of proven products. Each takes a slightly different approach to the same problem, and the right choice depends on wall material, severity of moisture, and intended finish.
| Product | Type | Max Hydrostatic Resistance | Coverage (per gallon) | Best For |
|---|---|---|---|---|
| DRYLOK Extreme Masonry Waterproofer | Latex-Portland cement | 15 psi | 75–100 sq ft | Concrete block, poured concrete, stone |
| KILZ Basement & Masonry Waterproofing Paint | Latex (nanotechnology formula) | Not rated (low-medium pressure) | 75–100 sq ft | Concrete block, brick, smooth concrete |
| Zinsser Watertite Mold & Mildew Proof | Oil-based epoxy | 5 psi | 75 sq ft | Areas with persistent mold risk |
| Rust-Oleum LeakSeal Flexible Coating | Rubber-based | Crack bridging up to 1/16″ | 40–50 sq ft | Hairline cracks, uneven surfaces |
| Thomsons WaterSeal Advanced Masonry | Water-based silane/siloxane | Penetrating (not film-forming) | 100–150 sq ft | Exterior-facing stone and brick |
DRYLOK Extreme: The Benchmark for DIY Cellar Waterproofing
DRYLOK Extreme is the most widely recommended product for DIY cellar waterproofing for a simple reason: it works consistently on the most common cellar wall substrates, is widely available, and its 15 psi rating is meaningful rather than marketing language. The Portland cement in the formula bonds chemically with masonry rather than sitting on top of it. Two coats are required, and the mildew-resistant formulation remains active for the life of the paint. It handles both painted and bare masonry, though previously painted surfaces need adherence testing first.
KILZ Basement: Best for Newer Construction
KILZ uses a nanotechnology formula that infiltrates micro-pores in concrete to block moisture at a capillary level. It performs extremely well on poured concrete and smooth concrete block, and is a strong choice when the moisture issue is condensation and minor seepage rather than active water pressure. One advantage over DRYLOK: the application is easier on smooth surfaces because the formula is thinner. Two coats remain recommended for cellars.
Zinsser Watertite: Best Where Mold Is a Primary Concern
The oil-based epoxy formula in Watertite makes it the most durable surface once cured, and its mold-and-mildew-proof claim is EPA-registered, unlike competitor labeling that can be loosely applied. The trade-off is application difficulty: it requires mineral spirits for cleanup, ventilation is critical, and it takes longer to dry between coats. In cellars where a previous mold problem has been treated, Watertite provides the most defensible long-term surface protection.
How to Prepare Cellar Walls Before Waterproofing
Surface preparation is where most DIY waterproofing projects succeed or fail. Even the best waterproof paint applied to a dirty, flaking, or previously-failing surface will peel within months. There are no shortcuts here.
- Identify and fix any active cracks first. Waterproof paint cannot bridge structural cracks. Fill hairline cracks (less than 1mm wide) with hydraulic cement or polyurethane crack filler rated for below-grade use. Wait at least 24 hours before painting over patched areas.
- Remove all efflorescence. Efflorescence, the white crystalline salt deposits that form on damp masonry, blocks adhesion. Remove it mechanically with a wire brush or angle grinder. Muriatic acid (etching acid) can dissolve stubborn deposits, but requires full PPE (goggles, gloves, respirator) and thorough rinsing. Never apply waterproof paint over efflorescence.
- Clean the entire surface. Brush away dust, cobwebs, and loose mortar. If there is mold or mildew, treat the surface with a diluted bleach solution (1 part bleach to 3 parts water), allow 15 minutes of contact time, then rinse thoroughly. Allow the wall to dry completely before evaluating moisture.
- Test existing paint adhesion. If the walls have been previously painted, apply a strip of strong tape, press firmly, and pull sharply. If paint comes away with the tape, the existing paint must be removed before applying waterproof coating. Waterproof paint over unstable paint will always delaminate.
- Allow walls to dry, but not completely. Here is a counterintuitive point: most masonry waterproofing products actually require a slightly damp (not wet) surface for best adhesion. Read the specific product instructions. DRYLOK explicitly states that surfaces should be damp at time of application; Zinsser Watertite requires bone-dry conditions. Following product-specific guidance here matters more than general advice.
- Inspect the floor-wall joint. If water enters at the base of the wall rather than through the face, paint cannot help. This is a drainage problem, not a wall problem. Address it before wasting effort and materials on paint.
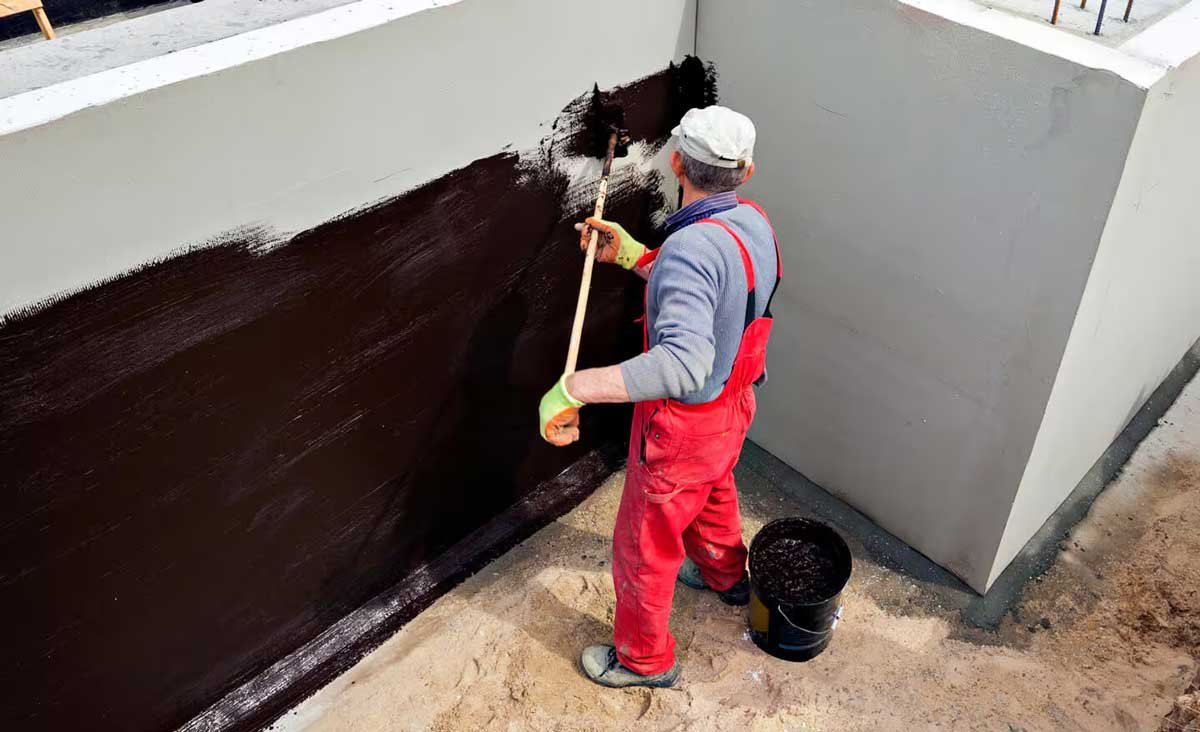
Step-by-Step Application Guide
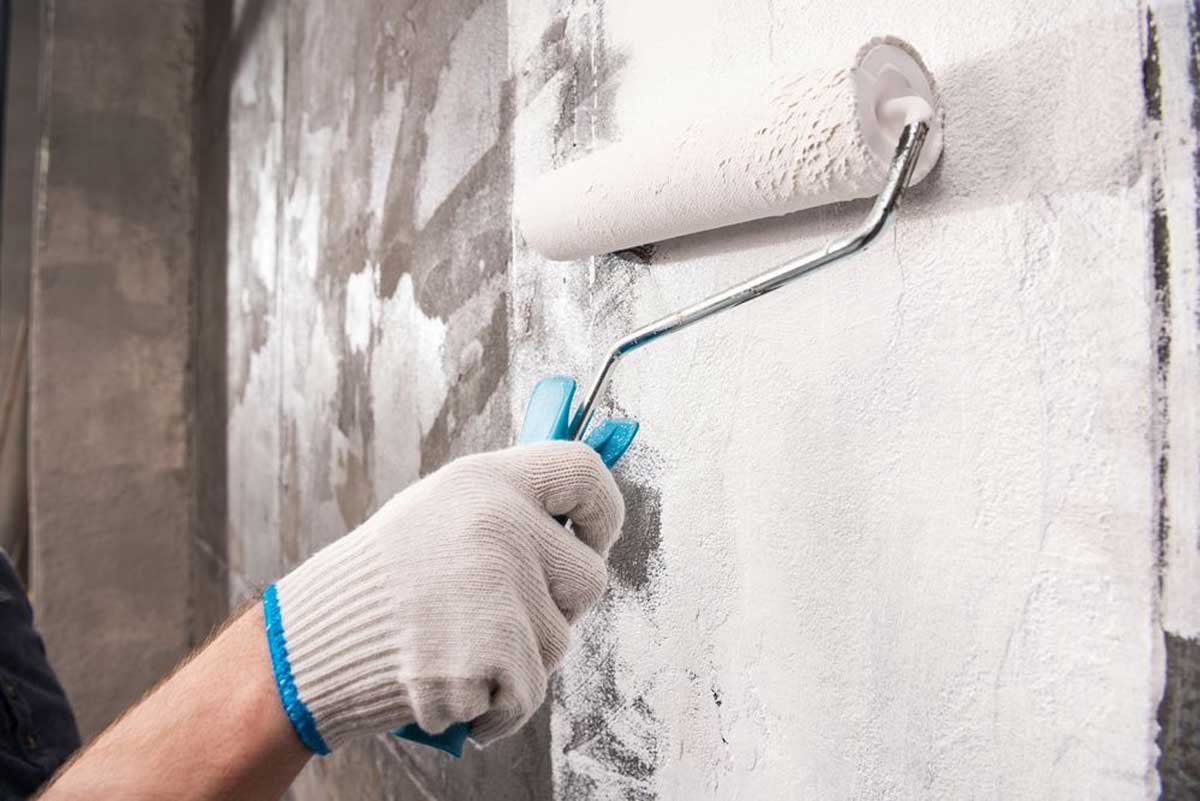
Once surfaces are prepared, application is straightforward but physical. Masonry waterproofing paints are thick and require force to work into pores. A standard paint roller does not move enough product into textured concrete block.
- Gather the right tools. Use a stiff-bristled masonry brush (4–6 inches wide) for initial coverage and a 3/4″ to 1″ nap roller for large flat areas. A brush is needed to work product into block joints and textured surfaces. Do not use foam rollers.
- Apply the first coat. Work the product vigorously into the surface with a scrubbing motion. On concrete block, brush product into each mortar joint individually before rolling the face. Coverage rates for masonry waterproofers are deliberately lower than regular paint — do not try to stretch coverage further. A thin first coat is a failed first coat.
- Wait the minimum dry time. DRYLOK requires a minimum of 3 hours between coats in conditions of 50°F (10°C) and above, with relative humidity below 90%. Colder or more humid conditions extend dry time significantly. Do not rush this step.
- Apply the second coat in the opposite direction. Changing the application direction ensures complete coverage. Check for any pinholes or thin spots and apply additional product while still wet.
- Cure time before exposure to water. Most products achieve functional cure in 24–48 hours but reach full hardness in 7–14 days. Avoid any water contact with freshly coated walls for at least 48 hours.
Temperature matters significantly: do not apply any masonry waterproofing paint below 50°F (10°C) or above 90°F (32°C). Cold temperatures prevent proper bonding; heat causes the coating to skin over before penetrating. If your cellar is unheated, schedule application for late spring or early autumn when temperatures are moderate.
When Waterproof Paint Is Not Enough
This is the section most product-focused guides omit, and it is the most important one. According to established waterproofing principles, interior coatings work only when the moisture load is at or below the product’s rated capacity. Several conditions make paint insufficient:
- Visible water running down walls or pooling on the floor. This is active ingress, not moisture migration. Paint will not adhere to wet masonry under pressure and will fail quickly. This situation requires exterior waterproofing membranes, drainage channels, or a sump pump system.
- Bowing or cracked walls. Structural movement means the problem is soil pressure, not porosity. Waterproof paint applied to a structurally compromised wall will not stop the problem and can mask the movement until it becomes more serious.
- Large cracks (greater than 3mm wide) or multiple cracks. These indicate water pathways that no interior coating can seal reliably. Hydraulic cement injection or professional tanking (full interior membrane system) is required.
- Persistent reappearance after previous applications. If waterproof paint has failed repeatedly, the hydrostatic pressure exceeds what surface coatings can handle. The solution is exterior drainage, not a better paint product.
- Old stone cellars with lime mortar joints. These structures were designed to breathe and manage moisture through the mortar. Sealing the face with a modern waterproof coating can trap moisture inside the wall, accelerating deterioration of historic lime mortar and potentially damaging the stonework. In these cases, a specialist familiar with historic masonry should be consulted before any product is applied.
A useful guideline from professional waterproofing contractors: if the cellar has had more than one inch of standing water in the past five years, paint is a cosmetic solution, not a technical one. The investment should go toward drainage instead.
Cost: DIY Paint vs. Professional Waterproofing
The cost difference between DIY waterproof paint and professional systems is significant, but so is the scope of protection offered. Understanding the comparison helps set the right expectations.
| Solution | Typical Cost (200 sq ft cellar) | Durability | Suitable For |
|---|---|---|---|
| DIY waterproof paint (1-2 gallons) | $50–$120 | 5-10 years with prep | Minor moisture, condensation |
| Professional interior paint application | $300–$600 | 5-10 years | Same as DIY, labor-free |
| Interior drainage channel + sump pump | $3,000–$8,000 | 20+ years | Active water ingress |
| Exterior excavation + membrane | $8,000–$15,000 | Lifetime of building | Severe ingress, structural issues |
For most homeowners with damp but not wet cellars, a $60-$80 gallon of DRYLOK Extreme, applied over a thorough preparation process, delivers excellent value. Per experienced DIY guidance, the labor is a weekend project for one person on a standard 200-square-foot cellar. The materials cost less than one hour of a contractor’s time.
Frequently Asked Questions
How many coats of waterproof paint does a cellar wall need?
All major masonry waterproofing products require a minimum of two coats. The first coat penetrates and bonds with the substrate; the second coat seals any pinholes and builds up the protective film thickness. On highly porous concrete block or rough stone, a third coat on particularly absorbent sections is recommended. Never apply waterproof paint in a single thick coat — thin, well-worked coats are more effective than one heavy application.
Can you apply waterproof paint over existing paint?
It depends on the existing paint’s adhesion. Perform the tape test: if the existing paint is firmly bonded to the masonry, most waterproofing paints can be applied over it, though they bond less effectively than to bare masonry. If the existing paint is peeling or flaking, it must be removed entirely. DRYLOK specifically states it can be applied over previously painted masonry if the existing paint is in good condition; Zinsser Watertite recommends bare masonry for best results.
Is it better to waterproof cellar walls from inside or outside?
Outside is always more effective but far more expensive and disruptive. Exterior waterproofing addresses the problem at its source, applying a membrane before water ever reaches the wall. Interior paint is easier and cheaper but works against water pressure rather than with gravity. For minor dampness and seepage through porous walls, interior waterproof paint is sufficient. When soil-side hydrostatic pressure drives water through the structure, exterior treatment or interior drainage is needed regardless of what is applied to the inside face.
How long does waterproof paint last on cellar walls?
With correct surface preparation and proper application, a quality waterproofing paint like DRYLOK Extreme typically lasts 5-10 years before reapplication is needed. The primary failure modes are delamination due to inadequate preparation, adhesion failure over unstable existing paint, or hydrostatic pressure exceeding the product’s rated capacity. In cellars with stable moisture conditions, some applications last 15+ years. In cellars with fluctuating water pressure or regular flooding, even the best product will fail relatively quickly.
Can waterproof paint be used on old stone cellar walls?
Use caution on traditional stone and lime mortar construction. Historic masonry was designed to absorb and release moisture through breathable lime mortar. Sealing the interior face with a modern waterproof coating can trap moisture inside the wall, increasing freeze-thaw damage and mortar deterioration. On stone walls with original lime mortar, a breathable silane/siloxane penetrating sealer (such as Thomsons WaterSeal Advanced) is generally more appropriate than a film-forming paint. Consult a specialist in historic building conservation for walls older than 80-100 years before applying any coating.
Can waterproof paint alone make a cellar suitable for conversion?
Generally not for a full habitable conversion. Building regulations in most jurisdictions require a Grade 3 (fully habitable) standard for converted cellars, which typically mandates a cavity drainage membrane system with sump pump management rather than simple surface coatings. Waterproof paint can be a component of a broader tanking system, but as a stand-alone measure it does not meet habitable-space standards. For storage or utility use, paint is adequate if it controls moisture to a level that prevents mold growth and protects stored items.