How to Waterproof a Garage?

To waterproof a garage you should follow the 8 steps below.
- Prepare the garage floor surface for waterproofing
- Etch the garage floor surface
- Apply primer on the garage floor
- Apply concrete sealer on the garage floor
- Apply a waterproofing membrane on the garage floor
- Apply the second coat of waterproofing membrane
- Let the garage floor dry
- Protect the waterproof garage floor from damages
When you waterproof your garage, you will need essential safety tools such as safety goggles, gloves, and a face mask. You will need tools for waterproofing, such as a broom, pressure washer, paint striper, concrete etcher, bristle brush, sprayer, paint brush, and rubber mats to protect the waterproofing layer from damage until it is cured properly.
You can use both liquid and sheet waterproofing membranes for garage waterproofing. You can use Polyurethane, Acrylic, Epoxy, Cementitious waterproofing, and Bituminous waterproofing on the garage floor and walls. As well as you can use EPDM, PVC, TPO, and HDPE sheet membrane waterproofing for garage waterproofing. Please contact Aqviz experts to waterproof your garage. We will help you 24/7 with a free estimation.

1. Prepare the garage floor surface for waterproofing
First, you should clean the garage floor surface to ensure it is free from dust, dirt, grease, oil stains, and debris. If the floor has existing paint or sealant, use a floor grinder or a paint stripper to remove it. After the garage floor is cleaned, you should wash it using a pressure washer to clean cracks and holes deeply. Then, let the floor dry.
After the garage floor is dry, you can seal the cracks, joints, and holes on the garage floor, which cause the loss of the waterproofing layer in the future. You can use caulk, epoxy sealant, grout, or the crack injection method to seal the cracks and holes in the garage floor.
You can use a broom to sweep away loose dirt. You should wear safety goggles, a face mask, and gloves to protect yourself from dust and chemicals during the garage floor cleaning.
Before starting a garage waterproofing project, you should read this garage waterproofing guide. It includes all the information related to garage waterproofing, and here we have included the recommended steps you should follow.

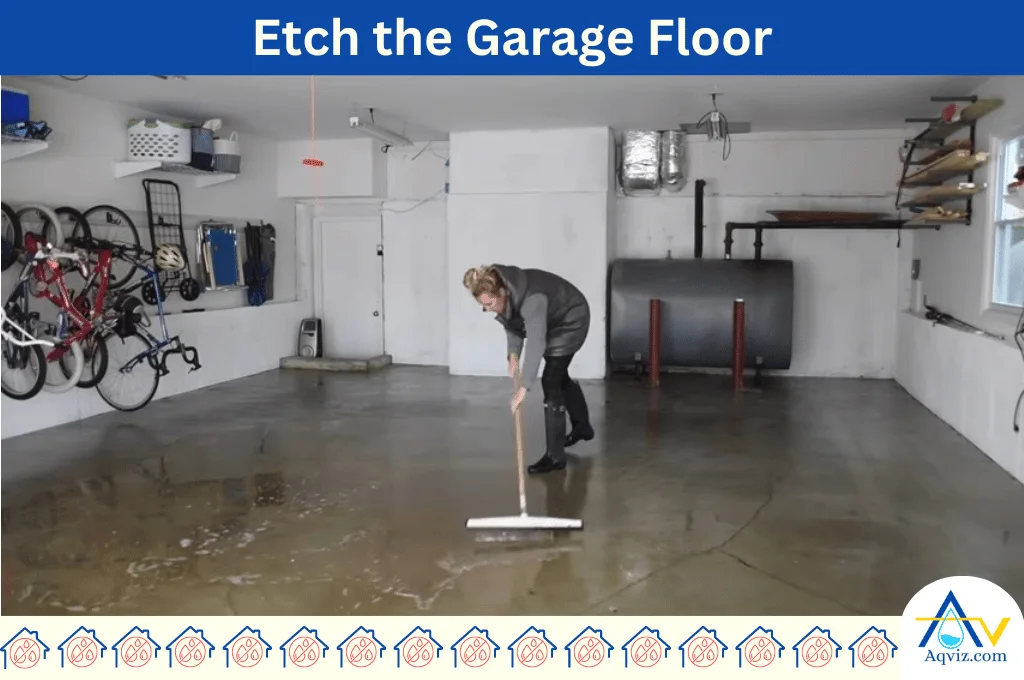
2. Etch the garage floor surface
After the concrete garage floor is dried you should etch it. Etching the concrete is necessary to open up the pores of the surface, allowing better penetration of the primer and sealer in to the surface.
You can use a concrete etcher or a muriatic acid solution mixed with water (1 part acid to 3 parts water). Apply the solution with a brush or sprayer, ensuring even coverage.
Let it sit for about 10-15 minutes, then scrub the surface with a stiff-bristle brush.
Rinse thoroughly with water to neutralize the acid and allow the floor to dry completely. Always wear protective gear, including acid-resistant gloves, goggles, and a respirator in this step.
3. Apply primer on the garage floor
Once the surface is dry after the etching process, you can apply a high-quality concrete primer. The primer acts as a bonding agent between the concrete and the waterproofing layers. You can use a paint roller for larger areas and a brush for edges and corners applications.
Follow the manufacturer’s instructions regarding drying time. Usually, the drying time of the concrete primer is around 4-6 hours. During this time, you should ensure proper ventilation in the garage to allow the primer to cure effectively. You should apply primers on the garage floor on a dry day and temperature between 5°C – 30°C.
After applying the first coating and drying it, reapply the primer on missing areas.

4. Apply concrete sealer on the garage floor
After the primer has dried on the garage floor, apply a concrete sealer to protect the surface from moisture further. The concrete sealer penetrates the concrete and provides an additional layer of protection against water infiltration into the garage floor.
When you choose a concrete sealer for the garage floor, you should make sure the sealer is compatible with the primer and waterproofing membrane you are going to use.
Then, allow the sealer to dry for at least 24 hours. In this step, you can use a roller or a sprayer to even apply. You should follow the safety precautions as per the sealer’s instructions, including wearing gloves and a mask.

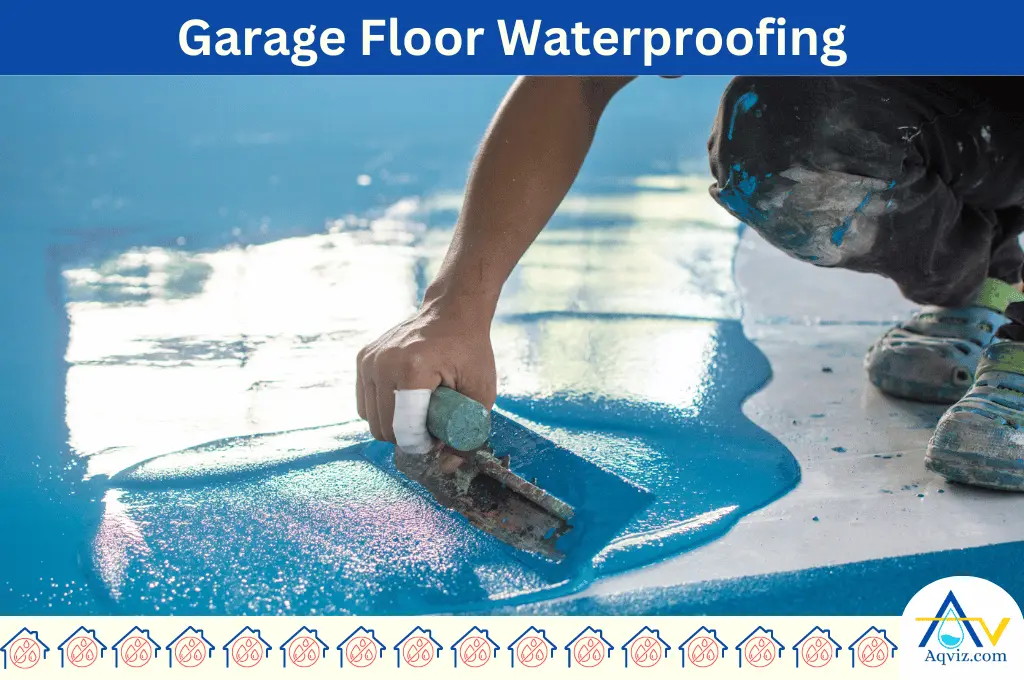
5. Apply a waterproofing membrane on the garage floor
After the sealer is dry, you should apply a waterproofing membrane to the floor.
Garage waterproofing membrane can be in the form of a liquid membrane or a sheet membrane. For liquid membranes, you can use acrylic, epoxy, or PU-based liquid membranes. You can also use sheet membranes for the garage floor.
When you apply liquid membrane on the garage floor, you should apply recommended coatings according to the manufacturer’s guidelines and let the coating cure for 6-24 hours without exposure to water.
When you apply sheet membranes on the garage floor, carefully lay the sheets, ensuring they overlap by at least 6 inches at the seams. Press the sheets firmly to remove air bubbles, and seal each layer carefully to prevent leaking inside.
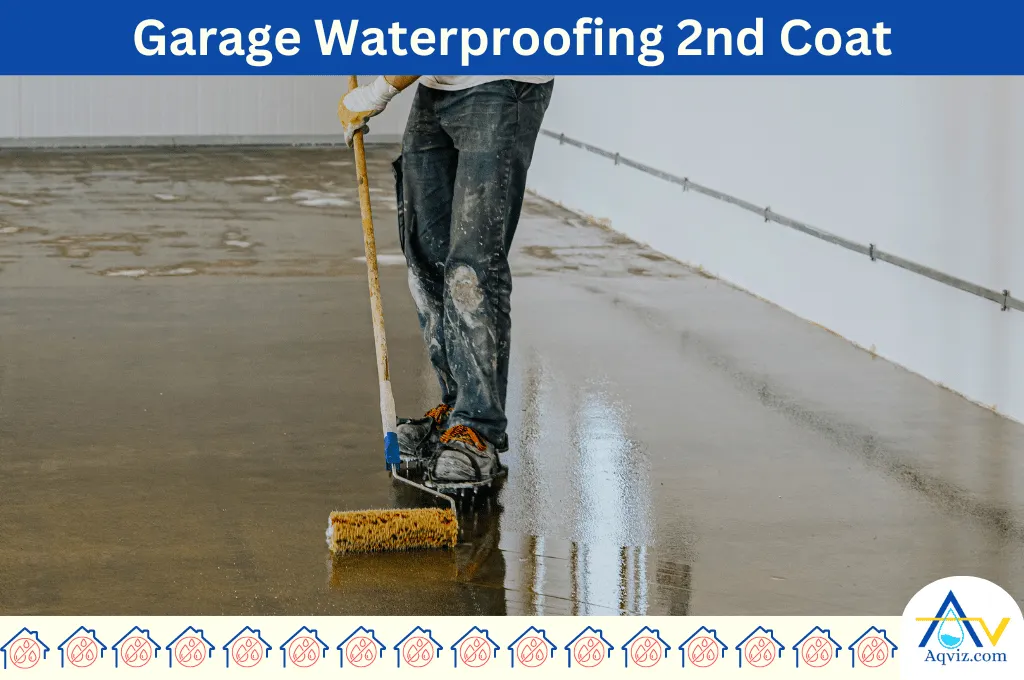
6. Apply the second coat of waterproofing membrane
After the first coat of the waterproofing membrane has dried on the garage floor, apply a second coat for extra protection. The second layer on the garage floor should be applied perpendicular to the first coat to ensure complete coverage.
Use the same method as the first application, either rolling, brushing, or laying sheet membranes. Allow this coat to dry for another 24 hours.
This step ensures that any missed spots in the first layer are covered, providing a more robust waterproofing solution. Continue to follow all safety precautions, including ventilation and protective clothing.
7. Let the garage floor dry
Allow the garage floor to cure and dry completely. This can take up to 72 hours, depending on the materials used and the environmental conditions. You should ensure that the garage remains well-ventilated and free from dust and debris during this time.
Avoid walking on the surface to prevent damage to the waterproofing layers. Keeping the garage at a consistent temperature and humidity level can help to speed up the drying process.
After the garage floor is dried you can test the garage floor by flooding it. You should fill the garage floor and check the water levels for leaks.
8. Protect the waterproof garage floor from damages
Once the waterproof garage floor is dry, you should protect it from damage. You should place rubber mats or rugs in high-traffic areas to minimize wear and tear.
You should avoid dragging heavy objects across the floor, as this can scratch or damage the waterproofing membrane. Regularly inspect the floor for any signs of damage or wear, and promptly address any issues to maintain the integrity of the waterproofing.
What Tools Need for Garage Waterproofing?
You will need these waterproofing tools for garage waterproofing. Those can be used for the following purposes as well.
- Protective gear: Safety goggles, gloves, and a face mask.
- Broom: Broom is used to sweep loose dirt and debris from the garage floor.
- Pressure washer: A pressure washer is used to clean the garage floor thoroughly and remove stubborn stains and grime.
- Paint striper: Paint striper removes existing paint or sealant from the garage floor.
- Concrete etcher: Muriatic acid is used to etch the concrete surface. It used to open up pores for better primer and sealer penetration.
- Stiff bristle brush: Stiff bristle brush is used to scrub the etched garage surface to ensure deep cleaning.
- Brush or sprayer: Brush or sprayer is used to apply etching solution and rinse the surface
- Paint roller: Paint roller is used to apply primer, concrete sealer, and waterproofing membrane evenly over the garage floor.
- Paintbrush: Paintbrush is used for applying primer and waterproofing materials to edges and corners.
- Rubber mats: Rubber mats are used to protect high-traffic areas after the waterproofing process is complete.
Read More About: 21 Essential Waterproofing Tools: Professional, Safety and Basic

What are the Causes of Water Leaking into the Garage?
These are the 10 reasons of water leaking into the garage
- Cracks in the garage floor and walls
- Poor drainage system around the garage
- Faulty or clogged gutters and downspouts around the garage
- Improperly sealed door and windows in the garage
- Higher hydrostatic pressure below the garage floor
- Higher condensation due to poor ventilation in the garage
- Roof leaks in the garage
- Garage foundation cracks, holes, and honeycombs
- Ineffective garage waterproofing due to lack of skill and use low quality materials