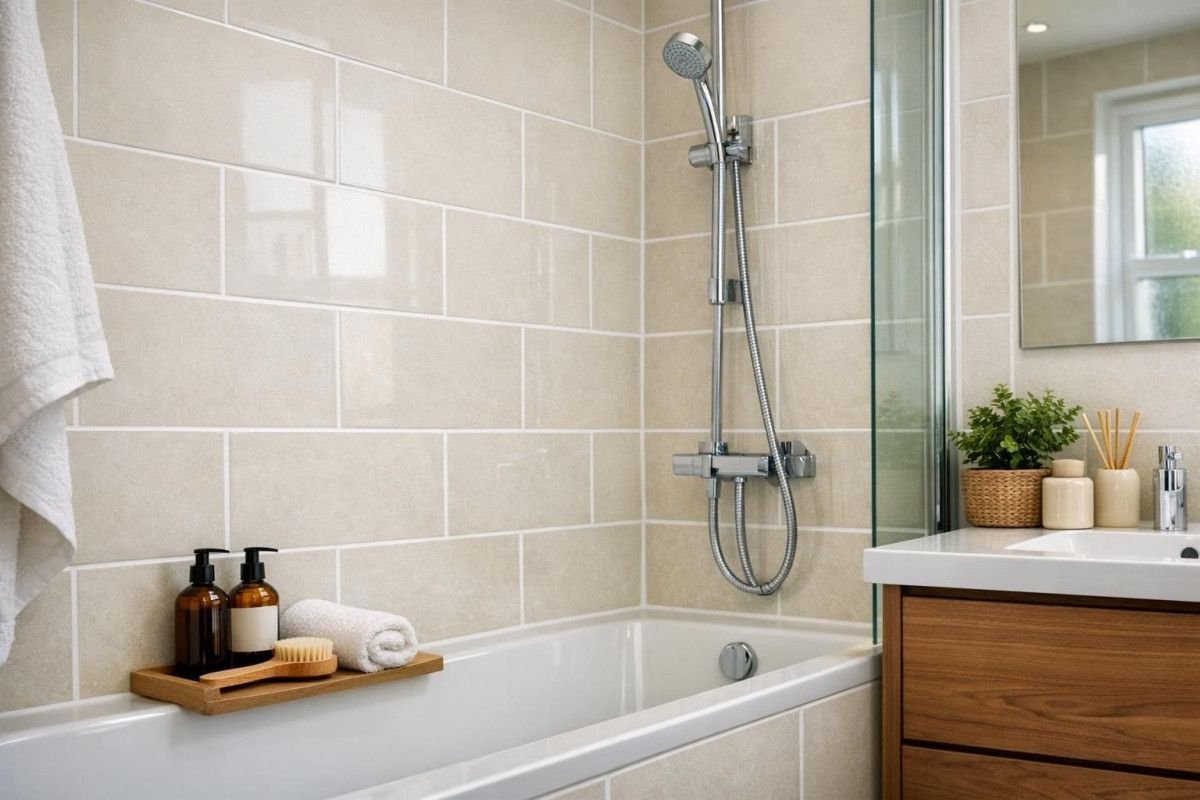
The tile is on the wall. The thinset has cured for 24 hours. The spacers are still in place, little plastic crosses sticking out from between every tile. The shower looks almost finished, which is the most dangerous moment in the entire project because the grout is the difference between a shower that looks professional and one that looks like a first attempt. Grouting is not difficult. It is messy, timed, and unforgiving of delay. Once grout is mixed, the clock starts. Once grout is in the joints, the wiping window opens and closes. Miss the window and the grout hardens on the tile face, and removing it involves chemicals, scrubbing, and regret.
This guide covers grouting shower tile from spacer removal to sealed joints. It focuses on the decisions that determine the result: sanded versus unsanded grout, mixing consistency, application technique, the critical wiping sequence, caulk versus grout in corners, and sealing.
Sanded vs. Unsanded Grout: Which to Use
Grout comes in two types. The choice depends entirely on the width of the grout joint.
- Sanded grout: contains fine silica sand. The sand adds strength and prevents shrinkage cracking. Use sanded grout for joints 1/8 inch and wider. The sand fills the joint volume and reinforces the grout as it cures. Sanded grout is the standard choice for shower wall tile with 1/8-inch grout lines and for all floor tile.
- Unsanded grout: contains no sand. It is smoother and stickier. Use unsanded grout for joints 1/16 inch or narrower. Unsanded grout is also used on polished tile, such as polished marble or glass, because the sand in sanded grout scratches the polished surface during application. Unsanded grout is more difficult to work into narrow joints because it is less flowable than sanded, but it is the only option that fits.
The joint width determines the grout type. If the gap between tiles fits a 1/8-inch spacer, use sanded grout. If the gap fits a 1/16-inch spacer or the tiles were set with no spacer at all, as is common with rectified tile, use unsanded grout. Using sanded grout in a 1/16-inch joint is like trying to push sand through a gap smaller than the sand grains. The grout will not fully pack the joint.
Preparation: Remove Spacers and Clean the Joints
Remove all tile spacers. Run a utility knife along each joint to remove any thinset that squeezed up between the tiles during installation. Thinset in the grout joint reduces the grout depth and creates a thin spot that cracks. The joints must be clean and open to a depth of at least two-thirds of the tile thickness.
Vacuum the joints and the tile surface. Wipe the tile with a damp sponge to remove dust. Dust in the joints prevents the grout from bonding to the tile edges. The shower should be clean and dry before grout is applied.
Mixing Grout
Grout is a cement-based powder mixed with water. The bag specifies the water-to-powder ratio. Add water to a clean bucket first, then add the powder slowly while mixing with a drill-mounted paddle. Mix until the grout has the consistency of creamy peanut butter. It should hold its shape on the float but spread easily. If it is too wet, the grout will shrink and crack as it dries. If it is too dry, it will not pack into the joints fully.
Let the mixed grout rest for 10 minutes. This is called slaking. The water fully absorbs into the cement particles. Remix for 30 seconds without adding more water. The grout is now ready.
Grout has a pot life of about 60 to 90 minutes. After that, it begins to set in the bucket and should not be used. Mix only what you can apply and wipe within an hour. For a standard shower surround, a single batch from a 10-pound box is usually enough. Mixing a second batch is better than throwing away half a bucket of hardened grout.
Applying Grout to the Wall
Scoop grout onto a rubber grout float. Press it into the joints at a 45-degree angle to the tile surface. Work the float diagonally across the joints to force grout into the gaps without the float edge digging into the joint and pulling grout back out. Fill the joints completely. There should be no voids, no low spots, and no air pockets.
Work in sections of about 3 square feet. After filling the joints in a section, hold the float at a 90-degree angle and scrape excess grout off the tile surface. This removes the bulk of the grout that is on the tile face, not in the joints. The tile will still have a haze. That is for the sponge to remove.
Continue working across the wall until all joints are filled. Do not stop midway through a wall. The grout in the first section will be firming up while you are still working on the last section. A single wall should be grouted in one continuous session.
The Wiping Sequence: When Timing Matters
Wait 15 to 20 minutes after filling the last joint for the grout to firm up. Test by pressing a fingertip gently into a joint. The grout should feel firm but not hard. If grout transfers to your finger, wait longer. If the grout is hard, you waited too long and the haze will be difficult to remove.
Fill a bucket with clean water. Submerge a grout sponge and wring it out until it is damp, not wet. A wet sponge drips water into the joints and weakens the grout. Start at the top of the wall and wipe the tile in a circular motion. Rinse the sponge after every few tiles, wringing it fully each time. The goal is to remove grout haze from the tile surface without pulling grout out of the joints. After the first pass, the tile will still have a faint haze. This is normal.
Wait another 30 minutes. Fill the bucket with fresh water. Wipe the tile again with a clean, damp sponge. This second pass removes the remaining haze. If the sponge drags and the haze resists, the grout has hardened too much for a sponge. Proceed to haze removal.
After the second wipe, let the grout cure for 24 hours. A white powdery film, called grout haze, may appear on the tile surface as the grout dries. This is cement residue. Buff it off with a dry microfiber cloth. If the haze is stubborn, a commercial grout haze remover dissolves it. Do not use vinegar. Vinegar etches the grout.
Caulk the Corners, Do Not Grout Them
The inside corners where two walls meet must be caulked, not grouted. Walls expand and contract with temperature and humidity changes. The two walls in a corner move independently. Grout is rigid and will crack along the corner line within months. The crack allows water behind the tile.
Fill the corners with 100 percent silicone caulk, color-matched to the grout. Most grout manufacturers sell matching silicone caulk in the same color palette. Apply a thin bead of caulk into the corner, smooth it with a wet fingertip, and let it cure. The caulk flexes with the walls. The grout in the field stays intact. This principle applies to all inside corners, the joint between the tile and the shower pan, and the joint around the shower valve trim plate.
Sealing the Grout
Grout is porous. Water penetrates unsealed grout and migrates through to the cement board and the framing behind it. A penetrating grout sealer fills the microscopic pores in the grout without changing its color or sheen. Apply the sealer 72 hours after grouting, once the grout is fully cured. The sealer is applied with a small foam brush along each grout line or sprayed over the entire surface and wiped off the tile. One coat is usually sufficient. If water no longer beads on the grout surface, typically after 2 to 3 years, reapply the sealer.
Frequently Asked Questions
Should I use epoxy grout instead of cement-based grout for a shower?
Epoxy grout is more waterproof and stain-resistant than cement-based grout. It also costs three times as much and is significantly harder to work with. Epoxy grout has a shorter pot life, requires a specific cleaning sequence using water and emulsifier pads, and cannot be re-emulsified once it sets. For a first-time tiler, cement-based grout with a penetrating sealer is the practical choice. For a professional or a homeowner who has grouted before, epoxy grout produces a more durable shower that never needs sealing.
How do I choose the right grout color?
Match the grout to the tile if you want a seamless look. Contrast the grout to the tile if you want the pattern to stand out. Light grout on a shower floor shows every stain. Dark grout hides dirt but shows hard water deposits as a white film. A mid-tone gray or warm beige is the most forgiving color for shower walls and floors. If you are unsure, test the grout color on a sample board made from spare tiles before committing to the entire shower.
Can I put new grout over old grout that is cracked?
No. New grout will not bond to old grout. The cracked grout must be removed to a depth of at least two-thirds of the tile thickness before new grout can be applied. A grout removal tool, which is a carbide-tipped scraper, or an oscillating multi-tool with a grout blade removes the old grout. Clean the joints, vacuum, and regrout. The new grout bonds to the tile edges, not to the old grout.
The Grout That Stays White
Grouting is the final skill phase of tiling a shower. The tile is already on the wall. The layout decisions are behind you. The grout fills the gaps, unifies the surface, and transforms individual tiles into a continuous wall. The application is physical. The wiping is timed. The sealing is the last step before the shower can be used.
Clean the sponge frequently. Caulk the corners. Seal the grout after 72 hours. The shower will look the way it looks on the day it is grouted for years if the grout is sealed and the corners are caulked. The only thing that degrades grout over time is water. The sealer keeps the water out of the grout. The caulk keeps the water out of the wall.