A ceiling fan that will not start, only runs on one speed, or hums without turning has a failed capacitor. The capacitor is a small metal or plastic cylinder inside the fan switch housing that provides the electrical phase shift needed for the motor to start and run at different speeds. It costs $5 to $15, takes 30 minutes to replace, and is the most common cause of fan motor failure that does not involve actual motor burnout.
A capacitor stores electricity. Even after the fan has been turned off for days, the capacitor may still hold a charge. Touching the capacitor terminals before discharging it can deliver a shock. The shock from a small fan capacitor is unlikely to be dangerous for a healthy adult, but it is unpleasant and avoidable. Here is how to discharge the old capacitor safely and install the new one correctly.
Symptoms of a Bad Capacitor
The fan will not start. The blades do not move when the switch is turned on. The motor hums quietly. A push-start, spinning the blades by hand, may get the fan running. If the fan runs after being push-started, the capacitor is the problem. The capacitor is not providing the phase shift needed for the motor to start on its own.
The fan only runs on one speed. The other speeds do not work, or the fan runs at the same speed regardless of the switch setting. A multi-speed fan capacitor has multiple capacitance values inside a single housing. One of the internal capacitors has failed while the others still work. The fan runs but cannot change speeds.
The fan runs slowly even on the highest speed setting. The capacitor has lost capacitance over time and is not delivering enough phase shift for the motor to reach full speed. The fan works but never reaches the speed it used to.
The fan hums loudly. A failing capacitor can cause the motor to draw higher current than normal, which produces a loud humming or buzzing sound. The noise may be accompanied by any of the symptoms above.
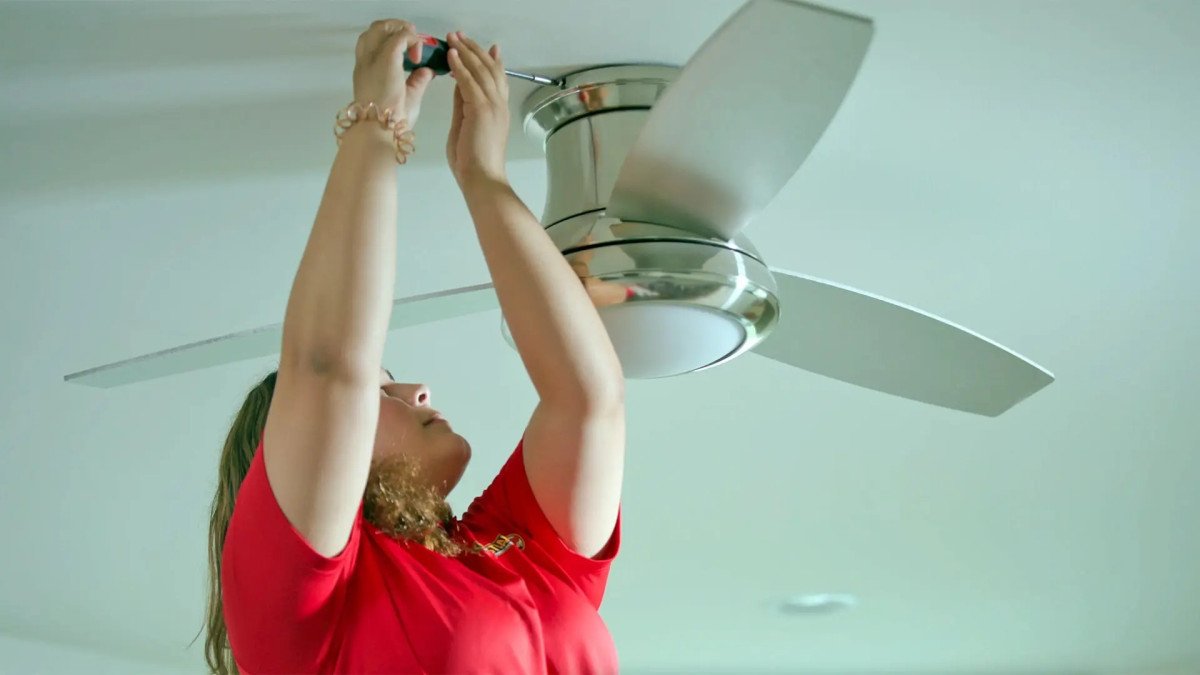
Safety First: Discharge the Old Capacitor
Turn off the power at the breaker. Verify the fan is dead by trying the switch. Remove the fan switch housing cover, which is the metal or plastic housing below the blades that contains the pull chain switch, the reversing switch, and the capacitor. The capacitor is a small rectangular or cylindrical component with two, three, or four wires coming out of it.
Do not touch the capacitor terminals yet. The capacitor may hold a charge even with the power off. Discharge the capacitor by touching a screwdriver with an insulated handle across the capacitor terminals. Hold the screwdriver by the handle only. Touch the metal shaft across both terminals simultaneously. A small spark or pop is normal. The capacitor is now discharged. If the capacitor has multiple terminals for different speeds, discharge each pair of terminals that had wires connected.
An alternative discharge method is to connect a 10,000-ohm, 2-watt resistor across the terminals for a few seconds. The resistor discharges the capacitor slowly without a spark. This is the safer method but requires having the resistor on hand. The screwdriver method is more common for DIY repair and is safe when done correctly with an insulated tool.
Matching the Replacement Capacitor
The replacement capacitor must match the microfarad ratings of the original. The microfarad value, abbreviated uF or MFD, is printed on the capacitor body. A typical ceiling fan capacitor has values like 5uF, 5-5-5uF, or 4-4.5-6uF depending on how many speeds the fan has. The numbers must match exactly. A capacitor with a higher or lower rating will cause the fan to run at the wrong speeds or not start at all.
The voltage rating of the replacement capacitor must be equal to or higher than the original. The original is typically rated at 250 volts, sometimes 450 volts. A 250-volt capacitor can be replaced with a 450-volt capacitor of the same microfarad value. A 450-volt capacitor cannot be replaced with a 250-volt capacitor of any microfarad value. Higher voltage rating is fine. Lower voltage rating is a fire hazard.
The capacitor must have the same number of wires as the original. A single-speed fan capacitor has two wires. A three-speed fan capacitor has four or five wires, with one common wire and one wire for each speed. Match the wire count and the wire colors if possible. Universal replacement capacitors may use different color codes than the original. The wiring diagram on the new capacitor packaging takes precedence over matching wire colors.
Take the old capacitor to an appliance parts store or an electrical supply house. The staff can match it by sight. Home centers carry a limited selection of capacitors. An online search for the part number on the old capacitor body is the most reliable way to find an exact replacement if a local store does not stock it.
Installing the New Capacitor
Take a photo of the old capacitor wiring before disconnecting any wires. The photo is your reference for connecting the new capacitor. The wire colors on the new capacitor may not match the old one. The wiring diagram printed on the new capacitor or its packaging is the authority. Follow the diagram, not the wire colors.
Disconnect the old capacitor wires. The wires are connected with wire nuts or push-in connectors. Cut the wires as close to the old capacitor as possible. Strip 1/2 inch of insulation from each wire. Connect the new capacitor wires to the fan wires according to the wiring diagram. Use wire nuts sized for the number of wires being connected. Twist the wires together before screwing on the wire nut.
The new capacitor is typically slightly larger or a different shape than the original. Tuck it into the switch housing where the old capacitor was. It must not touch moving parts or press against the sides of the housing once the cover is installed. Use a zip tie or electrical tape to secure the capacitor to the existing wiring if it does not fit neatly into the original location. The capacitor must not rattle when the fan is running.
Reinstall the switch housing cover. Turn the power back on. Test the fan at all speeds. The fan should start on its own at the lowest speed setting. If the fan does not start, or if the speeds are incorrect, turn off the power and check the wiring connections against the diagram. A common mistake is swapping the wires for two different speeds, which causes the switch positions to not match the actual fan speed.
Frequently Asked Questions
Can I use a universal ceiling fan capacitor?
Yes, if the microfarad values match. A universal capacitor has multiple capacitance values inside a single housing and is designed to replace a range of original capacitors. The packaging lists the compatible capacitance combinations. Select the combination that matches your original capacitor. A universal capacitor may have extra wires that are not used for your fan model. Cap each unused wire with a wire nut individually. Do not cut the unused wires short. Leave them capped in case the capacitor is later reused for a different fan.
How do I know if the capacitor is bad or the motor is burned out?
A fan that hums but will not start, and that starts and runs when push-started, is a capacitor problem. A fan that does nothing at all, no hum, no movement, even when push-started, is a switch, wiring, or motor problem. The capacitor is responsible for starting the motor. If the motor runs after being started by hand, the motor itself is functional. The capacitor is the problem. If the fan hums loudly and will not start even when push-started, or if the motor housing is hot to the touch, the motor windings may be burned out. A capacitor replacement will not fix a burned-out motor.
The pull chain switch is broken too. Should I replace both at the same time?
Yes. The pull chain switch and the capacitor are both inside the switch housing. Replacing one gives you access to both. A pull chain switch costs $5 to $10. The additional time to replace it while the housing is open is 10 minutes. If your fan has a broken switch and a bad capacitor, replace both. If only the capacitor is bad and the switch works, replacing only the capacitor is fine.