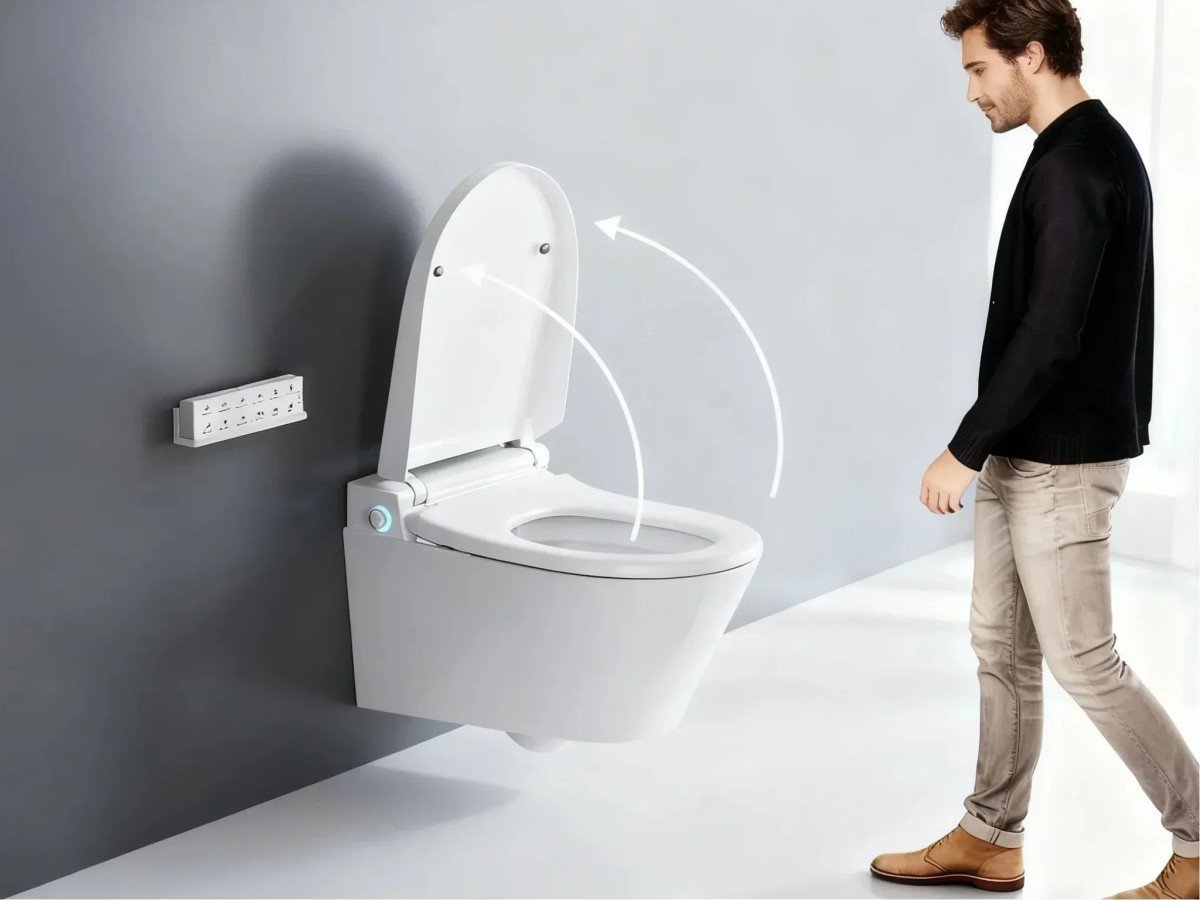
A wall-hung toilet is not a floor-mounted toilet bolted to the wall. It is a completely different system. The toilet bowl mounts to a steel carrier frame hidden inside the wall. The tank is inside the wall, not behind the bowl. The flush is controlled by a push plate on the wall surface. The bowl floats above the floor, making the bathroom easier to clean and visually lighter.
The installation is a major project. It requires opening the wall, reinforcing or replacing the framing, installing the carrier frame, connecting plumbing inside the wall cavity, closing the wall, and then mounting the bowl. If you are replacing a floor-mounted toilet with a wall-hung model in an existing bathroom, expect to open the wall, modify the plumbing rough-in, and possibly reinforce the floor joists depending on the carrier frame design. This is not a weekend swap. It is a multi-day project that requires intermediate to advanced DIY skills. Here is how to do it correctly.
The Carrier Frame: The Hidden Structure
The carrier frame is a welded steel frame that mounts inside the wall cavity between two studs. It supports the weight of the toilet bowl, the user, and the in-wall tank. The frame must be anchored to the floor and to the wall framing. A properly installed carrier can support 800 pounds or more. The frame also contains the tank, the flush mechanism, and the mounting bolts that the toilet bowl hangs on.
Carrier frames are manufactured by Geberit, TOTO, Duravit, and other plumbing fixture companies. They are not universal. The carrier must match the bowl brand and model. A Geberit carrier works with Geberit-compatible bowls. A TOTO carrier works with TOTO wall-hung bowls. Buy the carrier and bowl as a matched set. Do not assume compatibility across brands.
There are two types of carrier frames. Floor-mounted carriers bolt to the floor and attach to the wall framing. They transfer the load down to the floor structure, which is why they are the appropriate choice for wood-frame construction found in most U.S. homes. Wall-mounted carriers bolt to the wall studs and do not touch the floor. They are designed for concrete or masonry walls and are generally not suitable for standard wood-frame construction without significant reinforcement.
What You Need
| Item | Estimated Cost | Purpose |
| Carrier frame with in-wall tank (brand-matched to bowl) | $300–$600 | Structural support and hidden tank |
| Wall-hung toilet bowl (brand-matched to carrier) | $300–$800 | The visible toilet |
| Flush actuator plate (brand-matched) | $50–$150 | Wall-mounted flush button |
| Water supply line and shutoff valve | $30–$60 | Water connection accessible through actuator opening |
| PVC drain pipe, fittings, and cement | $40–$80 | Waste connection inside wall |
| Water-resistant drywall or cement board | $30–$60 | Wall covering over the frame |
| Level (4-foot recommended) | $20–$40 | Carrier must be perfectly level in both planes |
| Impact driver or drill | $50–$150 | Lag bolts into framing and floor |
Understanding the Rough-In
A floor-mounted toilet has the waste pipe coming up through the floor, centered 12 inches from the finished wall. A wall-hung toilet has the waste pipe in the wall, centered at a specific height set by the carrier frame manufacturer. This is the single biggest difference and the reason you cannot simply swap one for the other without opening the wall and modifying the plumbing.
The standard rough-in height for the waste outlet on a wall-hung carrier is approximately 8 to 9 inches above the finished floor, but this varies by manufacturer. The carrier frame instructions specify the exact measurement. The center of the waste pipe must also be perfectly centered between the mounting bolts on the carrier. A misalignment of half an inch means the bowl will not mount.
If you are replacing a floor-mounted toilet, the existing waste pipe in the floor must be cut, capped, and abandoned, and a new waste line must be run inside the wall to the carrier location. This requires opening the wall and the floor, modifying the vent stack if the toilet is not near an existing vent, and ensuring the new waste line has the proper slope of a quarter inch per foot toward the main drain. This is the part of the job where most DIY installers call a plumber.
Installation Steps
Step One: Open the Wall and Prepare the Framing
Remove drywall from the wall where the toilet will be mounted. Expose an area large enough to work, typically a 4-foot by 4-foot opening centered on the toilet location. Remove insulation if present. The carrier frame will sit between two studs. If the stud spacing does not align with your desired toilet location, you will need to reframe the wall to create a 2-by-6 stud cavity at the correct location.
If the wall is load-bearing, consult a structural engineer or an experienced contractor before cutting or relocating studs. The carrier frame itself is strong, but it relies on the surrounding framing to transfer loads. If the floor joists run parallel to the wall, add blocking between the joists under the carrier location to support the weight.
Step Two: Install the Carrier Frame
Position the carrier frame between the studs at the correct height. The frame has adjustable feet that rest on the floor and mounting brackets that attach to the studs. The frame must be perfectly level front to back and side to side. Use a 4-foot level. If the frame is out of level by even a quarter inch, the toilet bowl will slope and the tank may not fill or flush correctly.
The carrier instructions specify the height of the mounting bolts above the finished floor. Standard height for a wall-hung toilet is 15 to 17 inches from the finished floor to the center of the bowl mounting bolts, which positions the top of the bowl at approximately 16 to 18 inches, comparable to a standard floor-mounted toilet.
Bolt the carrier feet to the floor using lag bolts into the floor joists or subfloor. Do not anchor into the subfloor alone if the subfloor is particle board or oriented strand board. The bolts must bite into solid framing. Anchor the carrier brackets to the studs using the hardware provided with the frame.
Connect the water supply line to the carrier tank inlet. The water connection is inside the wall and is accessed through the opening behind the flush actuator plate after the wall is closed. Use a quarter-turn shutoff valve at the connection point. The valve must remain accessible through the actuator opening for future maintenance.
Connect the waste outlet on the carrier to the drain line. The connection is typically a 3-inch or 4-inch PVC hub on the back or bottom of the carrier. The waste pipe must have the proper slope and must be properly vented per local plumbing code. If the existing vent stack is more than 6 feet from the toilet, you may need to add a new vent or install an air admittance valve, which is allowed by code in some jurisdictions but not others.
Step Three: Close the Wall
Before closing the wall, test all connections. Turn on the water supply and check for leaks at the tank inlet. Fill a bucket with water and pour it down the waste connection to verify proper drainage and no leaks at the pipe joints. Repairing a leak inside a closed wall is a drywall demolition project. Test everything now.
Cover the carrier frame with water-resistant drywall or cement board. The carrier has a protective cover that prevents debris from entering the tank and waste connections during drywall installation. Leave this cover in place until the wall is finished. Cut openings in the drywall for the mounting bolts, the waste outlet, and the water supply inlet. The flush actuator opening is cut later using the template provided with the actuator plate.
Finish the drywall with tape, joint compound, and paint or tile. If tiling, use a waterproof membrane behind the tile around the toilet area. The actuator plate opening provides the only access to the inside of the wall for future maintenance. The rest of the wall is permanently sealed.
Step Four: Mount the Toilet Bowl
Remove the protective cover from the carrier. Slide the bowl onto the mounting bolts extending from the wall. The bowl has two holes on the back that align with the bolts. Push the bowl firmly against the wall. The gasket between the bowl and the waste outlet on the carrier compresses to create a watertight seal.
Tighten the nuts on the mounting bolts evenly. Alternate between the left and right bolt, tightening a little at a time, until the bowl is snug against the wall and does not move. Overtightening cracks the porcelain bowl. The bowl should be tight enough that it does not rock or shift when you sit on it.
Connect the water supply line from the shutoff valve inside the wall to the fill valve on the carrier tank. This connection is made through the actuator plate opening. Turn on the water and check for leaks. Flush the toilet using the temporary flush mechanism and check for leaks at the bowl-to-carrier connection and the carrier-to-waste-pipe connection.
Step Five: Install the Flush Actuator Plate
The flush actuator plate is the only visible part of the in-wall system besides the bowl. It mounts to the wall over the actuator opening using a mounting frame that clips into the carrier. Most plates have two buttons, one for a full flush and one for a reduced flush. Install the actuator rods that connect the buttons to the flush valve inside the tank. Adjust the rod length so the buttons engage the flush valve with a short, crisp press. Install the plate by pressing it onto the mounting frame until the clips engage.
Cost Comparison: Wall-Hung vs. Floor-Mounted
A wall-hung toilet costs significantly more than a floor-mounted toilet in both materials and labor. The carrier frame is $300 to $600. The bowl is $300 to $800. The actuator plate is $50 to $150. The plumbing modifications to move the waste pipe into the wall add $500 to $1,500 if done by a plumber. The drywall and finishing add $200 to $500 in materials and labor. Total cost for a wall-hung toilet installation in an existing bathroom ranges from $1,500 to $4,000 depending on the plumbing complexity and finish level.
A quality floor-mounted toilet costs $200 to $500 for the fixture and $200 to $500 for installation if the plumbing rough-in is already in place. The wall-hung system costs two to four times as much.
The value proposition is not cost savings. It is the easier cleaning, the smaller visual footprint in a small bathroom, and the adjustability of the bowl height for accessibility.
Frequently Asked Questions
How much weight can a wall-hung toilet support?
A properly installed carrier frame anchored to the floor and wall framing is rated for 800 to 1,000 pounds. The rating includes the weight of the bowl, the user, and a safety margin. The carrier frame, not the wall or the bowl, bears the load. This is not a concern for a properly installed system.
How do I repair the flush mechanism if it is inside the wall?
Everything except the tank itself is accessible through the actuator plate opening. The flush valve, fill valve, and water supply connection can all be serviced by removing the actuator plate, reaching through the opening, and unclipping the components. You do not need to open the wall. This is the design intent of the carrier system. The tank and the carrier frame are the only components permanently sealed inside the wall.
Can I retrofit a wall-hung toilet where a floor-mounted toilet was?
Yes, but it is a major project. The existing floor waste pipe must be relocated into the wall. The floor opening must be properly capped. The wall must be opened and reframed to accept the carrier. The water supply, which is currently at the floor or wall near the floor, must be extended inside the wall to the carrier tank inlet. This is not a swap. It is a bathroom remodel. If you are planning to renovate the bathroom anyway, adding a wall-hung toilet at that time makes sense. If you are just replacing the toilet, buy a floor-mounted model.