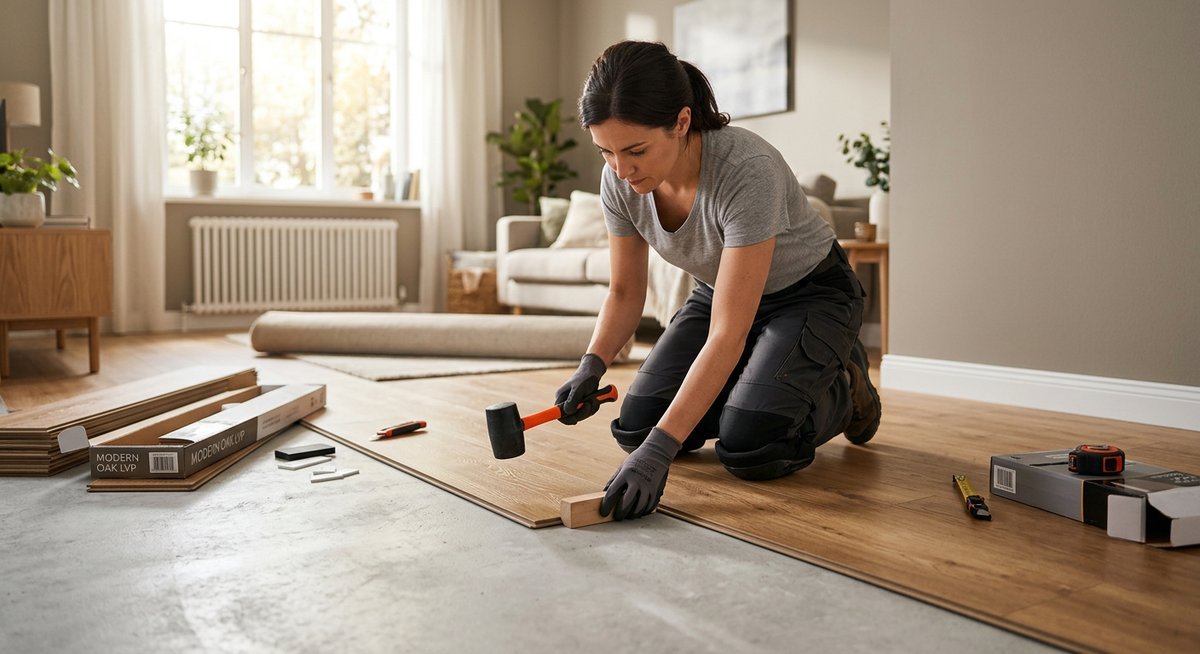
Installation vinyl plank flooring is a straightforward DIY project most homeowners finish in a single weekend. The click-lock floating method requires no adhesive, works over most existing floors, and delivers a waterproof result that holds up to pets, kids, and heavy foot traffic. Here is how to do it right, from subfloor prep to the final transition strip, while keeping broader homeowner responsibilities such as Houston rental payment rules in mind for rental spaces.
Tools and Materials You Need for Vinyl Plank Flooring Installation
Gather all your tools and materials before opening a single box of flooring. You will need a rubber mallet, pull bar, tapping block, spacers, a utility knife or oscillating saw, tape measure, and a level. Budget for 10 percent extra flooring beyond your room’s square footage to account for cuts and mistakes.
Vinyl plank flooring (LVP) must acclimate inside the room where it will be installed for at least 24 to 48 hours before you lay a single plank. Skipping this step is one of the most common reasons floors buckle or gap after installation — the planks expand and contract with temperature and humidity, and they need to reach equilibrium with the room first.
| Tools | Supplies |
|---|---|
| Rubber mallet | Vinyl plank flooring (+ 10% overage) |
| Pull bar | Underlayment (if not pre-attached) |
| Tapping block | 1/4″ spacers |
| Utility knife or oscillating saw | Transition strips |
| Tape measure | Floor patch or self-leveling compound |
| Long level or straightedge (6 ft+) | Carpenter’s square |
| Chalk line | Safety glasses and knee pads |
Many LVP products come with underlayment pre-attached to the back of each plank. If yours does, do not add a separate underlayment layer — doubled underlayment creates a spongy, unstable surface that can cause the click-lock joints to fail over time.
Subfloor Preparation for Vinyl Plank Flooring Installation
Your subfloor must be flat to within 3/16 of an inch over any 10-foot span before you install vinyl plank flooring. Any variation beyond that tolerance will cause joints to peak, separate, or crack — especially with thinner LVP products under 6mm.
Use a long straightedge or level to sweep across the subfloor in multiple directions. Mark any high spots with a pencil and grind them down with a belt sander or floor grinder. Fill low spots with a self-leveling compound or floor patch, feathering the edges out so there is no abrupt height change.
Discussions in communities focused on DIY flooring repeatedly come back to the same theme: subfloor prep is where most failed installations begin. One experienced installer summed it up plainly:
“Subfloor prep is the only thing that actually matters. The floor install itself takes a few hours. Proper prep can take a full day. Do the prep.”
— r/DIY, April 2026 (27 upvotes)
The 3/16-inch tolerance is roughly the width of a pencil — a surprisingly small margin that separates a floor that stays solid for decades from one that creaks underfoot within months.
Clean the subfloor thoroughly after leveling. Remove all dust, adhesive residue, and debris. Even small particles can create raised spots that telegraph through thin LVP. For concrete subfloors, also check for moisture: tape down a sheet of plastic for 24 hours and look for condensation. Persistent moisture means you need a moisture barrier before any flooring goes down.
Vinyl Plank Flooring Installation: Step-by-Step Process
The standard floating method for installation vinyl plank flooring follows six sequential steps. Work from the longest, most visible wall in the room and move toward the door so your starting row is the most prominent feature in the space.
Step 1: Plan Your Layout
Measure the room’s width and divide it by the plank width to calculate how wide your final row will be. If the final row comes out to less than 2 inches, cut the first row narrower to avoid a thin, awkward strip at the far wall.
Most flooring professionals recommend running planks parallel to the longest wall or parallel to the main light source entering the room. A perpendicular layout can visually widen short hallways.
Step 2: Lay the First Row
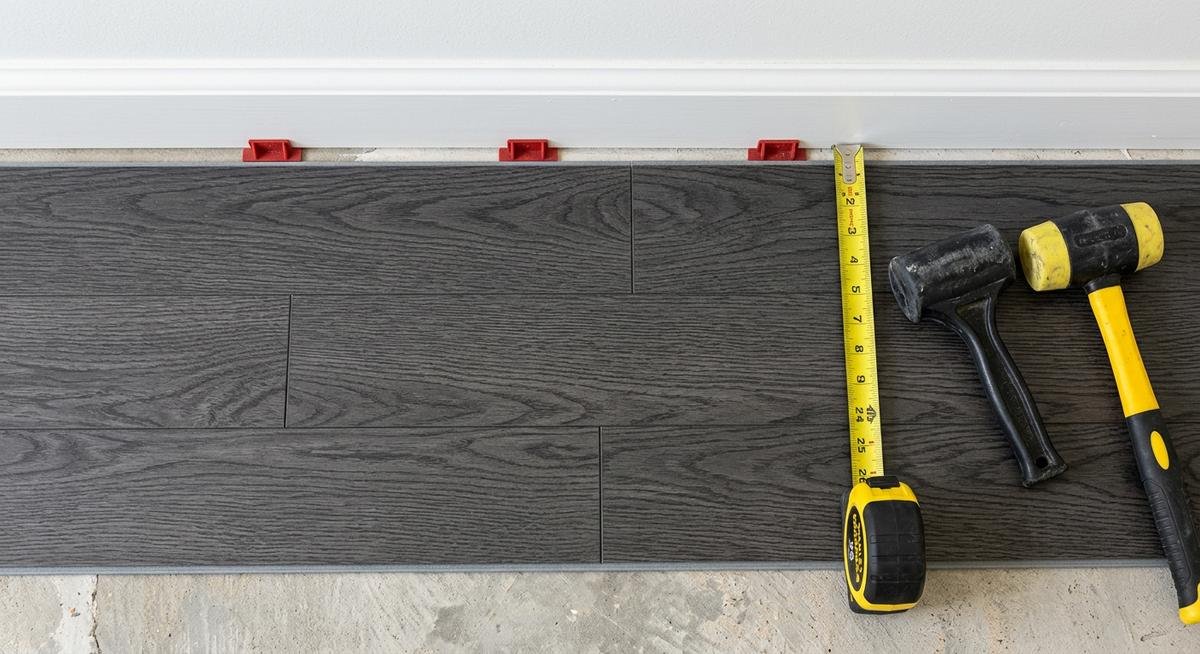
Place 1/4-inch spacers against the starting wall to create an expansion gap. This gap is non-negotiable, vinyl expands significantly with heat and has nowhere to go if it’s locked against a wall. Start in a corner, groove side facing the wall, and click planks end to end along the full length of the row.
Cut the last plank of the first row to fit. Save the offcut, it should start the second row if it is at least 6 inches long, which automatically creates the required stagger.
Step 3: Install the Middle Rows
Stagger end joints by at least 6 to 8 inches between adjacent rows. This stagger pattern distributes weight evenly and makes the floor look more natural. Click each plank into its neighbor at a 45-degree angle and press down until the joint snaps flat.
Use a tapping block and rubber mallet for tight joints, never hit the planks directly. The pull bar lets you close the final joint in each row when there is no room to swing a mallet.
Step 4: Cut Around Obstacles
Score-and-snap works for straight cuts on most LVP products: score the surface deeply with a utility knife and a straightedge, then snap the plank over the edge of a table. For curves around door casings or pipes, use a jigsaw or oscillating tool.
Undercut door casings rather than scribing the plank around them. Slide a piece of scrap LVP under the casing to gauge the cutting height, then use a multi-tool to cut through the casing at that height. The plank slides neatly underneath for a professional-looking result.
Step 5: Install the Final Row
Measure the gap at the far wall, account for the 1/4-inch expansion gap, and rip the final row of planks to width with a table saw or circular saw. Use a pull bar to click the last row into place without damaging the edge.
Step 6: Finishing Touches
Remove all spacers after the floor is complete. Install transition strips where the new floor meets tile, carpet, or another room. Reinstall baseboards or add quarter-round molding to cover the expansion gap at walls, this is the detail that separates clean-looking work from amateur results.
Floating vs. Glue-Down vs. Peel-and-Stick: Which Method to Choose
Floating click-lock installation is the right choice for most residential projects. It is faster, reversible, and requires no adhesive or special tools. Glue-down installation makes sense for commercial settings, large open areas over 1,000 square feet, or rooms with in-floor radiant heating where a floating floor might lift at the edges.
| Method | Best For | Skill Level | Reversible? | Cost |
|---|---|---|---|---|
| Floating (click-lock) | Most residential rooms | Beginner | Yes | Lowest |
| Glue-down | Large areas, radiant heat, commercial | Intermediate | No | Medium |
| Peel-and-stick | Low-traffic areas, temporary | Beginner | Partial | Lowest |
Glue-down LVP on OSB subfloor is a topic that generates consistent debate in flooring communities. Manufacturers generally approve it, but real-world experience shows that OSB’s surface can be uneven enough to compromise adhesion at panel edges. Many installers recommend sanding OSB seams and applying a skim coat of floor patch before gluing.
According to Wikipedia’s overview of luxury vinyl tile, LVP was introduced to the consumer market around 2009 and has become one of the fastest-growing flooring categories, largely because click-lock technology made DIY installation genuinely achievable for homeowners without flooring experience.
5 Mistakes That Ruin Your Vinyl Plank Flooring Installation
The most preventable failures in installation vinyl plank flooring share a common cause: rushing past the preparation steps to get to the visible work. Knowing these five mistakes in advance saves a full reinstallation later.
- Skipping subfloor leveling. High or low spots transfer directly through LVP, creating a floor that bounces, peaks at joints, or develops squeaks within weeks. Any spot out of tolerance must be corrected before a single plank goes down.
- Forgetting the expansion gap. Vinyl expands with heat and humidity. Without the 1/4-inch perimeter gap, floors buckle in summer, a mistake that requires pulling up the entire installation to fix.
- Ignoring acclimation. LVP that goes straight from a cold delivery truck to a heated room can gap badly at joints as it warms up and expands. Give it 24 to 48 hours in the room first.
- Poor stagger pattern. End joints that land within 6 inches of each other in adjacent rows look unnatural and weaken the floor’s structural integrity. Start each row with a cut piece of at least 6 inches from the previous row’s end joint.
- Using the wrong underlayment. Adding a separate underlayment beneath planks that already have pre-attached padding creates a floor that flexes too much at joints, eventually causing them to disengage or crack. Read your product specs before adding anything below.
One detail worth knowing: “grout lines” appearing on vinyl plank floors, which became a recurring complaint in r/Flooring in early 2026, almost always trace back to thin LVP products installed over subfloors with panel edge ridges that telegraph through. The fix is the same as preventing it, a flat subfloor to begin with.
The FloorScore certification program tests finished vinyl flooring products for indoor air quality compliance, an important consideration when choosing between LVP brands. The EPA’s guidance on volatile organic compounds explains why off-gassing from flooring materials matters, particularly in rooms with limited ventilation like bedrooms. Choosing FloorScore-certified LVP eliminates this concern entirely.
Frequently Asked Questions About Vinyl Plank Flooring Installation
How long does installation vinyl plank flooring need to acclimate?
Vinyl plank flooring needs 24 to 48 hours to acclimate inside the installation room before you lay it. Open the boxes and let the planks rest flat in the room, at normal living temperature and humidity, for at least a full day. Thicker LVP products over 8mm benefit from the full 48 hours.
Do I need underlayment for vinyl plank flooring?
Whether you need separate underlayment depends on your specific product. Most modern LVP comes with underlayment pre-attached; adding a second layer underneath creates too much flex and can cause click-lock joints to fail. If your LVP has no attached underlayment, a thin 1mm to 2mm foam underlayment improves sound dampening without compromising stability.
What direction should I lay vinyl plank flooring?
Run vinyl plank flooring parallel to the longest wall in the room or parallel to the primary light source (usually the main window). Either approach creates the most natural visual result. Running planks perpendicular to a room’s long dimension makes narrow spaces feel wider but can make long halls feel shorter.
Can I install vinyl plank flooring over existing tile or hardwood?
Yes, vinyl plank flooring can be installed over existing tile or hardwood as long as the existing surface is flat, structurally sound, and no thicker than what your door clearances allow. Check that every grout line, tile edge, or hardwood board seam is flush within the 3/16-inch tolerance, high edges will telegraph through the LVP.
How much extra vinyl plank flooring should I buy?
Buy 10 percent more than your calculated square footage for a standard installation. If your room has many angles, alcoves, or a diagonal layout pattern, budget 15 percent extra. LVP from the same dye lot can vary slightly in color from batch to batch, so buying enough to finish the entire floor in one purchase matters.
Can vinyl plank flooring be installed in bathrooms?
Luxury vinyl plank flooring is fully waterproof and an excellent choice for bathrooms. The key is sealing the expansion gap around the toilet base and tub with silicone caulk after installation so standing water cannot seep beneath the planks and reach the subfloor. For the best waterproof options available, our guide to the best waterproof vinyl plank flooring breaks down the top-performing products by room type and budget.
Getting Your Installation Vinyl Plank Flooring Right the First Time
Vinyl plank earns its reputation as a beginner-friendly project because the click-lock system itself is genuinely forgiving. The complexity is in the preparation, leveling the subfloor, allowing proper acclimation, and maintaining consistent expansion gaps throughout.
Most homeowners who struggle with their LVP installation wish they had spent more time on prep and less time rushing to lay planks. An extra half-day on subfloor work usually prevents the kind of problems that require a full reinstallation to fix.
If you are still deciding on which product to install, our roundup of the best waterproof vinyl plank flooring options covers the top products across different thicknesses, budgets, and room types.