
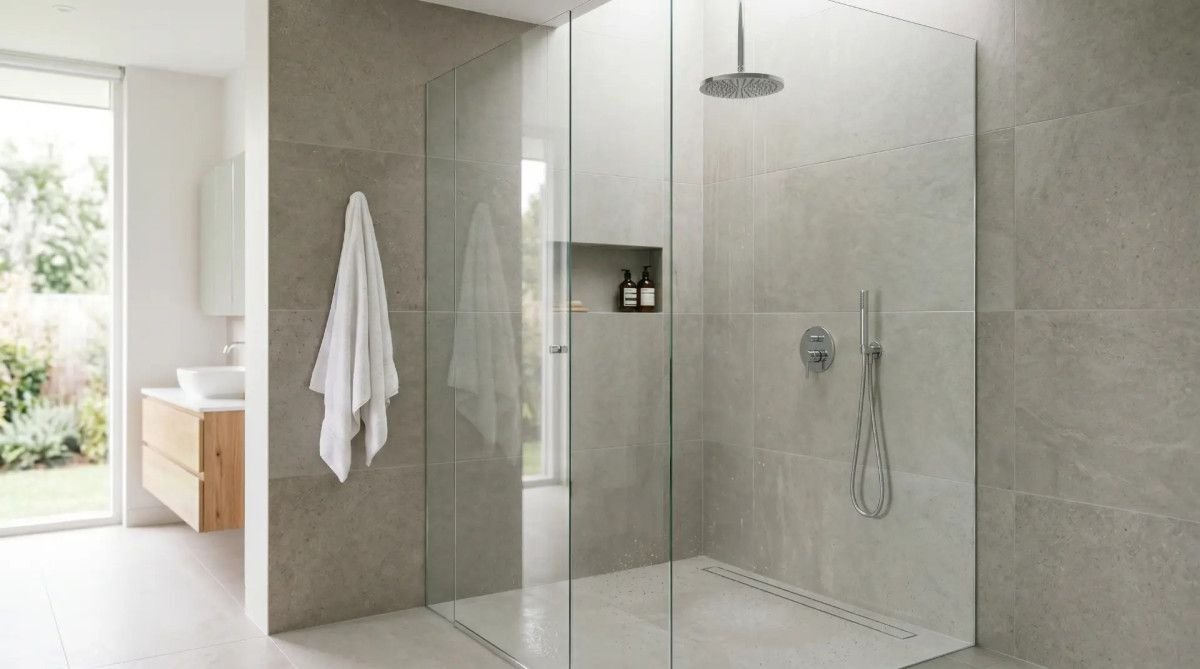

A walk-in shower leaks not because the tile or grout failed, but because the waterproofing layer underneath them was installed incorrectly or not at all. Tile and grout are not waterproof. They are the decorative wear surface. The waterproofing is the continuous membrane behind them that directs any water that penetrates the tile assembly down to the drain. When that membrane is missing at a seam, punctured by a screw, or terminated at the wrong height, water escapes into the wall cavity and the subfloor, and the first visible sign is not a drip — it is mold on the baseboard on the other side of the shower wall, or a soft spot in the floor outside the shower, or a water stain on the ceiling of the room below. By the time the leak is visible, the damage is extensive.
A properly waterproofed walk-in shower has a continuous waterproof layer on the floor and on all walls to a height of at least 72 inches above the subfloor, with all seams, corners, and fastener penetrations sealed. The floor slopes toward the drain at 1/4 inch per foot. The drain assembly is integrated into the waterproofing layer with a mechanical seal — not caulk, not gravity, not hope. The curb or threshold is waterproofed continuously with the floor and walls so that water cannot escape under the shower door. The eight items on this checklist are the minimum verification points that distinguish a shower that will be dry for 30 years from one that will leak in 3.
1. Substrate Preparation — The Foundation Everything Else Depends On
The substrate — the surface the waterproofing membrane bonds to — must be clean, dry, structurally sound, and free of dust, oil, and debris. For a sheet membrane like Schluter-Kerdi, the substrate can be standard drywall because the membrane is a positive-side waterproofing layer, water never reaches the drywall. For a liquid-applied membrane like RedGard, the substrate must be cement board because the liquid membrane is thinner and more permeable than a sheet membrane, and the substrate must be water-resistant in its own right. For a traditional PVC or CPE pan liner with a mud bed, the substrate is a sloped mortar bed that the liner sits on top of.
The subfloor must be flat and level. Any deviation greater than 1/8 inch over 4 feet must be corrected with a self-leveling compound before the waterproofing layer is installed. A shower pan installed over an uneven subfloor flexes under foot traffic. The flexing cracks the tile and grout, and the cracks become the path for water to reach the subfloor. The drain pipe must be secured, the Kerdi drain assembly pushes down onto the pipe from above, and a loose pipe will push down with it, breaking the seal.
According to EPA building standards, proper waterproofing of wet areas is a critical component of residential durability, as moisture intrusion behind finished surfaces is the leading cause of structural decay and mold growth in American homes, causing billions of dollars in damage annually.
2. Slope to Drain, 1/4 Inch Per Foot, No Exceptions
The shower floor must slope toward the drain at a minimum of 1/4 inch per foot. This slope must be built into the substrate, either a prefabricated foam shower tray that comes pre-sloped, or a mortar bed that the installer slopes by hand. The tile and grout above the waterproofing layer provide no slope. The water that penetrates the tile assembly flows down to the waterproofing layer and must travel by gravity to the drain. If the waterproofing layer is flat or sloped away from the drain, water pools against the wall-floor junction, and that junction is the most common leak point in every shower.
Check the slope with a level before the waterproofing membrane is installed. Place the level on the substrate and verify a consistent 1/4-inch-per-foot fall toward the drain from all directions. The slope must be consistent, a low spot that holds water creates a permanent wet area in the tile assembly that never dries, and the constant moisture eventually degrades the grout and the thinset bond.
3. Membrane Installation, Continuous, No Gaps, No Punctures
The waterproofing membrane, sheet or liquid, must be continuous across the entire shower floor and all walls to a minimum height of 72 inches above the subfloor. The minimum is not optional. Water vapor migrates through the tile assembly and condenses on the back of the tile. If the waterproofing stops at 48 inches, the upper 24 inches of the wall cavity are exposed to moisture with no barrier. The moisture accumulates, saturates the insulation, and grows mold inside the wall.
For sheet membranes, the seams must overlap by a minimum of 2 inches and be bonded with the manufacturer’s specified thinset mortar or sealant. For liquid membranes, the coating must be applied at the manufacturer’s specified wet-film thickness, typically 20 to 30 mils wet, and measured with a wet-film gauge during application. The most common liquid-membrane failure is insufficient thickness. The installer applies one coat instead of two, the membrane is too thin to bridge substrate cracks, and the first seasonal expansion cycle opens a crack that runs directly through the membrane.
4. Seams, Corners, and Fastener Penetrations, Every Hole Is a Leak Path
Every screw or nail that secures the substrate to the studs is a penetration through the waterproofing membrane. Every screw head must be covered with the manufacturer’s specified sealant or membrane patch. On a sheet-membrane system, a 5-inch square of Kerdi-Band or equivalent seam tape, embedded in thinset, covers each screw head. On a liquid-membrane system, a dab of the liquid membrane material, applied with a brush, covers each screw. A shower wall with 40 screws has 40 potential leak paths. Missing even one is a leak that takes months or years to become visible.
The inside corners where walls meet walls and where walls meet the floor are the highest-stress points in the shower assembly. They move with seasonal expansion and contraction. Preformed inside corner pieces, Kerdi-Kereck or equivalent, provide a seamless waterproof transition that a flat membrane folded into a corner cannot achieve. The fold creates a pinhole at the apex where three planes meet. A preformed corner eliminates the fold. The outside corners of a curb or bench require the same treatment.
The pipe penetrations for the showerhead, mixing valve, and any body sprays must be sealed with preformed pipe seals or a generous application of the manufacturer’s specified sealant. The mixing valve opening is large enough, 4 to 5 inches in diameter, that a preformed seal is the only reliable method. Caulk around the escutcheon plate is not waterproofing. It is a cosmetic cover that hides the gap between the tile and the valve. The waterproofing must be integrated into the wall assembly behind the tile.
5. Drain Assembly Integration, Mechanical Seal, Not Caulk
The drain assembly is the most critical waterproofing junction in the shower. The waterproofing membrane must integrate with the drain flange mechanically, the membrane is bonded to the flange with thinset and clamped or bonded according to the manufacturer’s specification. The clamping ring on a traditional PVC liner must be tightened to compress the liner against the drain body. The Kerdi drain bonds the membrane directly to the fleece-faced flange with thinset. In both systems, the connection is mechanical and permanent.
Water that reaches the waterproofing layer flows down the slope to the drain and enters the drain body through the weep holes in the clamping ring (traditional liner) or through the bonded flange assembly (sheet membrane). If the weep holes are blocked by mortar or debris, water cannot enter the drain and backs up under the tile assembly. The drain assembly must be checked for weep hole obstruction before the mortar bed or tile is installed over it.
6. Curb or Threshold Waterproofing, The Exit Path for Leaks
The shower curb or threshold is the second most common leak point after the wall-floor junction. Water that reaches the curb waterproofing flows toward the outside edge of the curb and, if the waterproofing does not extend high enough or wrap far enough toward the outside, escapes under the shower door and onto the bathroom floor. The waterproofing on the curb must be continuous with the floor waterproofing and must extend to the outside face of the curb, not just the inside face. The top of the curb must slope inward toward the shower at 1/8 inch per foot so that any water on the curb surface drains into the shower, not out of it.
For a curbless walk-in shower, the shower floor is flush with the bathroom floor, the waterproofing must extend at least 24 inches beyond the shower entry onto the bathroom subfloor. The transition from the sloped shower floor to the flat bathroom floor must be waterproofed continuously with no seam at the entry point. A curbless shower is more demanding to waterproof than a curbed shower because there is no physical barrier to contain water, the waterproofing alone must do the job.
7. Flood Test, 24 Hours of Standing Water
The flood test is the only way to verify that the waterproofing is intact before tile is installed. Plug the drain below the weep holes, an inflatable test plug inserted into the drain pipe below the clamping ring, and fill the shower pan with water to a depth of at least 1 inch at the deepest point. Mark the water level on the wall. Wait 24 hours. If the water level has dropped, there is a leak. Find it, fix it, and redo the flood test. Do not install tile over a waterproofing layer that has not passed a flood test. The tile will hide the leak. The leak will continue. The damage will accumulate until it becomes visible, and by then the shower must be demolished to the studs to repair it.
The flood test is required by code, the International Residential Code and the International Plumbing Code both require it, and by every membrane manufacturer’s installation instructions. A contractor who skips the flood test is gambling with your shower. The flood test takes 24 hours. A shower rebuild costs $5,000 to $15,000. The flood test is the cheapest insurance in residential construction.
8. Pre-Tile Verification, The Final Inspection Before Cover-Up
Before tile installation begins, verify every item on this checklist one final time. The waterproofing layer will be covered by thinset and tile within hours, and it will not be visible again for 20 to 30 years. This is the last opportunity to find and fix a defect.
| # | Verification Point | Pass/Fail |
| 1 | Substrate clean, dry, flat (≤1/8″ over 4 ft) | ☐ |
| 2 | Floor slopes 1/4″ per foot to drain, consistent | ☐ |
| 3 | Membrane continuous on floor + walls to 72″ min | ☐ |
| 4 | All seams overlapped 2″, all screw heads sealed | ☐ |
| 5 | Inside/outside corners have preformed pieces | ☐ |
| 6 | Pipe penetrations sealed with preformed seals | ☐ |
| 7 | Drain integrated with mechanical seal, weep holes clear | ☐ |
| 8 | Curb waterproofed continuously to outside face | ☐ |
| 9 | Flood test passed (24 hours, ≥1″ water, no drop) | ☐ |
Frequently Asked Questions
Which is better, liquid membrane (RedGard) or sheet membrane (Kerdi)?
A sheet membrane like Schluter-Kerdi is the more reliable system because the membrane thickness is factory-controlled and consistent. A liquid membrane is entirely dependent on the installer applying it at the correct thickness with no thin spots, and the most common failure mode is insufficient thickness at corners and transitions. Sheet membranes cost more, $800 to $1,200 in materials for a standard shower versus $200 to $400 for liquid, and the installation is faster because there is no drying time between coats. For a DIY installation, the sheet membrane reduces the variables that can go wrong. For a professional installation, either system is acceptable if installed according to the manufacturer’s instructions, including a flood test.
How high should shower waterproofing extend?
Minimum 72 inches above the subfloor, or to the showerhead height plus 6 inches, whichever is higher. The entire shower wall area inside the glass enclosure or above the tub should be waterproofed. The ceiling of the shower does not require waterproofing unless it is a steam shower, in which case the ceiling must be waterproofed and sloped 2 inches per foot toward the walls to prevent condensation from dripping on the bather.
Can I skip the flood test if the installer says it’s fine?
No. The flood test is required by building code and by the membrane manufacturer’s warranty. An installer who says the flood test is unnecessary is either inexperienced or trying to avoid a test that will reveal a problem. If the installer refuses to do a flood test, find a different installer. If you are doing the work yourself, do not skip this step. The 24-hour wait is an inconvenience. Discovering a leak after the tile is installed is a catastrophe.