How to Install EPDM Membranes?

EPDM (Ethylene Propylene Diene Monomer) membranes are one of the most durable, flexible, and long-lasting waterproofing solutions for protecting roofs, basements, terraces, and other structures from water damage. EPDM membranes consist of superior weather resistance, UV stability, and ease of installation. Hence, these are widely used in both residential and commercial waterproofing applications.
You should follow these 7 steps to install EPDM membranes on the substrate
- Prepare the surface for EPDM membranes
- Install underlayment before installing EPDM
- Unroll and position the EPDM waterproofing
- Adhere the EPDM membrane
- Seal the seams, corners, edges, and openings.
- Inspect the EPDM waterproofing quality
- Protect the EPDM installation
Aqviz experts have prepared this guide by considering all the customer feedback over the past 5 years. So definitely this will help you to install an EPDM membrane, whether you are a newbie or a professional DIY expert. Let’s dive into the installation process and ensure your project is done right the first time!
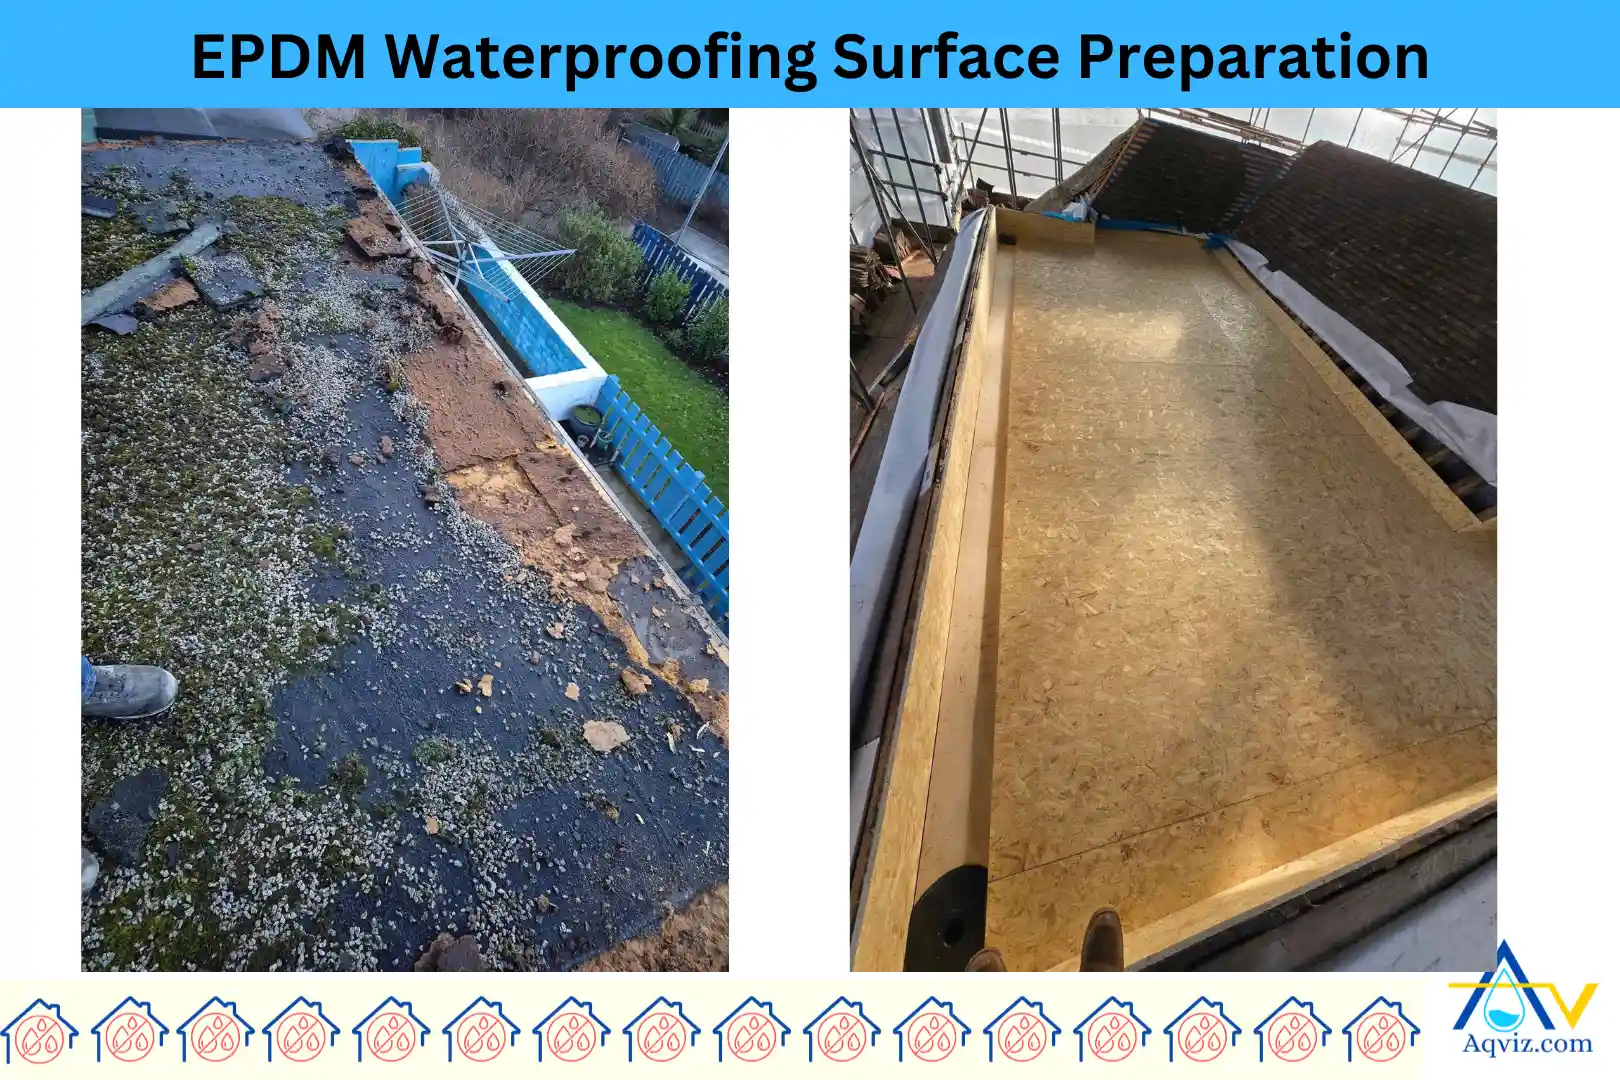
1. Prepare the Surface for EPDM Membrane
Before installing EPDM membrane, you should prepare the surface properly. Well prepared substrate increases the longevity and performance of an EPDM waterproofing system. A poorly prepared substrate can lead to adhesion failures, wrinkles, or trapped moisture, reducing the membrane’s effectiveness. So here is our expert step-by-step guidance for preparing concrete and wood surfaces for EPDM waterproofing installation.
4 Steps to Prepare Concrete Surface for EPDM Membranes
- Clean the surface: First, we clean the surface by removing dust, dirt, oil, and loose debris using a broom, blower, or pressure washer.
- Check for moisture: Next, we check the surface for moisture because concrete must be completely dry before applying EPDM.
- Smooth and repair: Then we fill any cracks, voids, or uneven areas with a cementitious patching compound. Then we grind down high spots to ensure a smooth surface. If there is a rough surface, EPDM waterproofing can crack over time under external forces.
- Apply primer (if required): Before installing the EPDM system, we apply some primers. But it depends on the environmental condition and substrate surface condition, and the product we use. Because some EPDM systems require a primer for proper adhesion, especially when using a self-adhered EPDM membrane.
4 Steps to Prepare Wood Surface for EPDM Waterproofing
- Inspect and replace: First, we inspect the wood surface to ensure plywood or OSB sheathing is in good condition. We replace any rotted or damaged boards.
- Fasten the decking: Then secure loose boards with screws or nails to prevent movement under the membrane.
- Sand Rough edges: Using a sandpaper or grinder, we sand down splinters or sharp edges to prevent puncturing the EPDM waterproof membrane.
- Install a vapor barrier (if required): If there is a high humidity or moisture condition, we install a suitable vapor barrier before EPDM installation.
After the surface is prepared, we move to the next step by installing the underlayment.
Read More about: 10 Types of Membrane Waterproofing
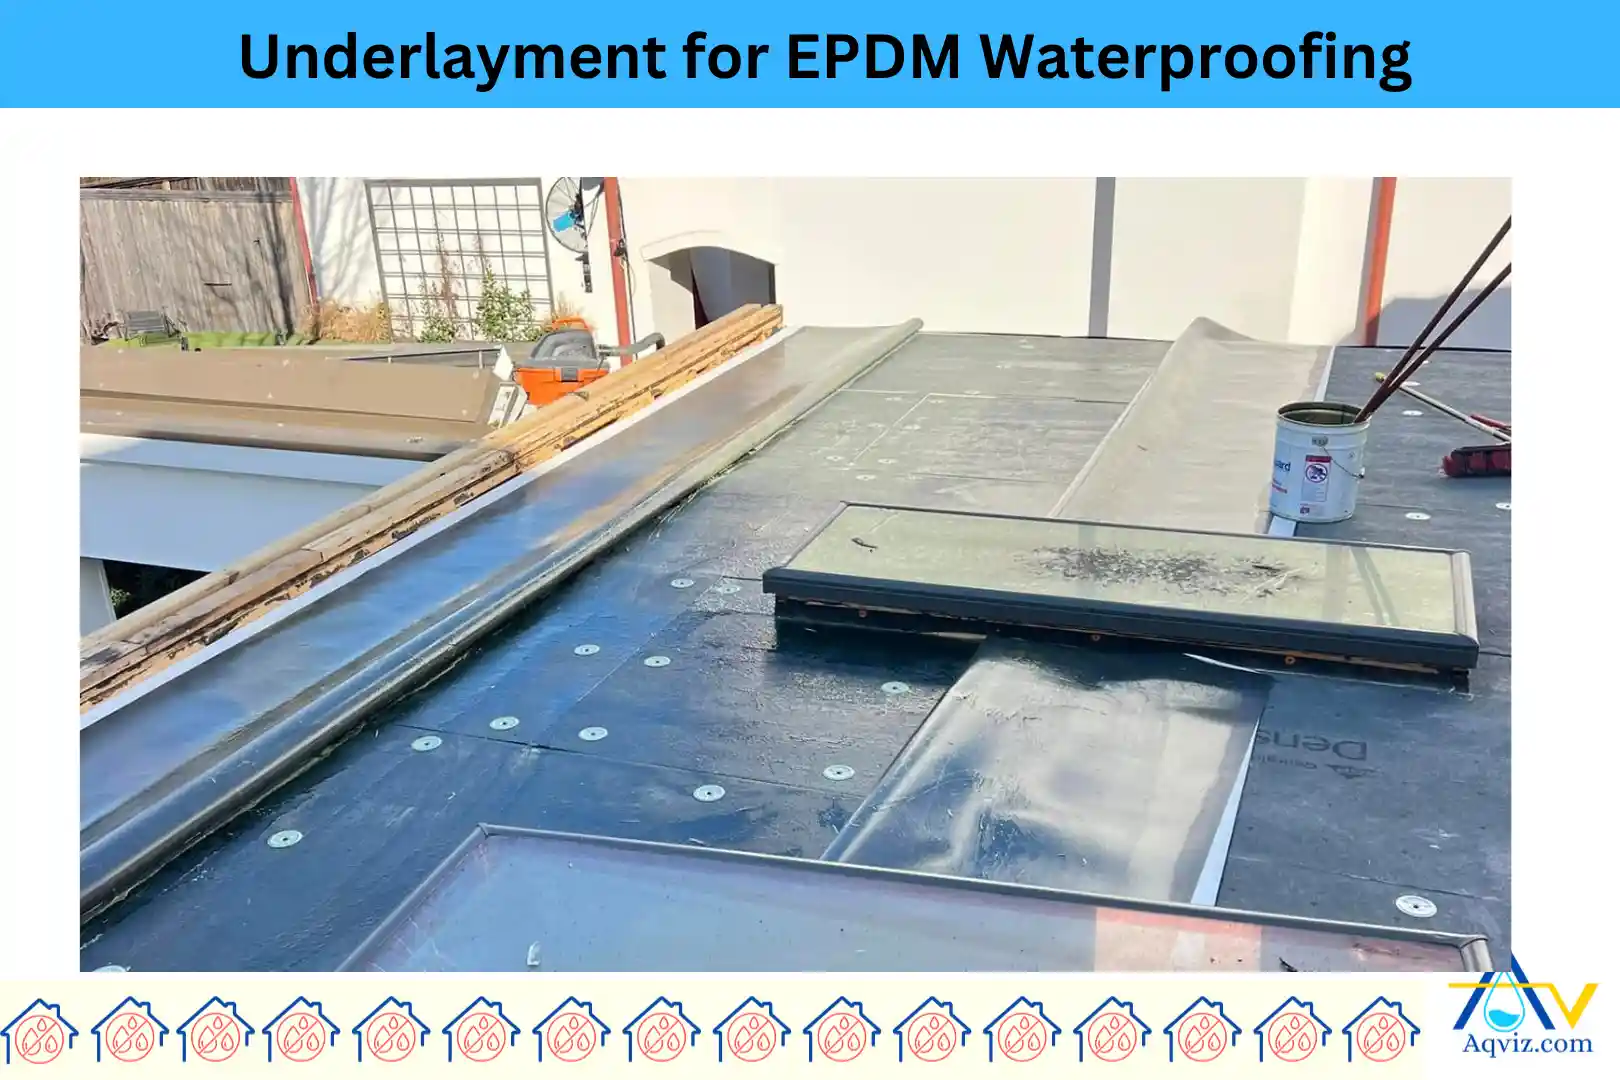
2. Install Underlayment Before Installing EPDM
Underlayment serves as a protective buffer between the EPDM membrane and the substrate. It improves adhesion, insulation, and long-term performance. It prevents direct contact with rough surfaces, reduces moisture migration, and enhances the overall durability of the waterproofing system.
Aqviz experts recommend underlayment for EPDM waterproofing for the surface protection from punctures and abrasions, help to control condensation and moisture absorption, improve the adhesion between the substrate and the membrane, and increase the longevity of the EPDM waterproofing membrane.
These are the 5 types of underlayment for EPDM waterproofing.
- High-Density Polyiso Cover Board
- DensDeck® or SECUROCK® Gypsum Board
- Geotextile fabric or Fleece backing
- Plywood or OSB sheathing
- Self-Adhered vapor barriers
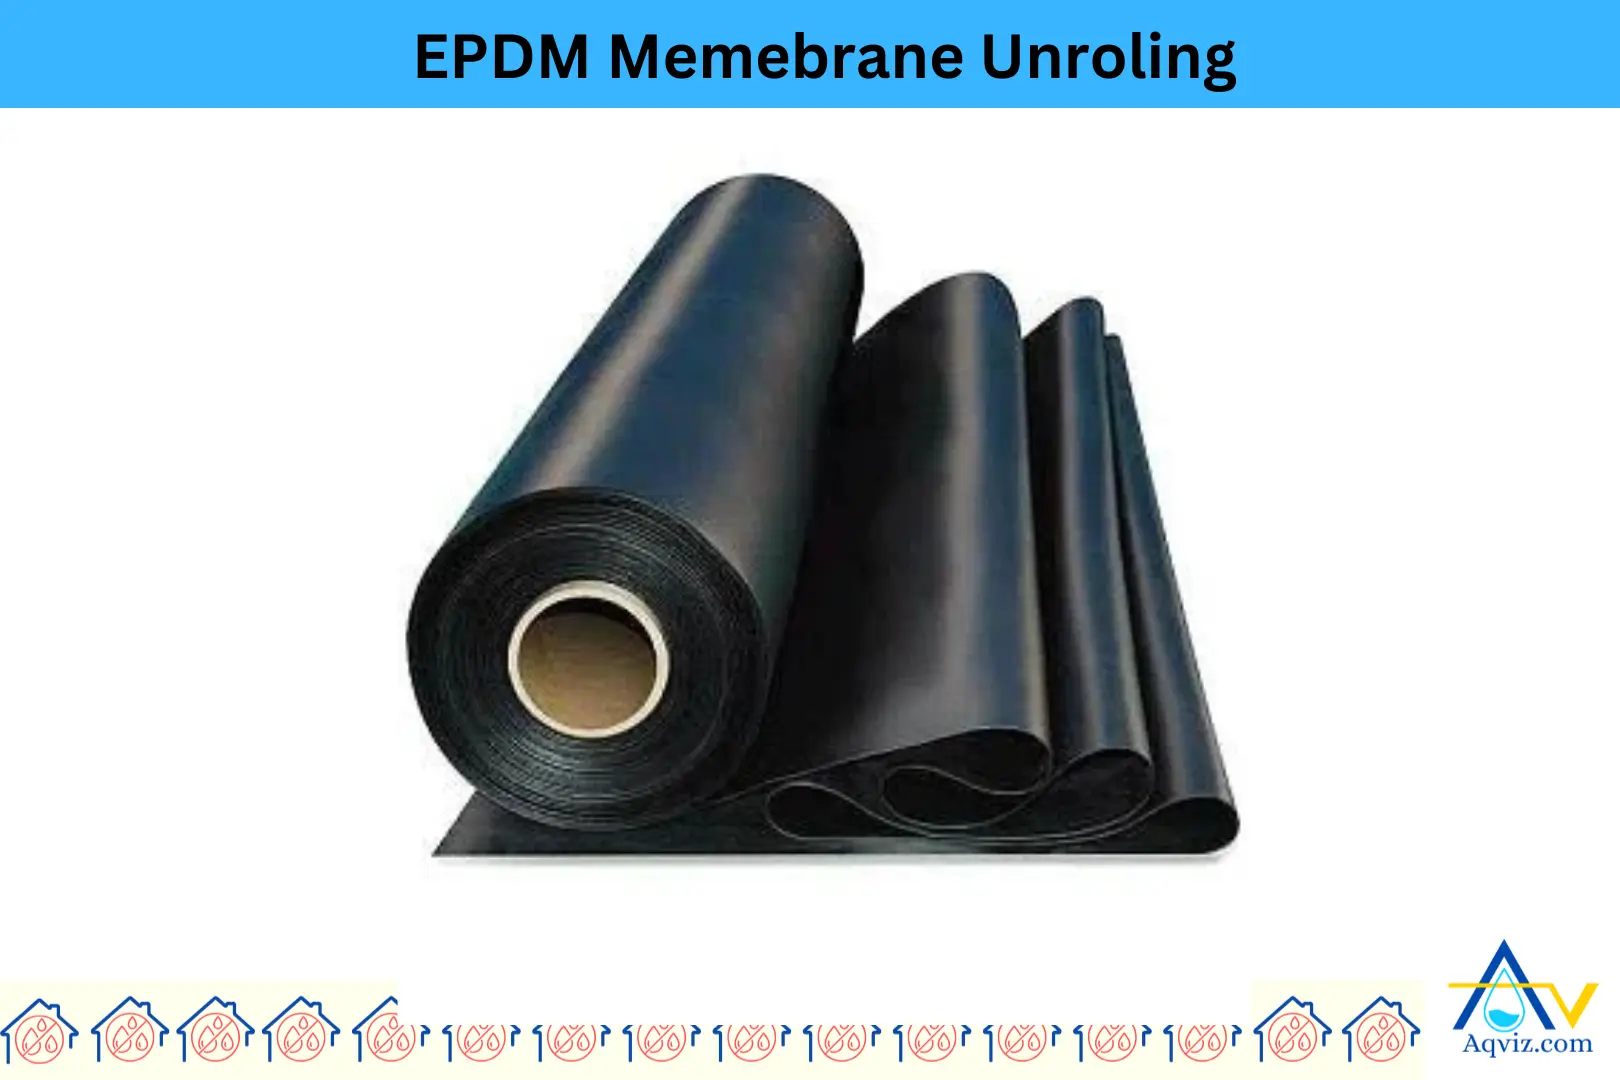
3. Unroll and Position the EPDM Membrane
Before adhering, the EPDM membrane must be properly unrolled and positioned to ensure a wrinkle-free, secure fit. We highly recommend this step as highly important for minimizing adjustments during installation and preventing misalignment that could compromise the waterproofing system.
You should follow the 5 steps below to position the EPDM system
- Lay out the EPDM sheet over the prepared underlayment, allowing it to relax for at least 30 minutes. This helps the material settle and reduces tension that may cause wrinkles.
- Ensure the membrane extends at least 6″ beyond edges and overlaps adjacent sheets by 3″- 6″ for seaming. Adjust as needed before adhesion.
- Flatten any creases or air pockets before securing the membrane. If necessary, reposition the sheet to avoid tension areas.
- Use chalk lines or markers to indicate overlap points, drainage points, and attachment areas for precise installation.
- Follow the roof’s natural slope to direct water away from the structure, preventing ponding issues.
After measuring the required distances and measurements, you should cut it using a sharp knife.
4. Adhere the EPDM Membrane
Then you should adhere the EPDM membrane by following one of three methods. The adhering method is based on the type of the EPDM membrane, substrate, environmental factors, and cost. So here is our guidance to choose the best adhering method for the EPDM waterproofing.
You can install EPDM waterproofing in the main 3 installation methods: fully adhered, mechanically fastened, and ballasted systems.
1. Fully Adhered System
Fully adhered system is best for sloped roofs and high-wind areas. In this method, the entire EPDM membrane is bonded to the underlayment or substrate using a specialized bonding adhesive. The adhesive is applied to both the substrate and the back of the EPDM membrane using a roller or sprayer. After allowing proper flash-off time, the EPDM membrane is carefully rolled onto the adhesive and broomed down to ensure full contact to the substrate. Fully adhered EPDM systems are excellent for wind resistance, enhanced durability, and a smooth finish.
2. Mechanically Fastened System
Mechanically fastened EPDM waterproofing method is highly recommended for lightweight structures. In this method, the EPDM membrane is secured using fasteners and seam plates, typically installed along membrane overlaps. Then, fasteners are spaced according to wind uplift requirements, generally every 6″-12″ along the seams. Seams are then sealed using Factory-Applied Tape (FAT) or SecurTAPE™ to ensure waterproofing integrity. This system is cost-effective and allows for easier repairs, but may have membrane fluttering in high winds.
3. Ballasted System
Ballasted EPDM waterproofing systems are highly recommended for large flat roofs. In this method, the EPDM membrane is loosely laid over the surface and held in place with river-washed stones or concrete pavers. The weight of the ballast (typically 10-12 lbs/ft²) keeps the membrane secure while allowing for thermal expansion. In this method, you will need fasteners, and this is a fast and cost-effective method. Aqviz, we highly recommend that you not to use this method for high-slope roofs or areas with excessive wind exposure over time.
You can choose the right type of EPDM membrane among these 6 Types of EPDM Waterproofing Membranes.
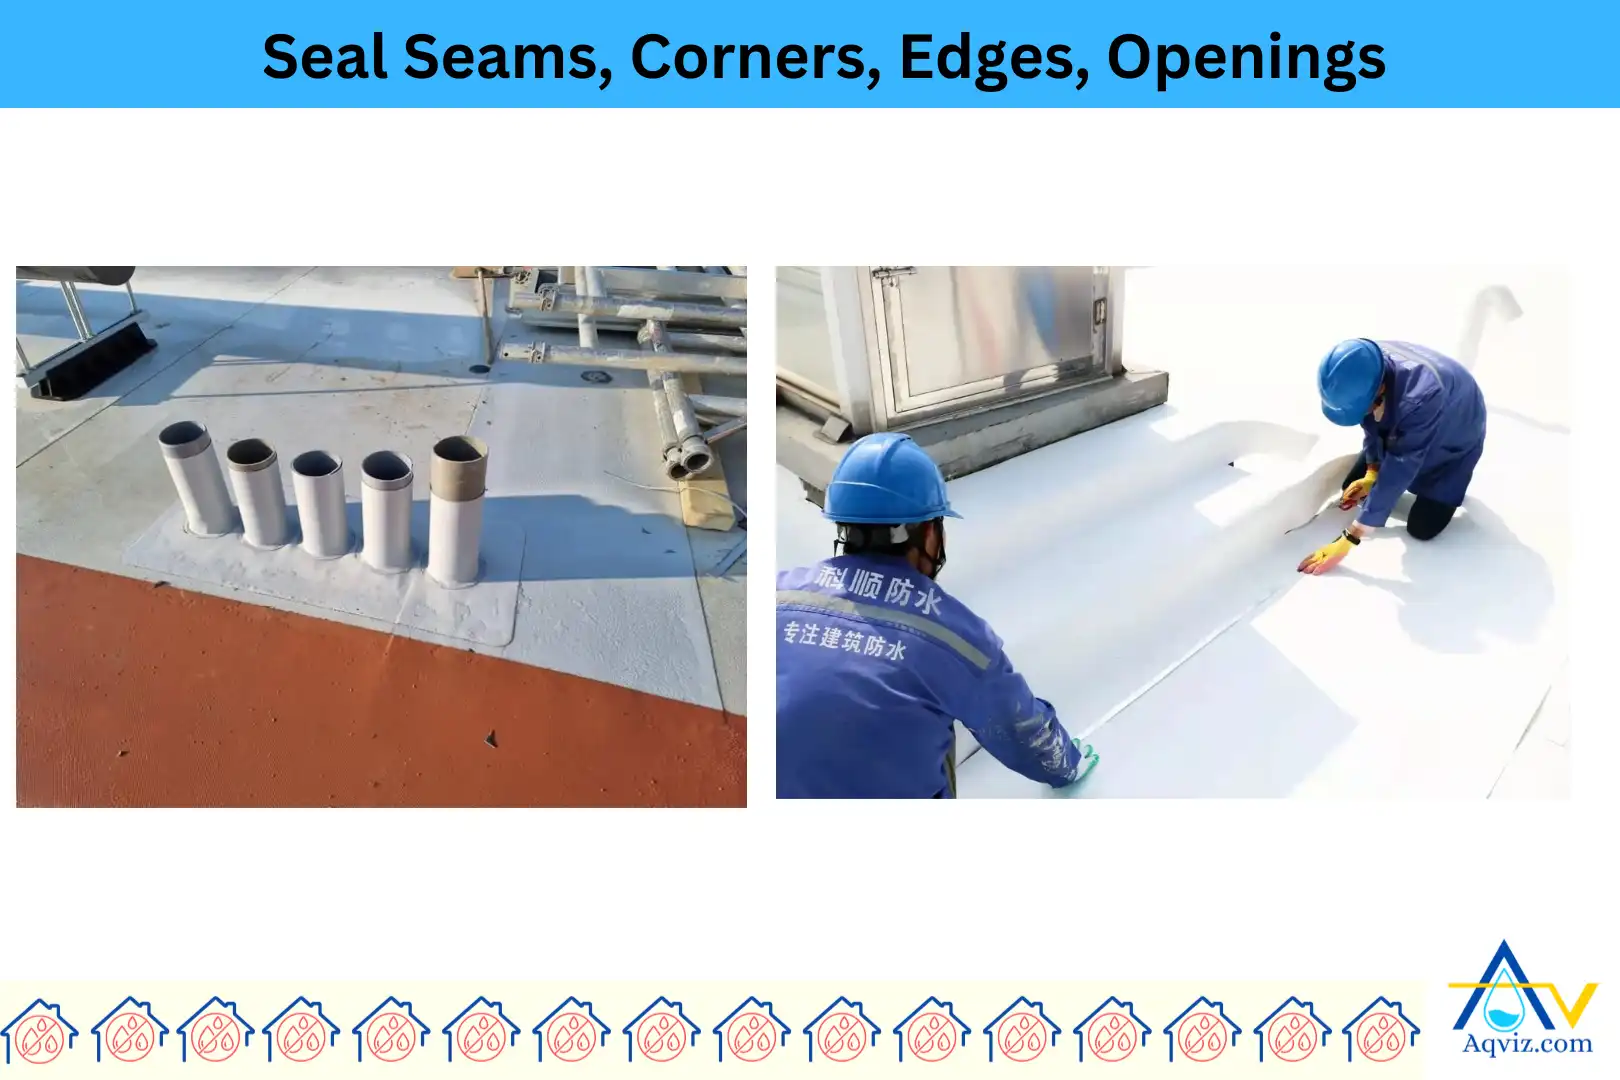
5. Seal the Seams, Corners, Edges, and Openings
When you install EPDM membranes, you should seal all the seams, corners, edges, and openings as follows.
Seal the Seams of EPDM Membrane
- Use a heat gun: Use a heat gun to seal the seams tightly. Heat the EPDM membrane until the heating path is melted. Then keep it on the other EPDM membrane and tight using a roller until the melted EPDM is visible to the outside.
- Apply primer: If you are not able to use a heat gun, you can apply an EPDM primer to the seam area using a roller or brush. Let it flash off until it’s tacky to the touch.
- Use Factory-Applied Tape or SecurTAPE™: Peel back the protective liner and carefully press the seam together, ensuring no trapped air.
- Apply Lap Sealant: You can use lap sealant for extra EPDM waterproofing security, a thin bead of lap sealant should be applied along the edge of the seam.
Seal Flashing Corners and Edges Using EPDM Waterproofing Membrane
- Cut a 200mm (8-inch) diameter EPDM flashing piece and round off sharp edges to prevent stress points.
- Place it at the corner and press it in firmly to eliminate wrinkles.
- Using a heat gun, gently warm the flashing until it becomes pliable.
- Use a roller to press the flashing securely into place, ensuring complete adhesion.
- A bead of lap sealant should be applied at the edges to reinforce the seal.
Seal Roof Penetrations and Openings Using EPDM Waterproofing Membrane
- Use preformed EPDM pipe boots, which are factory-molded flashings that slide over pipes and vents.
- Use a stainless-steel clamp and apply a generous bead of EPDM sealant around the base.
- Cut an oversized EPDM patch, prime the surface, and bond it over the penetration, ensuring a tight seal.
- Press firmly with a roller or use a heat gun for extra adhesion around complex shapes.
Read More About: What to Know About Roof Waterproofing?
6. Inspect the EPDM Waterproofing Quality
After installing the EPDM waterproofing, we highly recommend that you inspect it before exposing it to water. So, as experts, we recommend these steps to inspect the EPDM waterproofing membranes.
- Check that all seams are properly bonded. You should look for gaps, fish mouths, or air pockets along EPDM seams.
- Verify that the EPDM membrane is fully adhered to the substrate. Lift a test section (if applicable) to ensure a strong bond.
- Inspect for wrinkles, blisters, or trapped air under the EPDM membrane. Large bubbles can indicate moisture or poor adhesion.
- Ensure corners, edges, terminations, and penetrations are securely sealed with flashing and adhesives.
- Confirm that fasteners and plates are properly spaced and secured if a mechanically fastened system is used.
- Check that the EPDM membrane follows the proper slope to prevent ponding water. Verify drains, scuppers, and gutters are unobstructed.
- Inspect all lap sealants, pipe boots, and flashing seams for full coverage and no signs of gaps.
- Ensure no debris, sharp objects, or construction materials are left on the membrane that could cause damage.

7. Protect the EPDM Waterproofing Membrane
After the EPDM waterproofing is inspected, you should take action to protect it from damage. You can follow the steps to protect the EPDM waterproofing after installing it.
- Limit the foot traffic
- Cover with a protective layer
- Avoid sharp objects
- secure loose edges
- Protect from chemicals
- Monitor the drainage system
- Inspect the membrane regularly
When Should You Install EPDM Membrane?
You should install EPDM membrane in late spring, summer, and early fall.
1. Late spring
Late spring is the most preferred installation period for EPDM membranes in our Aqviz projects. During this period, ambient temperatures remain stable between 10-25 °C (50-77 °F), allowing EPDM sheets to relax naturally and lie flat without tension. Adhesives, seam tapes, and primers cure uniformly at this temperature range, reducing edge lifting and seam failure. Rainfall is reduced compared to early spring, so the substrate moisture content stays below 5 % by weight, which is ideal for bonding.
2. Summer (early to mid)
Early to mid-summer works well if surface temperatures are controlled. EPDM remains flexible and easy to position when air temperatures stay below 32 °C (90 °F). Warm conditions accelerate adhesive tack time, improving seam strength and lap bonding. We recommend installing during early morning hours if daytime surface temperatures exceed 40 °C (104 °F), because excessive heat can cause membrane expansion and adhesive skinning before full contact.
3. Early fall
Early fall is another highly reliable season for EPDM installation. Daytime temperatures range between 12-22 °C (54-72 °F), which prevents thermal shock and post-installation shrinkage. Humidity drops, and overnight dew formation decreases, keeping decks dry. In Aqviz’s experience, EPDM installations completed in early fall show fewer seam adjustments and better long-term adhesion compared to late fall jobs.
When Should You Avoid Installing EPDM Membrane?
You should avoid EPDM membrane in winter, the rainy season, and during extreme heat waves.
- Winter season: In the winter season, adhesives lose bonding strength below 5 °C (41 °F), and the EPDM membrane stiffens during placement, which increases the risk of poor adhesion, seam gaps, and delayed curing.
- Rainy season: In the rainy season, wet or damp substrates prevent proper adhesive contact, reduce peel strength, and cause blistering or membrane slippage after installation.
- Extreme heat waves: In extreme heat waves, surface temperatures above 50 °C (122 °F) cause EPDM membrane over-expansion, rapid adhesive skinning, and misalignment at seams, which leads to long-term shrinkage stress.