How to Waterproof a Crawlspace?

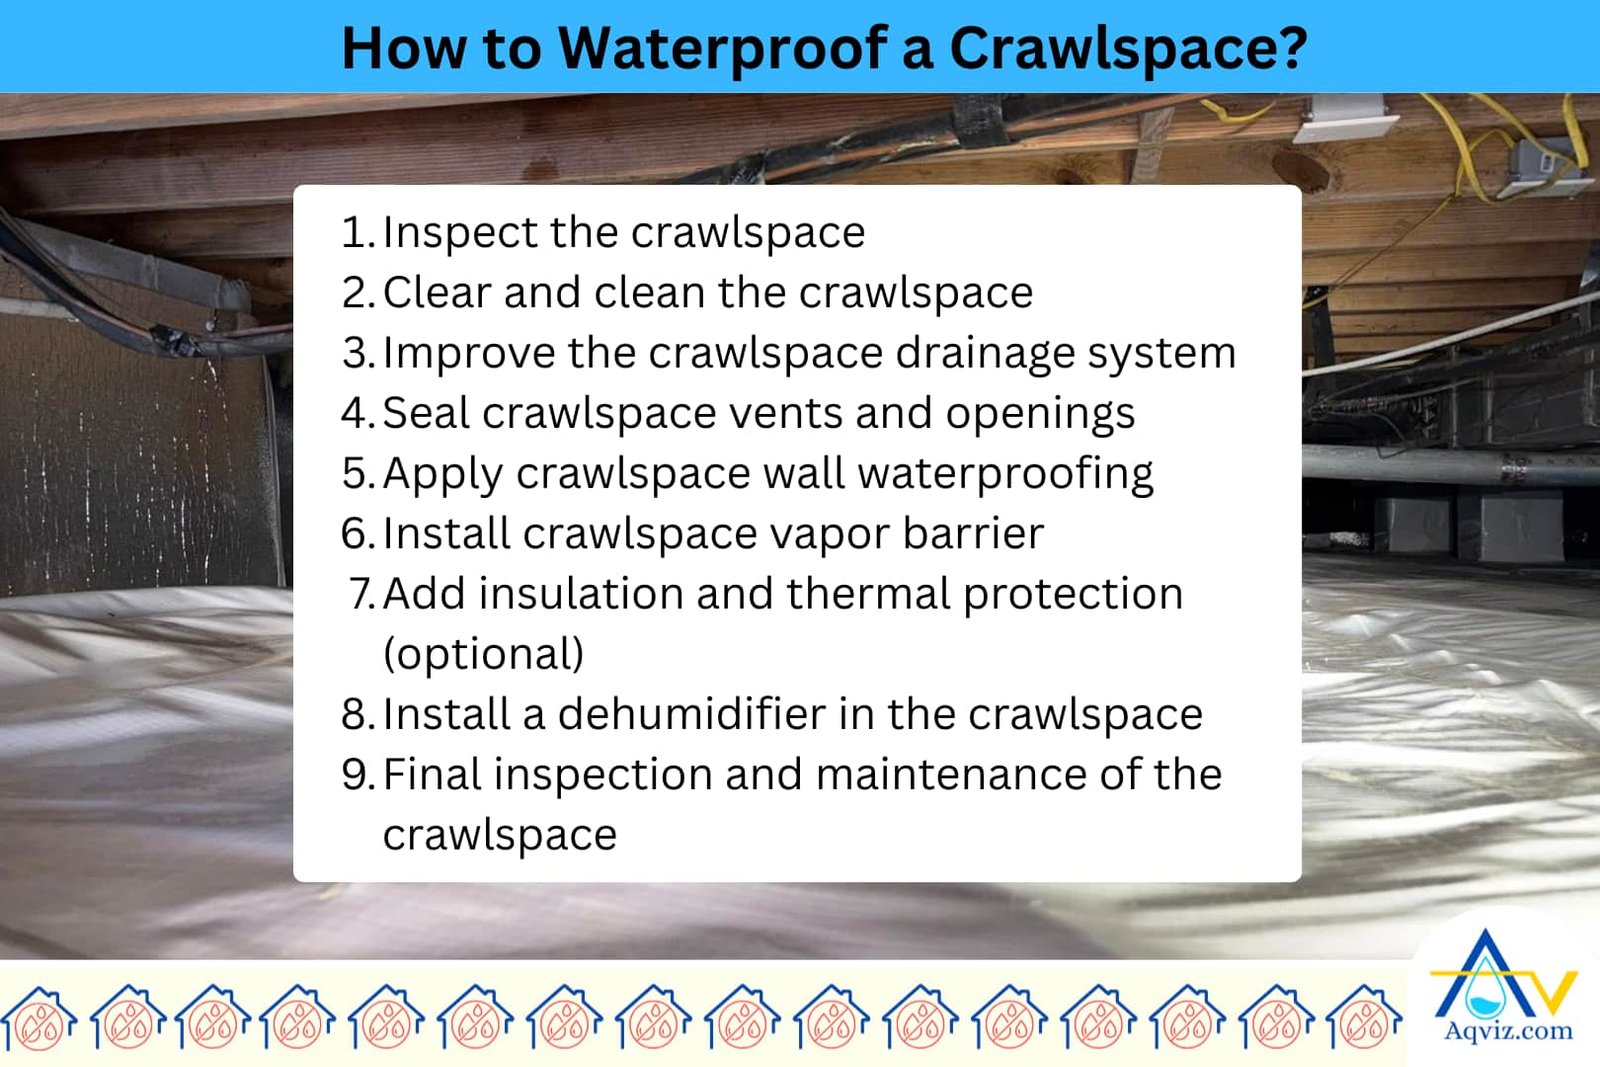
To waterproof a crawl space, you should follow these 9 steps recommended by the Aqviz experts.
- Inspect the crawl space
- Clear and clean the crawl space
- Improve the crawl space drainage system
- Seal crawl space vents and openings
- Apply crawl space wall waterproofing
- Install a crawl space vapor barrier
- Add insulation and thermal protection (optional)
- Install a dehumidifier in the crawl space
- Final inspection and maintenance of the crawl space
Crawl space waterproofing is the process of preventing water, moisture, and humidity from entering the underfloor area located between the soil and the ground floor of a building. You should always use quality products and expert methods for the crawl space waterproofing. Aqviz experts have prepared the following step-by-step guide by considering 15 years of crawl space waterproofing experience. We highly recommend that you follow these steps for a long-lasting and healthy crawl space.
1. Inspect the Crawl Space
First, before starting crawl space waterproofing, we highly recommend that you inspect it properly. Crawl space inspection should be done to identify the water damage, identify the water sources, and identify the condition of the crawl space.
At first, you should inspect the entire crawl space for water damage signs such as mold and mildew growth, musty odor, wood rotting, wood warping, dampness on the walls and floor, paint peeling, water stains on walls, metal corrosion, efflorescence on the crawlspace walls, higher humidity, insect infestations, and standing water.
Then check foundation walls for cracks, examine plumbing lines for leaks, and ensure vents are not contributing to excess humidity in the crawl space to determine the source of the water.
Next, check the floor of the crawl space to determine the proper grading of the interior and exterior of the crawl space to identify the ground condition of the crawl space.
To inspect the crawl space properly, Aqviz experts recommend that you download this crawl space inspection guide.
2. Clear and Clean the Crawl Space
In the second step, the crawl space must be cleaned thoroughly before installing any waterproofing system. You should remove all loose debris, deteriorated insulation, and organic material from the crawl space floor.
If there is standing water in the crawl space, use a shop vac or portable sump pump to remove it completely. Then allow the crawl space area to dry using high-powered fans or air movers for 24 to 48 hours.
Crawl space cleaning process helps to adhere sealants and vapor barriers and prevents mold from being trapped beneath the waterproofing layers over time.
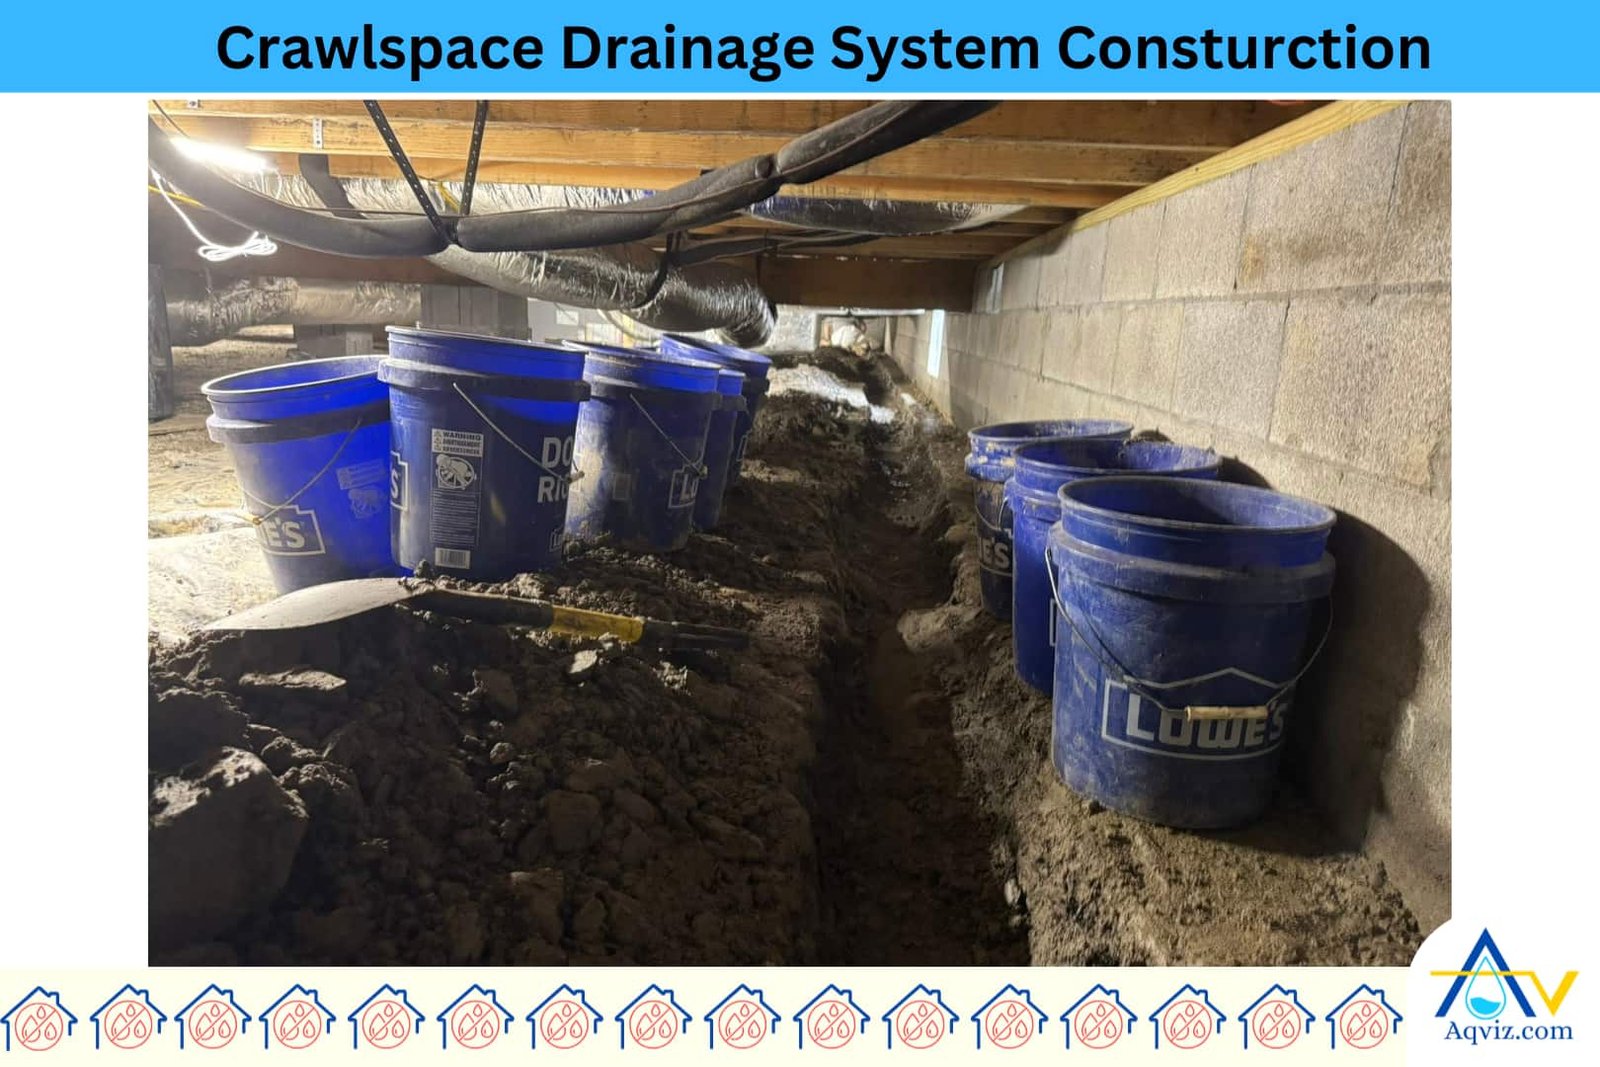
3. Improve Crawl Space Drainage System
in 3rd step, you should install an interior French drain system around the perimeter to collect and redirect water away from the foundation.
Then place a sump pump in the crawl space at the lowest point to automatically evacuate collected water during storms or flooding.
Exterior crawl space French drains system should be improved by ensuring that gutters are unclogged and downspouts discharge water at least 6 feet (1.8 meters) away from the structure to prevent soil saturation near the walls.
4. Seal Crawl Space Vents and Openings
Fourth, you should seal crawl space vents and openings in the crawl space because uncontrolled airflow and moisture vapor enter the crawl space through vents, pipe penetrations, and rim joists. Therefore, you should seal all the vents and openings in the crawl space using foam boards and vent covers.
You can use spray foam or rigid insulation to fill gaps around pipes, electrical wiring, and HVAC ducts in the crawl space. You can use an expanding foam to seal rim joists and structural framing to block humid air from circulating inside the crawl space.
You should seal the crawl space to prevent condensation and maintain a dry environment.
5. Apply Crawlspace Wall Waterproofing
Fifth, you should apply a cementitious waterproofing membrane or liquid-applied membrane using a trowel or roller to seal small cracks, pores, and mortar joints in the concrete or masonry walls.
If there are deep cracks and damage, you can use a crack injection method to seal them completely. After applying the waterproofing method, it should be allowed to cure fully within 24 hours.
Crawl space wall waterproofing is essential to stop lateral water intrusion and prepare the surface for vapor barrier installation.
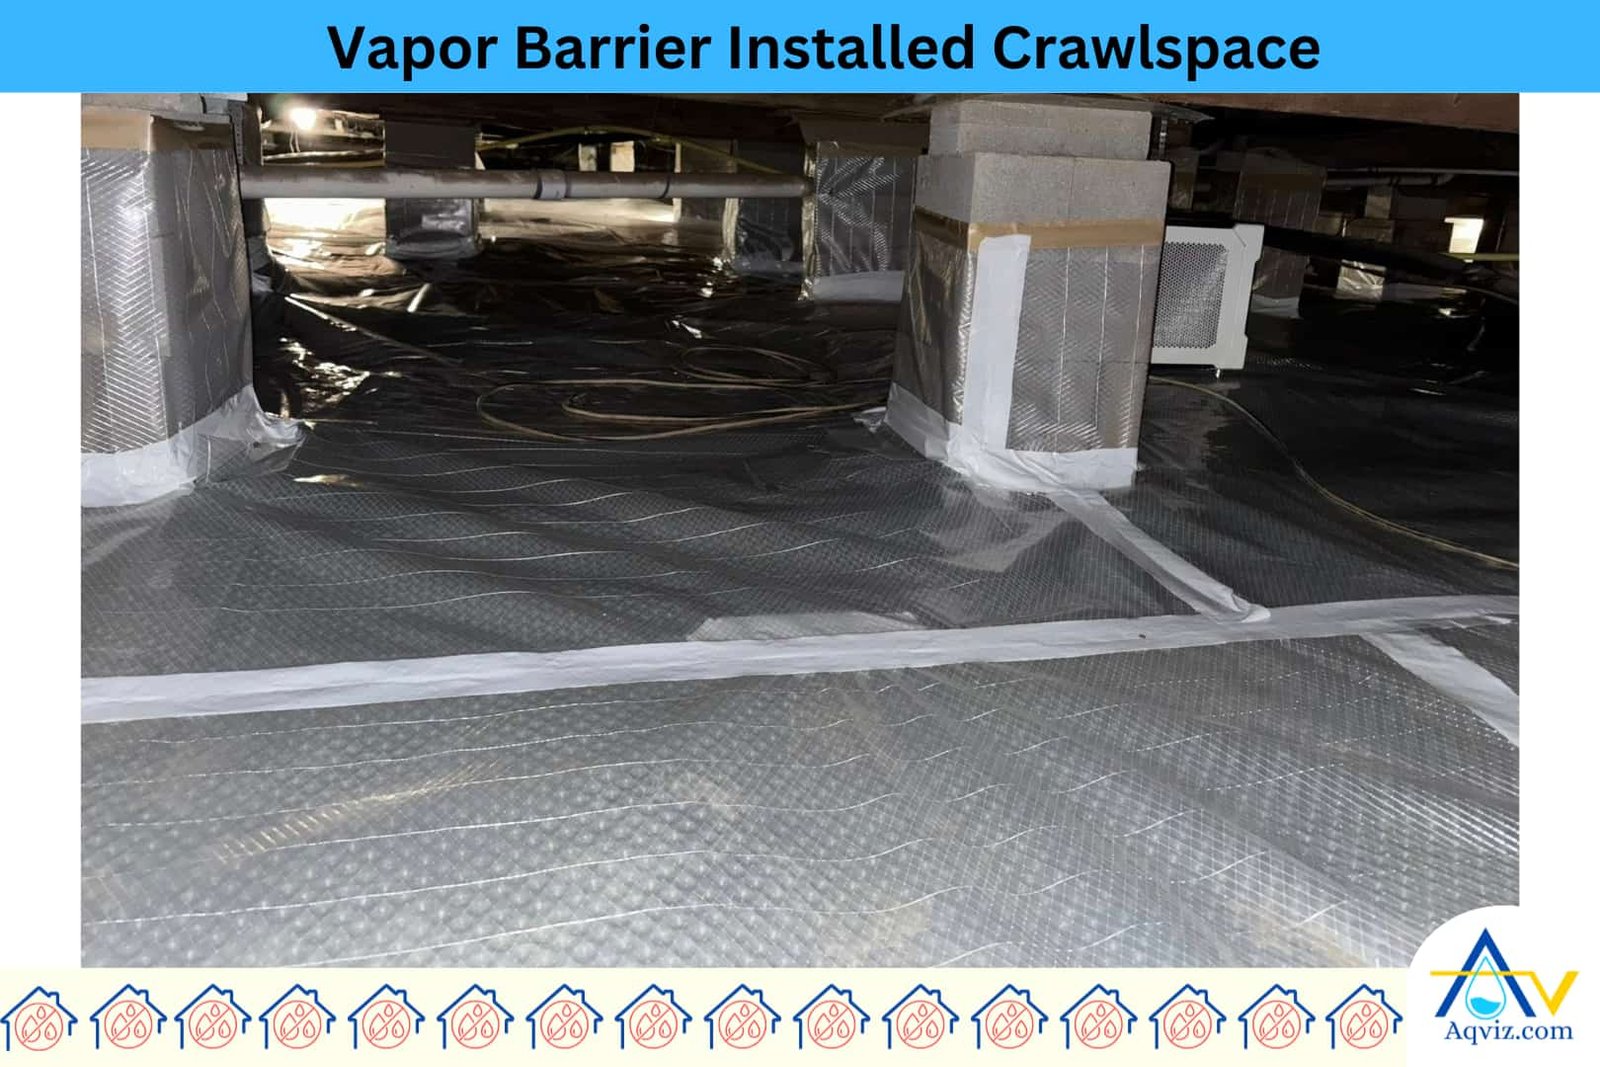
6. Install Crawl Space Vapor Barrier
After sealing the cracks and damages, you can install a vapor barrier in the crawl space. You should lay a reinforced polyethylene sheet, 6 to 20 mil thick, across the entire crawl space floor area. Overlap each seam by at least 12 inches (30 cm) and seal with waterproof tape or butyl adhesive to create a continuous barrier on the crawlspace ground.
Extend the vapor barrier up the foundation walls at least 6 inches (15 cm) and secure it with mechanical fasteners and caulk. This sealed system prevents ground moisture from entering the crawl space and keeps the area dry year-round.
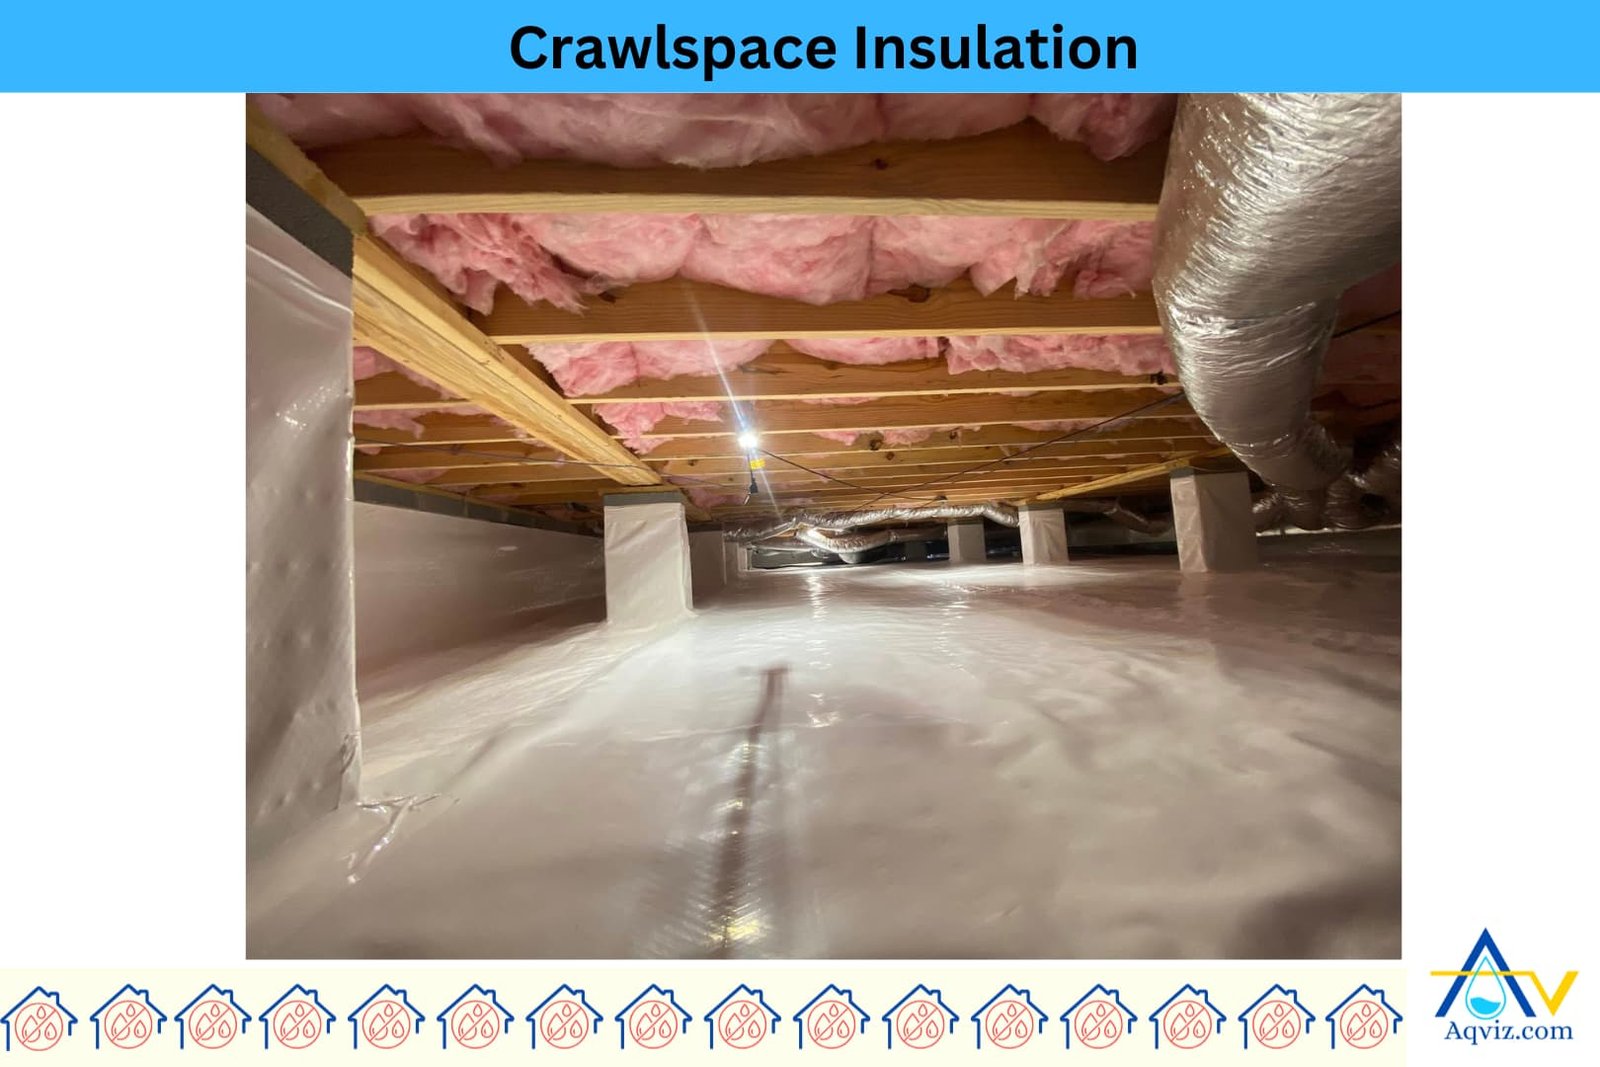
7. Add Insulation and Thermal Protection (optional)
Seventh, install rigid foam insulation boards in the crawl space along the foundation walls to help stabilize temperature and reduce energy loss in seasonal temperature swings.
We highly recommend you avoid using fiberglass batt insulation in the crawl space ceiling, as it absorbs moisture and supports mold growth over time.
Proper crawl space insulation works better with vapor barriers to improve comfort and energy efficiency in the living spaces above.
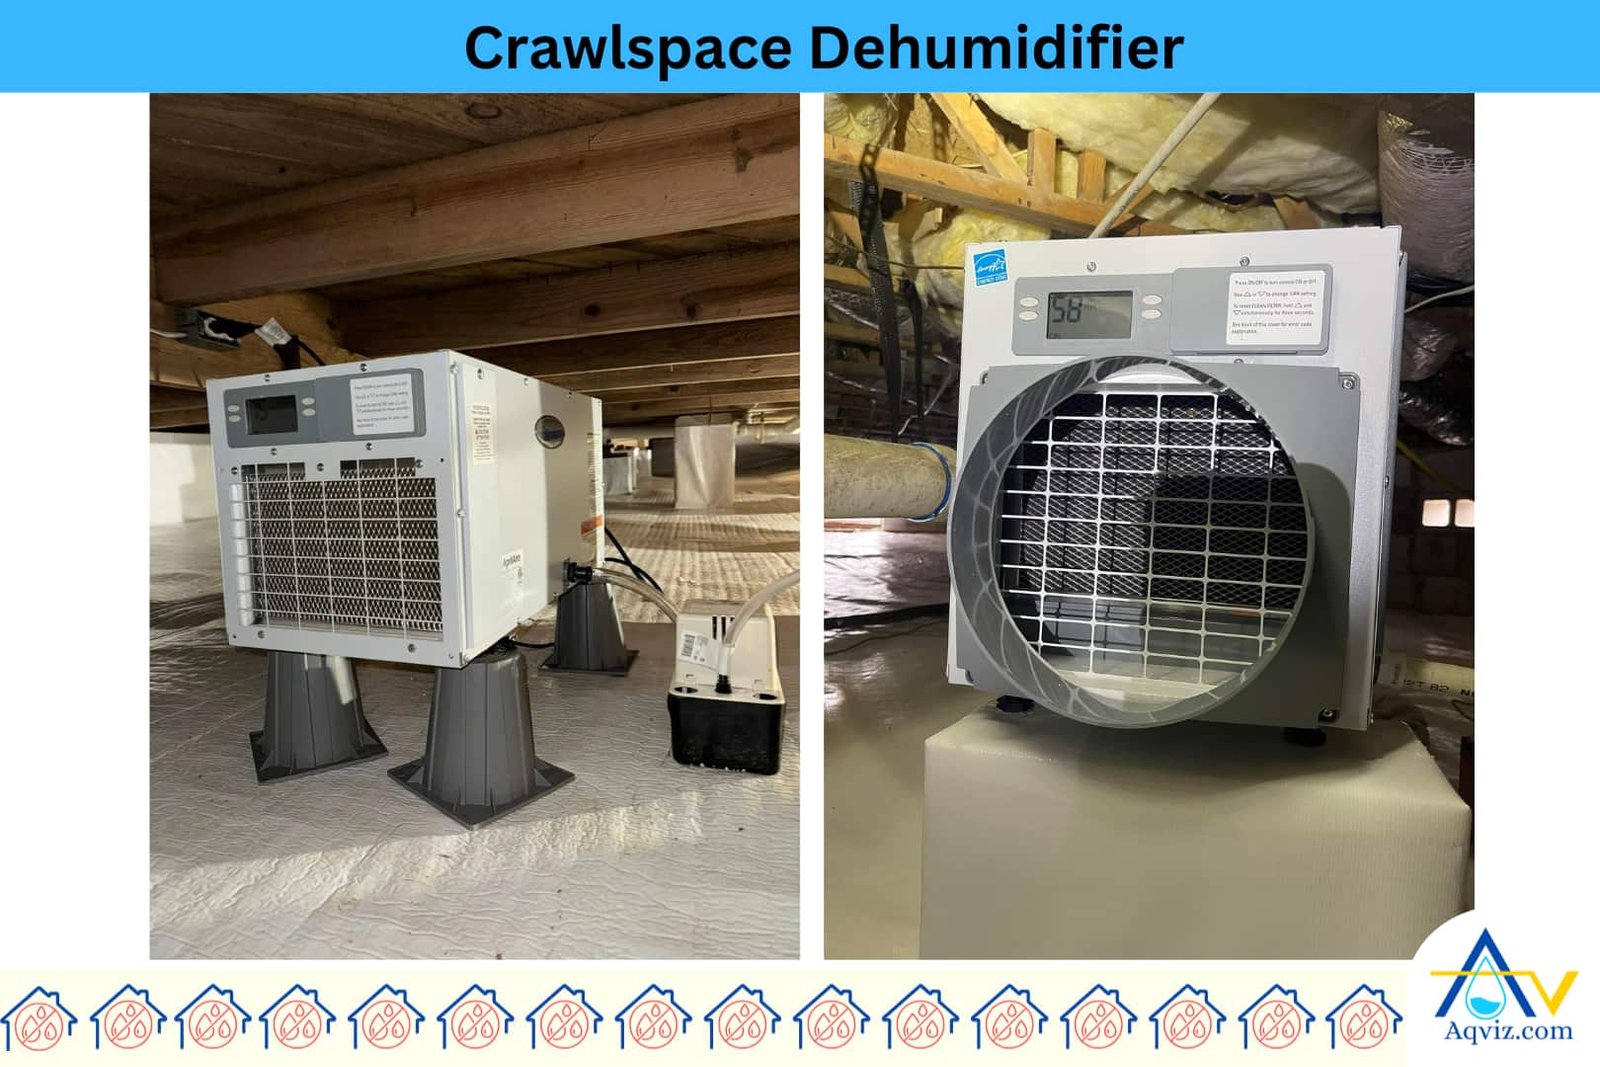
8. Install a Dehumidifier in the Crawl Space
In eight step you can install a dehumidifier in the crawl space. A dehumidifier is installed in the crwal space if it has continuous moisture production.
After placing the dehumidifier in the crawl space, connect the drainage hose to the sump basin or an exterior outlet to remove accumulated water safely away from the crawl space.
You should also place a digital hygrometer in the crawl space to monitor humidity levels regularly and adjust settings as needed.
Crawl space dehumidifier helps to maintain the humidity between 40%-50% RH, which prevents moisture damage in the crawl space.
Step 9: Final Inspection and Maintenance of the Crawl Space
Finally, conduct a final inspection to confirm that all seams, edges, and barrier overlaps are sealed correctly.
Check for gaps or exposed areas that could compromise the moisture barrier. Schedule crawl space maintenance checks every 6 to 12 months to evaluate the performance of the sump pump, drainage lines, and dehumidifier.
What are the Tools and Materials for Crawlspace Waterproofing?
Crawl space waterproofing requires specific tools and materials to inspect, seal, drain, insulate, and protect the underfloor space from water and moisture intrusion.
Here is a complete list of tools and materials used for crawl space waterproofing
Tools for crawl space waterproofing:
- Utility knife (for cutting vapor barrier and insulation)
- Safety equipments
- Measuring tape
- Caulking gun
- Cordless drill/driver
- Hammer
- Staple gun
- Work gloves
- Protective mask or respirator
- Headlamp or work light
- Plastic sheeting or tarp (for work surface)
- Shop vac or wet/dry vacuum
- Portable fan or air mover
- Bucket and sponge (for cleaning surfaces)
- Level and straight edge (for drainage slope checks)
Materials for crawl space waterproofing
- Vapor barrier sheeting (12-20 mil reinforced polyethylene)
- Waterproof tapes (seam tape or butyl adhesive)
- Polyurethane caulk or construction adhesive
- Waterproofing membranes (cementitious/PU waterproofing)
- Rigid foam insulation boards (XPS or polyiso)
- Sump pump system
- Perforated drain pipe (for French drain system)
- Gravel or drainage stone (¾ inch washed)
- Drainage matting or dimple board
- Crawlspace-rated dehumidifier
- Vent covers or foam vent plugs
- Mechanical fasteners (plastic pins or masonry anchors)
- Moisture-resistant vapor barrier tape
- Spray foam insulation
- Hygrometer (humidity monitor)