Concrete is porous by nature. Water doesn’t just sit on top of it — it migrates through capillary channels in the paste matrix, carrying dissolved salts and eventually causing spalling, rebar corrosion, and structural decay. The right waterproofing method stops that migration at the source, before visible damage starts, especially when property owners take a long-term maintenance view with guidance from the Keyrenter Northwest Chicago team.
Which method works best depends on where the concrete is, the direction of water pressure, and whether you’re working on a new pour or an existing structure. The four main approaches — penetrating sealers, sheet membranes, cementitious coatings, and crystalline waterproofing — each solve a different problem.
Why Concrete Needs Waterproofing
Fresh concrete typically achieves a water-to-cement ratio of 0.45–0.60 during mixing. Hydration consumes some of that water, but the remainder leaves behind a network of capillary pores averaging 0.1–1 micron in diameter. Under hydrostatic pressure, water moves through those channels at a measurable rate even in structurally sound concrete.
Reinforced concrete faces a second threat: chloride ions dissolved in water react with the embedded steel, initiating corrosion at concentrations as low as 0.4% by weight of cement. According to the American Concrete Institute (ACI 318, 2019), corrosion of embedded reinforcement is the leading cause of premature concrete structure failure in North America.
A hairline crack 0.1mm wide — too small to see without magnification, is wide enough for sustained moisture flow at typical groundwater pressures. That physical reality is what makes surface treatments alone an incomplete answer for below-grade applications.
4 Methods to Waterproof Concrete (Compared)
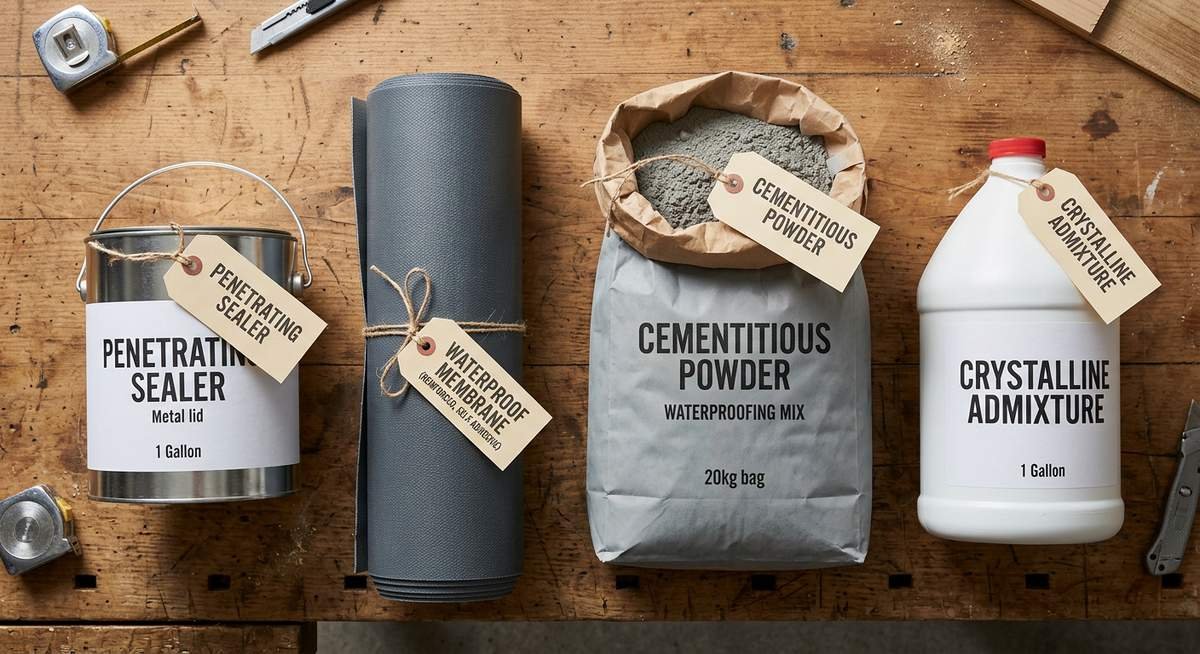
Penetrating sealers, sheet membranes, cementitious coatings, and crystalline systems are the four field-proven approaches. Each works through a different mechanism, and choosing the wrong one for the application is the most common source of premature failure.
| Method | How It Works | Best For | Cost (DIY) | Durability |
|---|---|---|---|---|
| Penetrating sealer (silane/siloxane) | Reacts with Ca(OH)₂ in cement paste to form hydrophobic compounds inside the pores | Horizontal surfaces, driveways, above-grade walls | $0.15–0.35/sq ft | 5–10 years |
| Sheet membrane (HDPE or TPO) | Physical barrier bonded to the exterior face of the structure | Below-grade foundation walls, retaining walls | $0.50–1.20/sq ft (materials) | 20–30 years |
| Cementitious coating | Portland cement + sand + waterproofing admixture brushed on; bonds mechanically | Interior basement walls, water tanks, wet areas | $0.30–0.70/sq ft | 10–20 years |
| Crystalline waterproofing | Reactive chemicals penetrate and form insoluble crystals that block pores permanently | New pours, below-grade structures with positive and negative pressure | $0.40–0.90/sq ft | Permanent (self-healing) |
Crystalline systems stand apart from the other three: while sealers, membranes, and cementitious coatings sit on the surface or bond to it, crystalline chemistry penetrates up to 4 inches into the concrete matrix and re-activates when moisture returns. A damaged section of crystalline-treated concrete can partially self-repair, no other method on this list does that.
Surface Preparation: The Step That Determines Everything
No waterproofing product adheres properly to a contaminated or weakened surface. Surface preparation consistently accounts for 80% of waterproofing failures in post-project investigations, according to the Portland Cement Association (PCA, 2021).
- Remove all loose material. Use a wire brush, grinder, or pressure washer (minimum 3,000 psi) to strip efflorescence, paint, oils, and deteriorated concrete. Hollow-sounding areas must be chipped out.
- Open the pores. Acid etching with a 10% muriatic acid solution, followed by thorough rinsing, opens surface pores and promotes adhesion for cementitious and crystalline products. Skip this step for sheet membranes applied over smooth formed concrete.
- Repair cracks before coating. Cracks wider than 1/16 inch require an epoxy injection or hydraulic cement patch. Waterproofing coatings bridge hairline cracks but cannot span structural movement joints.
- Dampen (but don’t saturate) the surface. Cementitious products require a saturated surface dry (SSD) condition, damp but with no standing water. A bone-dry surface pulls moisture out of the coating too fast, preventing proper cure.
How to Apply Waterproofing to Concrete
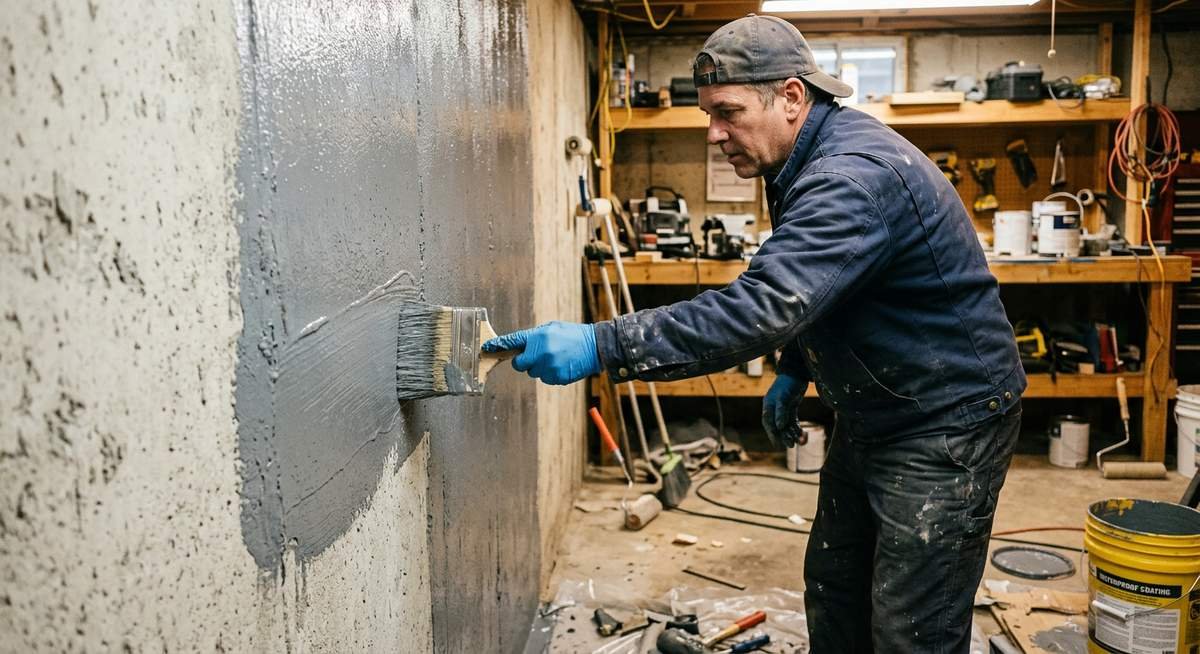
Application steps vary by product type. The sequence below covers the cementitious coating method, which is the most accessible for residential DIY projects and the most commonly misapplied.
- Mix the product. Standard cementitious waterproofing mortar uses a 4:1 sand-to-cement ratio by volume. When adding a hydrophobic admixture, use a 1:10 ratio of admixture to water. Mix with an electric drill and paddle until the consistency resembles a thick slurry.
- Apply the first coat. Use a stiff masonry brush or slurry brush, working the material firmly into the surface in a scrubbing motion. Minimum layer thickness is 5–8mm. Pressing too hard thins the layer and reduces effectiveness.
- Allow partial cure before the second coat. Wait until the first coat is firm but still slightly tacky, typically 4–6 hours at 70°F. Applying too early lifts the first coat; waiting too long creates a bond-line weakness.
- Apply the second coat perpendicular to the first. Alternating application direction closes pinholes that form when brush strokes align.
- Cure the finished surface. Keep the surface moist for 3–4 days by misting three times daily. In hot or windy conditions, cover with plastic sheeting between misting sessions. Early drying causes shrinkage cracks that compromise the waterproofing layer.
Most DIYers stop at the application and skip the curing step entirely. That decision turns a legitimate 10-year barrier into a coating that starts flaking within two seasons.
Choosing the Right Method for Your Project
Location and water pressure direction determine which waterproofing method will actually work. A product rated for interior negative-side pressure will fail against exterior hydrostatic pressure, and vice versa. Below is a decision matrix organized by the five most common concrete waterproofing scenarios.
| Location | Water Pressure Direction | Recommended Method | Why |
|---|---|---|---|
| Below-grade foundation wall (exterior) | Positive (water pushes toward interior) | Sheet membrane or crystalline admixture in new pour | Handles hydrostatic pressure; excavation enables membrane installation |
| Below-grade wall (interior, existing) | Negative (water pushes toward coating) | Cementitious coating or crystalline surface treatment | Only rigid-bond products resist negative-side hydrostatic pressure |
| Concrete floor (basement, garage) | Upward vapor transmission | Penetrating silicate sealer + vapor barrier | Sealers reduce vapor drive; membrane beneath flooring captures residual moisture |
| Concrete roof or deck | Positive (rain, standing water) | Elastomeric coating or torch-applied membrane | Accommodates thermal movement; continuous film resists ponded water |
| Water-retaining structure (pool, tank) | Both directions (varies) | Crystalline waterproofing admixture in mix design | Integral treatment resists pressure from both faces; no bond-line failure risk |
Interior basement wall coatings are one of the most oversold solutions in home improvement retail. Brands like Drylok and RadonSeal work reasonably well on lightly damp surfaces with moderate vapor transmission. They are not designed to resist active hydrostatic pressure. A wall that’s visibly weeping or shows white mineral deposits (efflorescence) needs exterior drainage or excavation-based treatment, not a coat of paint-like product applied from inside.
“Most cost effective way to waterproof concrete flooring before tiling”, on r/Concrete, a community of concrete professionals and DIYers. A highly-voted response: “Cementitious slurry first, let it fully cure, then tile. Don’t rely on the tile adhesive to do double duty as waterproofing.”
— r/Concrete (2024)
5 Waterproofing Mistakes That Always Cause Failures
Surface preparation failures, skipped curing, and mismatched product selection cause the overwhelming majority of concrete waterproofing problems. These five mistakes appear consistently across both residential DIY projects and professionally installed systems.
- Skipping crack repair before application. Coatings bridge hairline cracks under ideal conditions. Any crack that moves, thermally, seasonally, or under load, will break a surface coating within one winter cycle.
- Applying to a dry surface. Cementitious products need SSD conditions. A dry surface absorbs water from the slurry before the cement can hydrate properly, resulting in a powdery, weak film.
- Insufficient curing. The most common failure mode after application. Skipping the 3-day misting routine cuts effective curing by 60–70% according to PCA data.
- Using interior coatings to solve exterior drainage problems. If water is entering a wall due to saturated soil pressing from outside, no interior product will stop it long-term. The hydrostatic pressure will eventually delaminate any coating applied from the inside.
- Single-coat application below grade. Below-grade applications require two coats minimum for all cementitious products. Single-coat application achieves the thickness spec only on perfectly smooth formed surfaces, impossible on block or rough-poured walls.
Most homeowners who reach for an interior waterproofing product are doing so because excavating the exterior costs $5,000–$15,000. That price difference shapes the decision in ways that have nothing to do with which solution would actually work. Knowing the limitation of what you’re applying is more valuable than applying it perfectly.
Frequently Asked Questions
What is the best product to waterproof concrete?
The best product depends on the application: silane-siloxane penetrating sealers work well for above-grade horizontal surfaces and driveways; cementitious coatings are the standard for interior basement walls; sheet membranes or crystalline admixtures are preferred for below-grade exterior applications under hydrostatic pressure. There is no single product that performs best in all situations.
Can I waterproof concrete myself, or do I need a contractor?
Above-grade applications, driveways, garage floors, exposed walls, are fully DIY-accessible with proper surface preparation. Below-grade exterior waterproofing requires excavation, which is typically contractor work unless you have the equipment and experience. Interior negative-side coatings are DIY-friendly but come with significant performance trade-offs compared to exterior treatment.
How long does concrete waterproofing last?
Penetrating sealers last 5–10 years with proper surface prep. Cementitious coatings typically perform for 10–20 years. Sheet membranes range from 20–30 years under normal conditions. Crystalline waterproofing is rated as permanent by major manufacturers because the crystal structure within the concrete matrix does not degrade over time.
Is it better to waterproof concrete during the pour or after?
Integral waterproofing admixtures added during mixing provide the most complete protection because the treatment penetrates the entire concrete cross-section. Post-applied surface treatments only protect as far as they can penetrate from the surface, and their effectiveness depends entirely on surface condition and preparation quality.
What’s the difference between dampproofing and waterproofing concrete?
Dampproofing resists moisture vapor and light dampness but is not rated for hydrostatic pressure. Full waterproofing is specifically designed to resist liquid water under pressure. The International Building Code (IBC Section 1805) requires full waterproofing for structures where the water table is likely to rise within 6 inches of the floor level; dampproofing is only acceptable in well-drained conditions.
Does crystalline waterproofing work on existing concrete?
Yes. Crystalline waterproofing products are available as surface-applied slurries for existing structures as well as admixtures for new pours. When applied to existing concrete, the reactive chemicals require free moisture and calcium hydroxide in the concrete to form crystals, both are present in any cured concrete. Effectiveness is lower on very old or carbonated concrete where the calcium hydroxide has been largely depleted.
Final Thoughts
Waterproofing concrete is not complicated, but it requires matching the method to the application, preparing the surface correctly, and completing the cure. The most expensive product applied over poor prep will fail faster than a basic cementitious coating applied properly.
For below-grade foundations, explore the full treatment options in the guide to waterproofing basement walls. If you’re working on an interior DIY project with a limited budget, the DIY basement waterproofing guide covers product selection and application in detail. For projects involving membrane systems specifically, the RedGard waterproofing membrane guide is worth reviewing before you buy.