
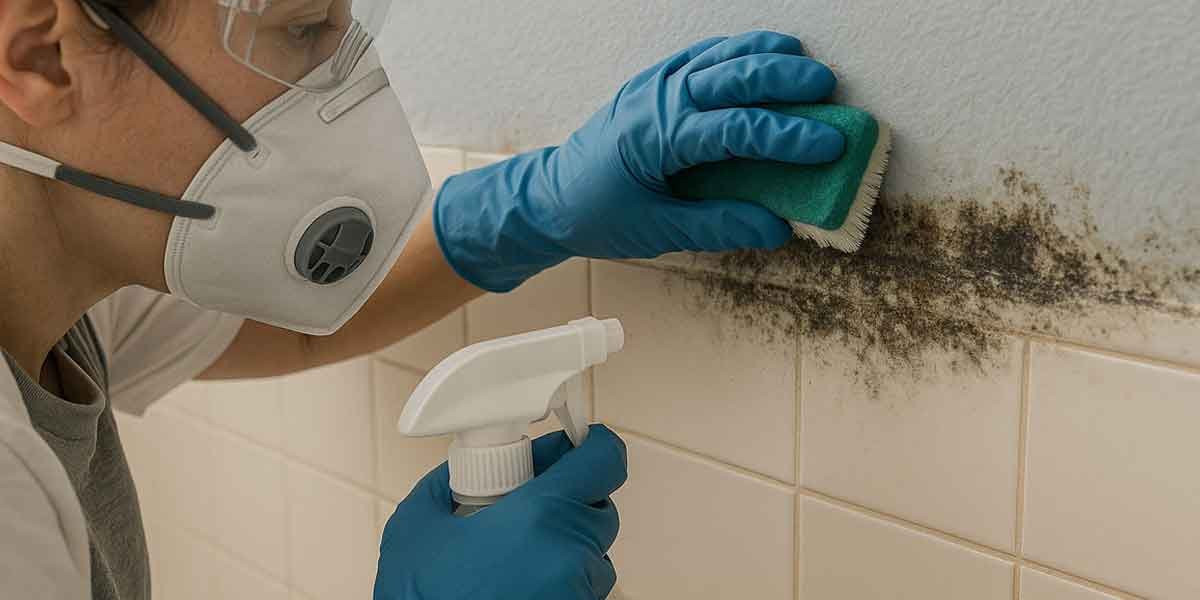

Your mold remediation diy limit is about 10 square feet.
That figure comes from EPA’s homeowner guide, which puts its “in most cases, you can handle the job yourself” line at a patch smaller than roughly three feet by three feet. Past that size, or alongside heavy water damage, the same booklet stops giving the instruction and points to Mold Remediation in Schools and Commercial Buildings instead. Both documents sit on EPA’s mold page for homes.
Most mold remediation diy projects go wrong after the spraying. The wet source stays open, the paper facing stays damp, and the stain fades for a few weeks before the same shape comes back.
Where DIY Stops: Area, Water Type, and Material
EPA’s homeowner guide says a patch under about 10 square feet is usually yours to handle. Over that size, after heavy water damage, after sewage, or with a contaminated air handler, the same guide points to professional remediation. Material matters as much as measurement, because paper, ceiling tile, and carpet cannot be scrubbed clean.
Ten square feet is roughly a three-foot-by-three-foot patch, and EPA uses that size as the point where its residential booklet stops supplying the instruction.
What replaces it is a document written for schools and commercial buildings, which the guide describes as applicable to other building types. That one assumes containment and air filtration, and it is written for people who have done the work before. A homeowner reading it will find a tooling list longer than anything a three-foot patch needs.
Two conditions move a job out of DIY territory even when the patch is tiny. Damage from sewage or other contaminated water calls for someone experienced with contaminated buildings, and a suspected mold problem inside the HVAC system means shutting the system down instead of cleaning around it, because running it spreads growth through the house.
Health is the third trigger, and it is personal rather than technical. EPA sends anyone with health concerns to a clinician before cleanup begins, which carries the most weight for asthma, allergies, or a suppressed immune system.
Material separates the two cases more sharply than area does. EPA’s cleanup rule for hard surfaces is to scrub with detergent and water and dry completely. For absorbent or porous material the same section says the item may have to be thrown away, since growth fills the empty spaces and crevices and will not come back out.
| Surface | How it behaves | Realistic DIY route |
|---|---|---|
| Glazed tile, glass, metal, sealed concrete | Non-porous, growth sits on top | Wash with detergent and water, rinse, dry fully |
| Framing lumber, solid and painted wood, trim | Slow to absorb, but holds spores in checks and joints | Scrub, then dry until a meter matches dry stock in the same room |
| Paper-faced drywall, ceiling tile, carpet, insulation | Porous, growth fills the voids | Remove the affected run; EPA says these may have to be thrown away |
That third row is where the mold remediation diy question stops being about square footage.
Bleach Kills Mold. Removal Is the Other Half.
EPA does not recommend chlorine bleach or any biocide as a routine part of mold cleanup, and it states that dead mold can still trigger allergic reactions in some people. Killing spores and removing them are separate tasks, and only the second one clears the affected material.
The cleanup section is blunt about the spray bottle. A chemical or biocide that kills mold, chlorine bleach included, is “not recommended as a routine practice during mold cleanup,” with the exception left to professional judgment in households where someone is immune-compromised.
The reason sits in the next sentence of the same section. Dead mold may still cause allergic reactions, so the material has to come out after the organism dies. The spore case outlasts the colony, and a particle that reaches a lung does not carry a note about whether the growth was alive when it was sprayed.
Household recipes follow the same logic. White vinegar, baking soda, lemon juice, and tea tree oil all lift surface staining and the musty smell that comes with it. None of them pulls hyphae out of ceiling tile or paper-faced drywall, so a patch that returns in the same outline was never removed in the first place.
I learned this on a four-foot bathroom wall. Diluted bleach, a scrub brush, a warm afternoon, and the bloom was gone by evening. The same shape came back in the same place a few weeks later, because the shower valve behind it had been dripping into the stud bay the whole time.
Mixing is where the DIY version gets dangerous. Chlorine bleach plus any cleaner containing ammonia produces toxic fumes, and a small bathroom with the door shut is a bad place to find that out.
The Mold Remediation DIY Kit That Earns Its Cost
A workable kit is short: an N-95 respirator, sealed goggles, gloves rated for the cleaner in use, plastic sheeting, a moisture meter, and disposable rags. EPA prices N-95 respirators at about $12 to $25 and ties nitrile, neoprene, PVC, polyurethane, or natural rubber gloves to disinfectant use.
EPA’s section on what to wear is specific enough to shop from. The respirator has to fit properly to do anything, and OSHA requires fit testing wherever respirators are worn at work, which is a fair hint that a loose mask is decoration. Goggles matter more than they look, because scrubbing throws particles sideways rather than down.
Gloves are listed by material for a reason. EPA connects that material list to the case where a disinfectant or a strong cleaner is in use, so one box of nitrile gloves covers both the bleach scenario and the detergent one.
The rest of the shopping list:
- Plastic sheeting and tape, enough to seal the doorway and keep the room one zone
- A moisture meter, the only tool that says when drying is finished
- Disposable rags, a bucket, and a spray bottle for detergent and water
- A vacuum rated for HEPA filtration, if there is already one in the house
- Replacement material bought before the cut: drywall, ceiling tile, or insulation
One habit to drop is aiming a box fan at the patch. Air moving across disturbed growth carries it further into the room than it does anything useful.
How You Know the Wall Is Actually Clean
The test is dryness plus time. EPA says damp areas and items dried within 24 to 48 hours of a leak usually will not grow mold, and that a surface should be cleaned and dried before it gets painted. A moisture reading and a closed-room smell check settle the job; the colour of the stain does not.
EPA gives the dry window twice, once as prevention advice and once as a repair rule. That turns cleanup into a race with a deadline, and it also explains why a fast cosmetic fix on day four buys so little.
Drying is judged against a baseline. A meter reading taken on dry stock in the same room gives the number the wet assembly has to fall back to, and until it does, the material still holds the condition that started the growth.
Smell is the second check, and it needs a closed door. Shut the room overnight and open it in the morning. A musty note that returns by dawn means the cleanup missed a reservoir, usually the back of a drywall panel, the top face of a ceiling tile, or the carpet pad.
Painting waits for both checks. Paint over a damp assembly traps the condition behind a film that blisters, and the stain reappears under the new coat within a season.
Hidden growth is where this job leaves the DIY side, and EPA lists the usual hiding places: the back face of drywall, wallpaper and paneling, the top face of ceiling tiles, the underside of carpets and pads, wall cavities around pipes, and ductwork. A room that smells moldy with no visible surface behind it is the case where the guide suggests an experienced professional.
The mold remediation diy boundary runs through sampling too. EPA’s position is that mold sampling should be designed and interpreted by professionals working to AIHA or ACGIH methods, so a dish kit ordered online often produces a number with no decision attached to it. What a test can settle and what it cannot is set out in mold testing in a home.
Frequently asked questions
Is mold remediation DIY really necessary?
Mold remediation is necessary when growth covers more than about 10 square feet, when it sits in porous material, or when the damp source is still active. EPA’s guide says mold damages what it grows on and the longer it grows the more damage it can cause. Under 10 square feet on a washable surface with a fixed leak, removal and drying is a cleaning job.
How do you remove mold from wood framing?
Scrub framing with detergent and water, dry it completely, then confirm with a moisture meter that the lumber reads like dry stock in the same room. Framing that stayed damp long enough to go soft or crumble at an edge is a replacement, not a cleaning. Access decides the shape of the job: open the cavity, clean it, and leave it open until the meter settles.
How do you remove black mold from a drywall ceiling?
Cut the stained drywall out instead of washing it, because the paper facing is porous and holds growth in the voids. Cut back to a joist so the patch has something to land on, and look at what sits above the cut. A ceiling stain usually traces to a roof leak, a bathroom fan venting into the attic, or a condensing duct.
Does baking soda or vinegar do anything for mold?
Baking soda and vinegar lift surface staining and smell, and neither removes growth that has moved into porous material. A patch cleaned with either one reappears in the same outline for that reason. Use them on a washable surface ahead of detergent and water, never in place of removing a contaminated board.
Order beats product. Fix the leak, dry the assembly inside the two-day window, remove what cannot be cleaned, then paint. A run that skips the first step books the same afternoon again next month.